I. About WeShop AI
WeShop AI is a leading image generation AI tool, dedicated to the intelligent generation of e-commerce model and product images. E-Commerce sellers and brands are no longer constrained by models, agents, photographers, post-production, or travel expenses. While efficiently producing high-quality product images, you can significantly reduce shooting costs. With WeShop AI, your mouse becomes the shutter, and a click reveals the final image.
Login and Registration:
Login URL: https://www.weshop.ai/
Registration Method: Click on “Sign in” at the top right corner, enter your email address and verification code to register.

User Personal Information:
After logging in successfully, click on your profile picture to access the “My Profile” page.
The “My Profile” page includes:
- My Points
- My Orders
- My Referrals
- My API Information (if you purchase an API plan)

Note: The ‘Pro’ tag is only eligible for users with points
II. Introduction to WeShop AI
1. Open the WeShop AI official website: https://www.weshop.ai/
2. Click “Get Started” to explore our three main modules: AI Agents, AI Tools, and AI Model Agency.

AI Agents: This module provides two core functions of WeShop AI: AI Model and AI Product. We offer a vast array of popular AI models and the most sought-after commercial photography scenes to meet the image generation needs of various platforms and channels.
AI Tools: This module offers additional functions to enhance AI commerce photography, saving on post-production costs. It includes features such as background removal, image enhancer, intelligent lighting – Relight, text to image, and image to image etc. to meet the demands of different users.
AI Model Agency: WeShop AI’s model resource library gathers real models from different countries and styles to ensure you find the perfect match for your needs.
Through all these features, we aim to provide you with efficient, convenient, and diverse AI photography services.
Additionally, you can directly click the “Upload Image” button to immediately enter the workspace to start working on it. You can also access the workspace by clicking “My Workspace.” In the dropdown menu, you will see our two core modules: AI Model and AI Product. Click “Free Trial” to start experiencing the features.

3. My Workspace
After familiarizing yourself with the basic navigation of WeShop AI, let’s proceed with ‘My Workspace‘. The left side features the detailed workspace navigation, while the right-hand side, under “What’s New,” contains WeShop AI’s blog content. Here, you will find the latest AI news, detailed usage guides, and updates on WeShop AI’s latest product developments. Through these blogs, you can gain a deeper understanding of WeShop AI and learn how to quickly and accurately use WeShop AI for image generation.
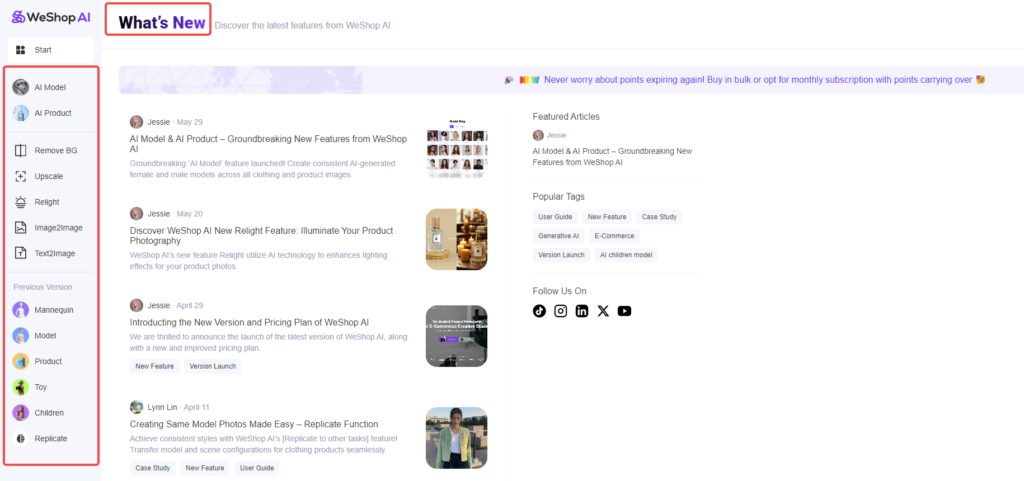
All your image generation tasks on WeShop AI can be accomplished through the two core features: AI Model and AI Product. Additionally, we offer a suite of advanced AI tools, including background removal, Upscale, Relight, image2image, and text2image to meet your refined image generation needs.
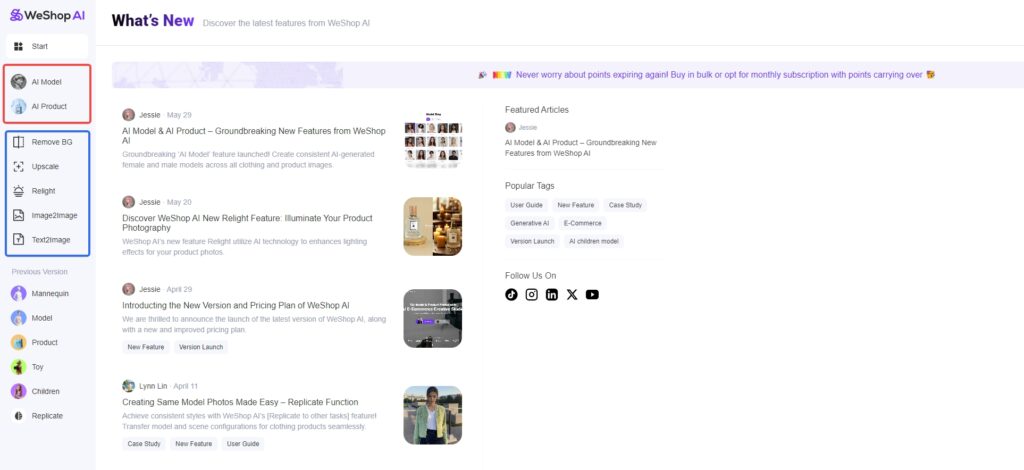
3.1) AI Model
AI Model agent could easily generate consistent AI digital models and professional e-commerce photography scenes. In the model shop, we offer hundreds of AI models of various nationalities, styles, genders, and age groups. Similarly, in the location store, we have over 150 popular e-commerce photography scenes. Based on your brand’s style, you can efficiently select suitable AI models and AI photography scenes from our Model Shop and Location Shop, generating diverse AI photography images that cater to global market demands.
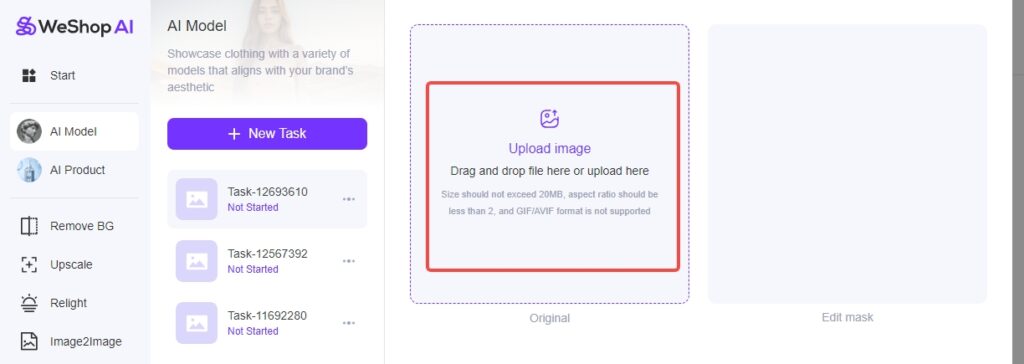
Step 1 – Upload Image
Upload the original image. WeShop AI will automatically perform clothing segmentation on the image. If you wish to adjust the mask selected area, you can click “Edit” for further editing, or upload a mask image (PNG format, not recommended for beginners).

Step 2 – Edit Selection
After uploading the image, select the area to keep unchanged. Below, you will find supplementary selection tools. If you want to adjust the image further, click “Reset” to edit the mask area again.
The “Invert” function is useful for retaining large areas of the original image. Instead of selecting each part manually, simply choose the parts you want to change, such as the face or limbs. For example, after selecting the model face and body, click “Invert,” and the background and clothing will be preserved, allowing you to adjust the model only.
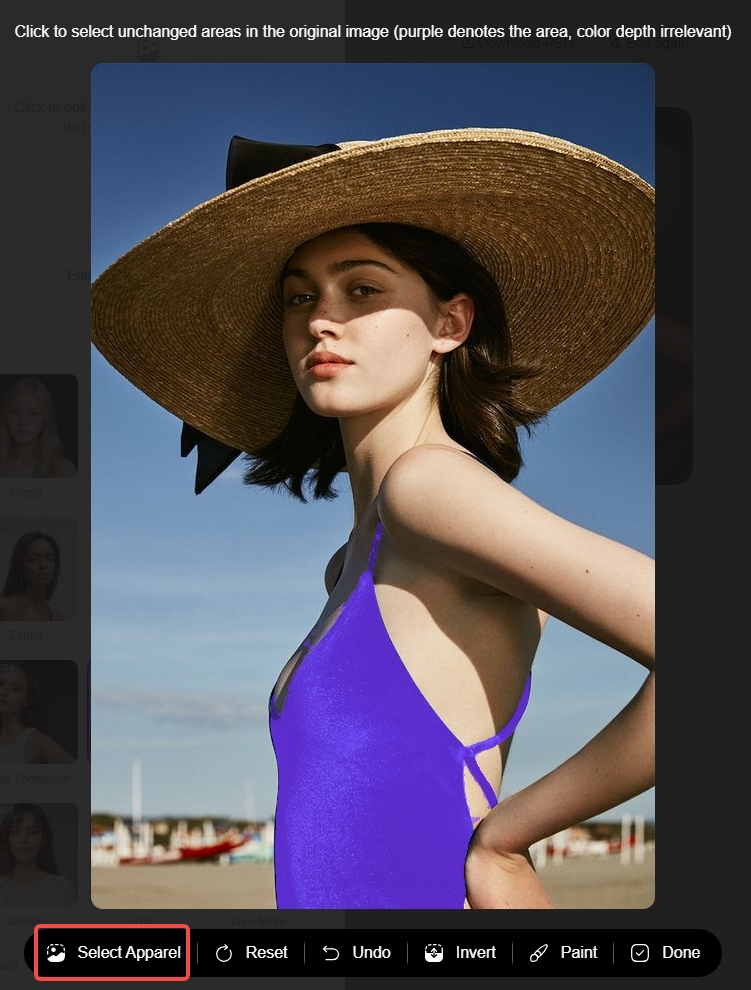
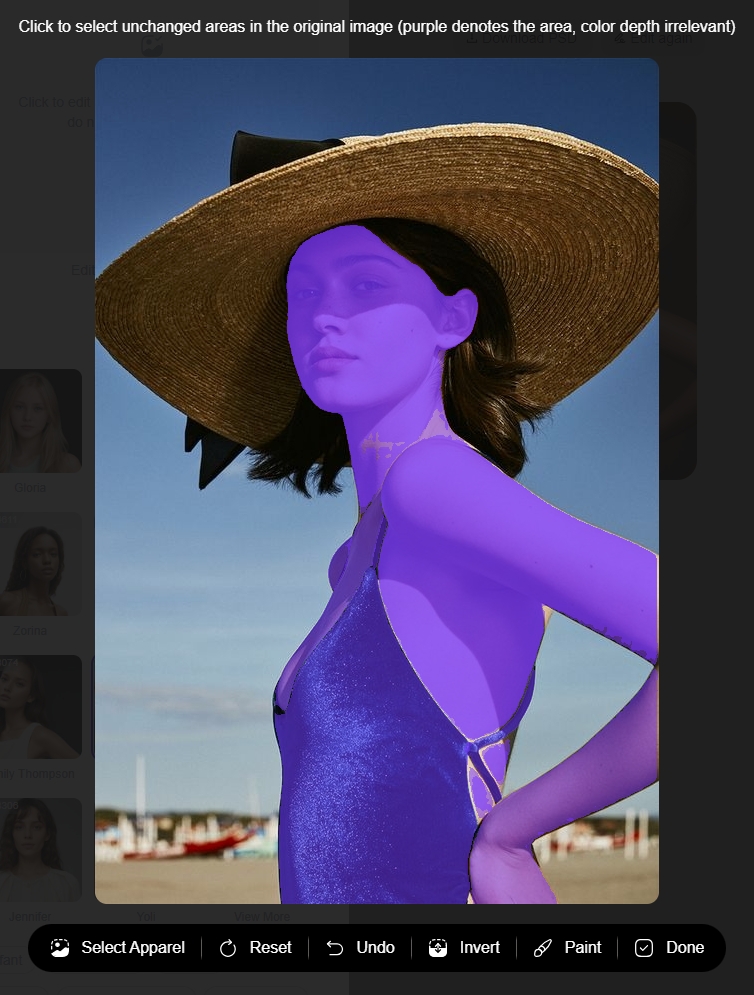
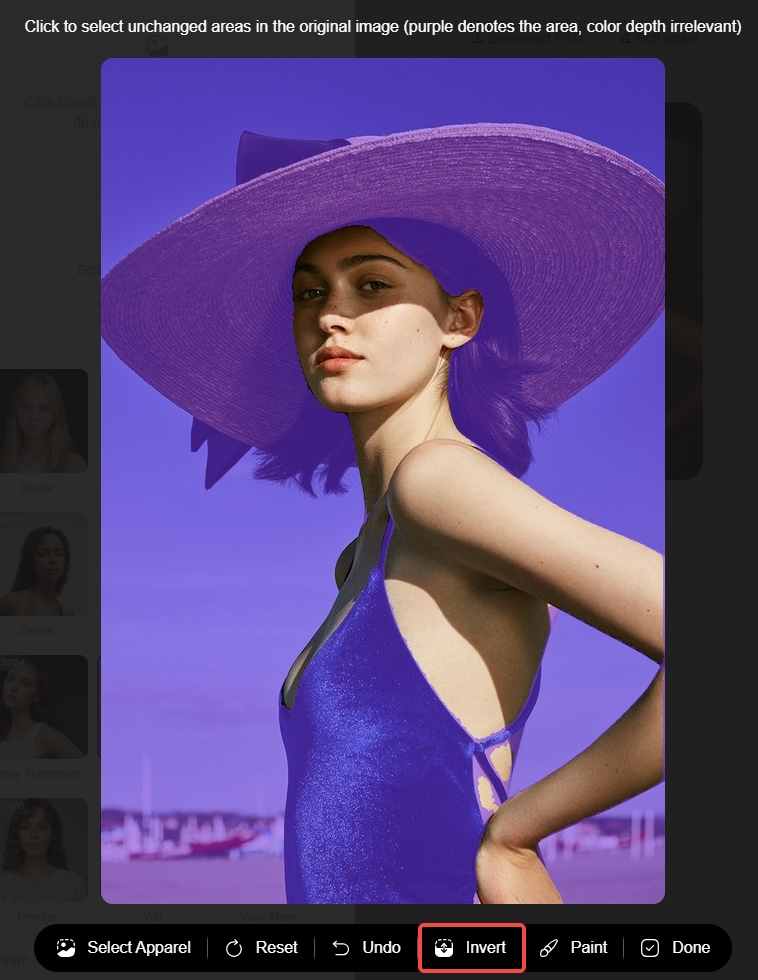
If you need more precise segmentation, such as for details like summer tops or complex hand gestures, use the brush tool to adjust the selection. The brush size is adjustable, and an eraser is available for fine-tuning.


Step 3 – Choose AI Model
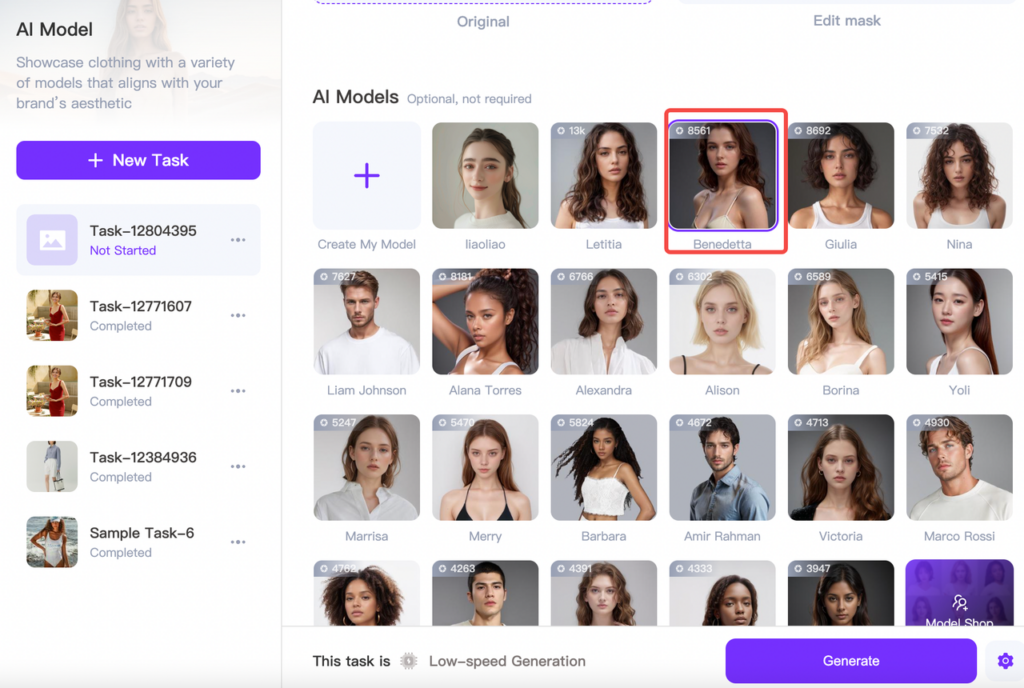
After selecting the clothing, choose an AI model. WeShop offers a wide range of AI models, covering all ethnicities and age groups. Users can also create their exclusive models.
We categorize models into different groups: Male, Female, Child, Age 45+. You can tick the box to quickly filter the models that you’re looking for.
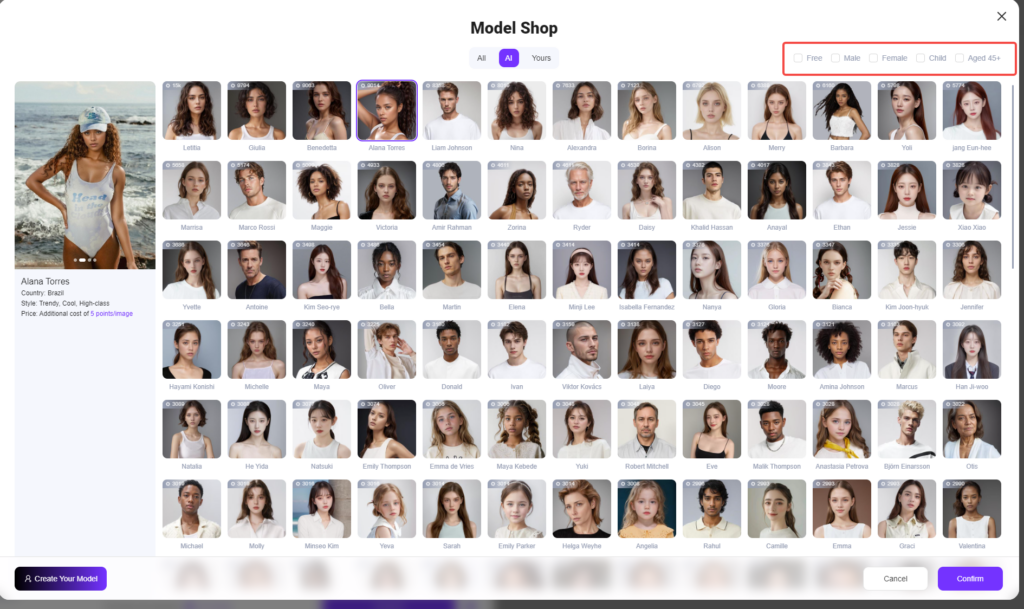
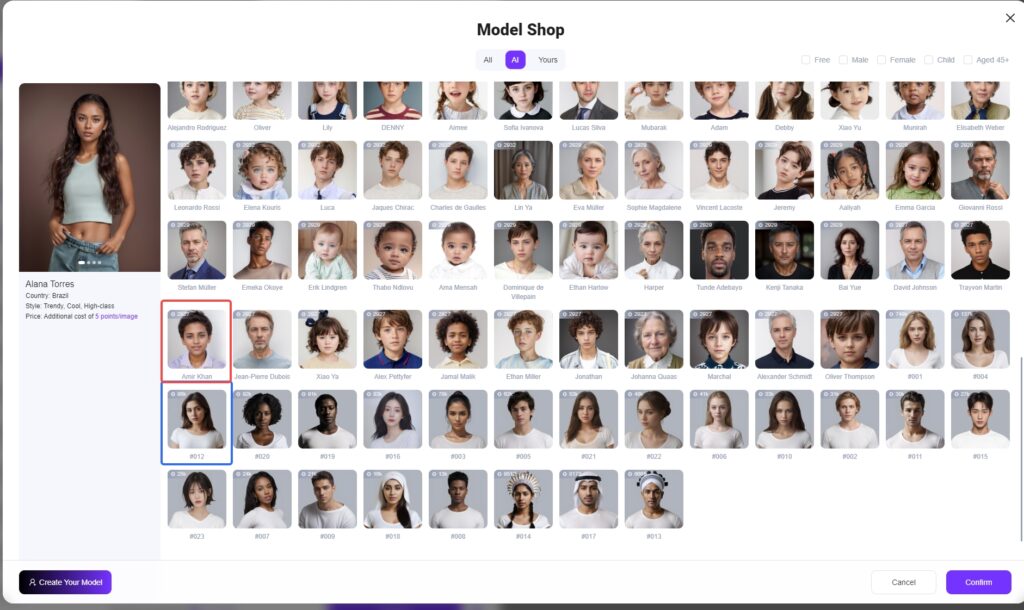
Click “Model Shop” to view all models. AI models provided by WeShop include consistent and random models. Consistent models have individual names whoes generated image will have fixed appearances, while numbered models have randomly generated faces, and the avatar only represent the gender and style. For example, a consistent model named Amir, and the random model is #012.
Let me show you examples of generated images of consistent model and random model. Let’s use the consistent model Camille and the random model #004.
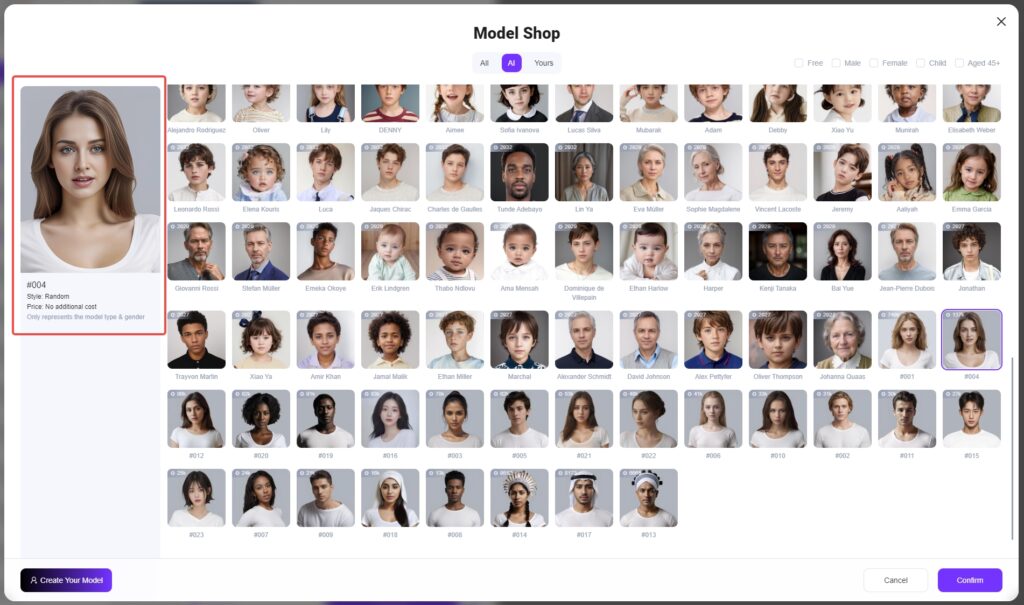
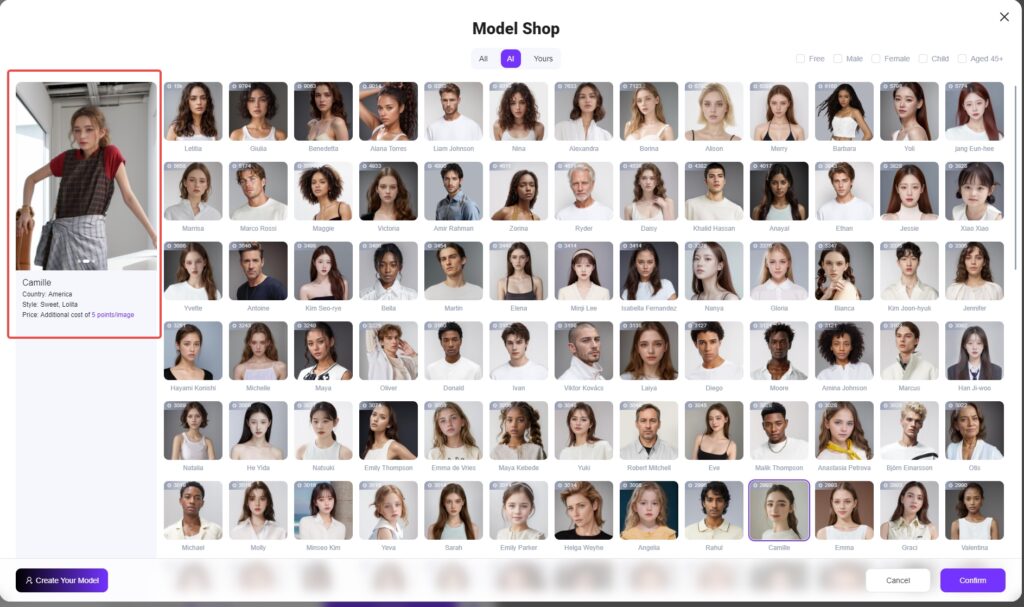
Let’s see the results.
Original Images:


WeShop AI generated images of model Camille


WeShop AI generated images of model #004

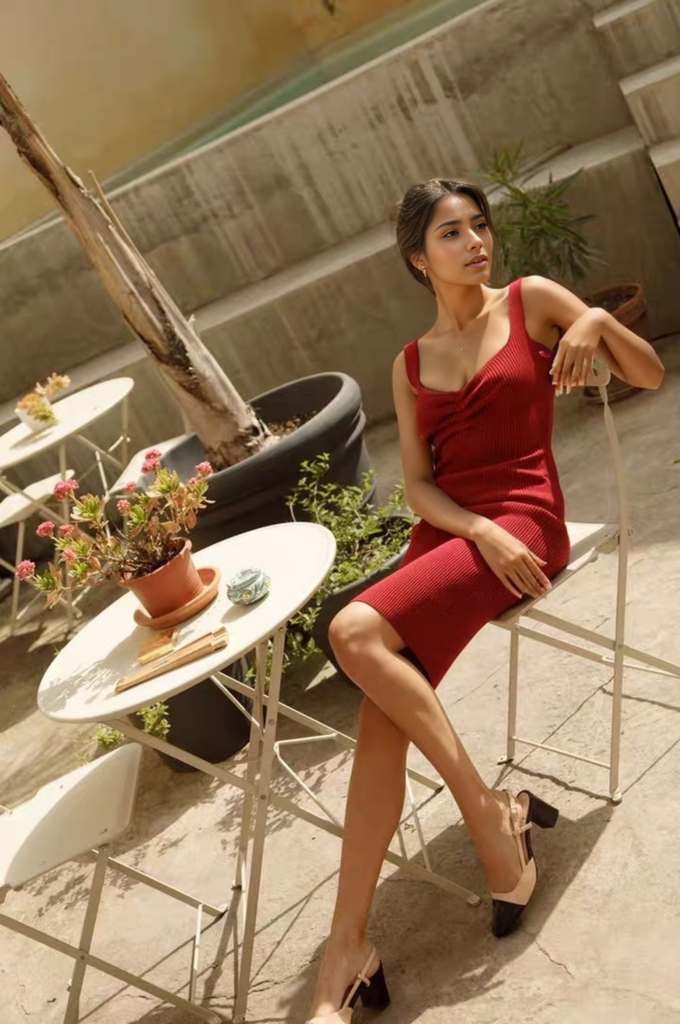

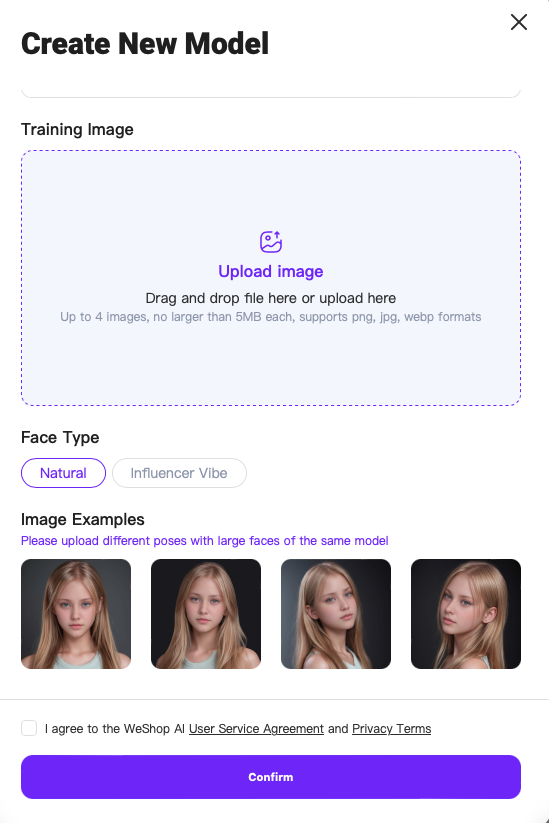
To create your own exclusive model, click “Create Your Model,” enter the model’s name, upload at least one image (dimensions greater than 512, aspect ratio less than 2), select a Face type, and click confirm.
Please note❗️: Ensure you own the copyright for the model that you created. WeShop will not be responsible for any copyright disputes or infringements. After successful creation, once done, you could select your model in Model Shop.
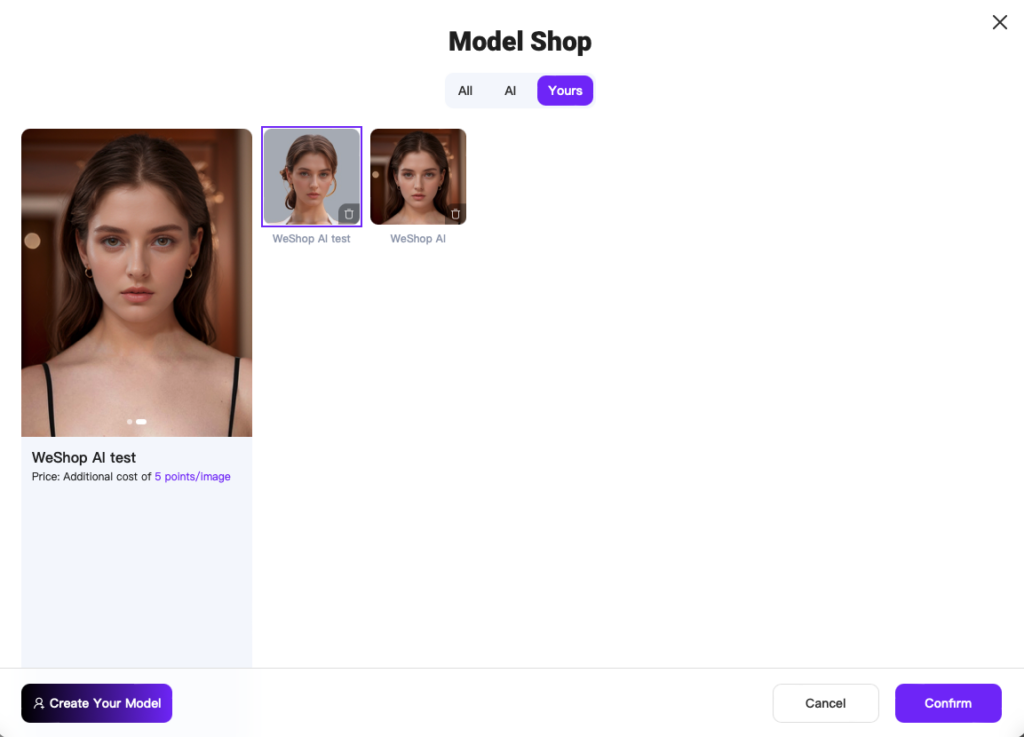
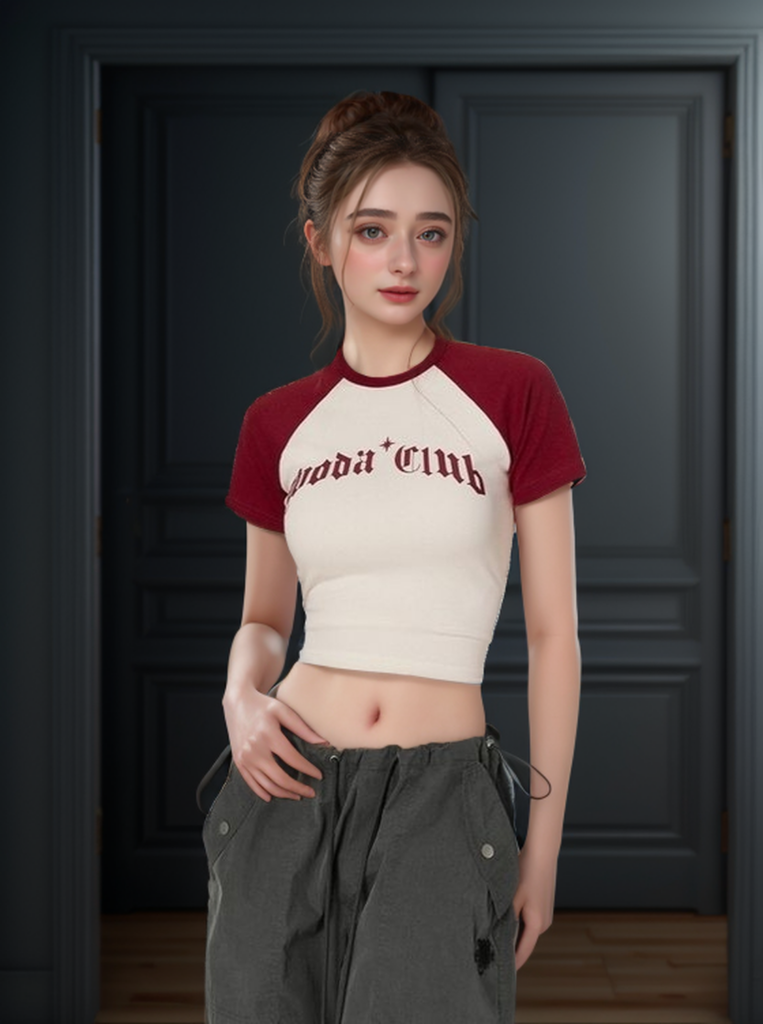
Let me show you an example of a consistent model, Camille, who carries a sweet and lolita style. Her generated images are as below:


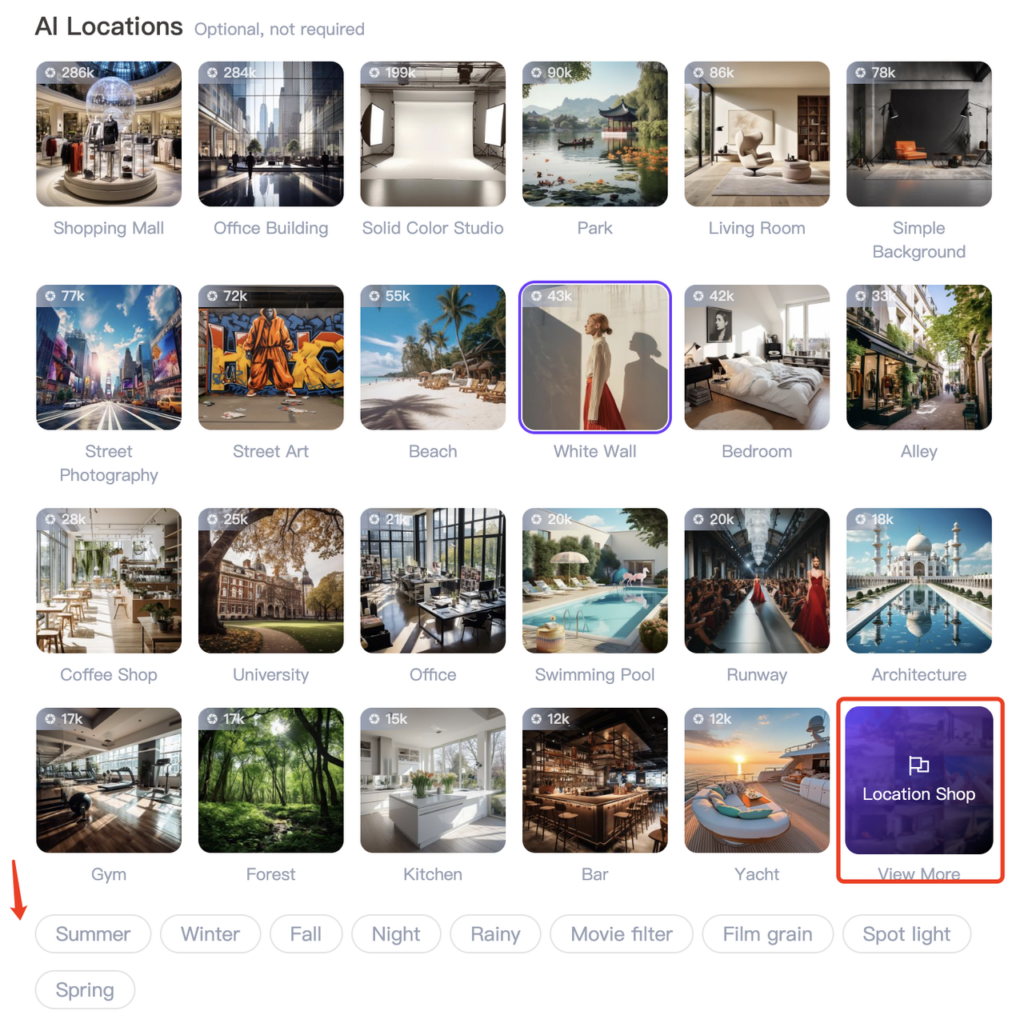
Step 4: Select Location
Finally, we can proceed to select the AI location.
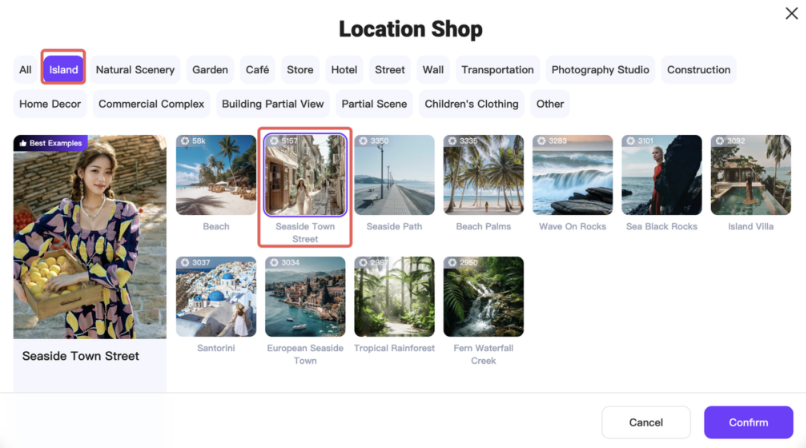
- Click on the location shop to browse all locations. The location shop features quick templates created based on the latest trends in e-commerce photography. Simply click to select and generate highly realistic commercial photography scenes.
- For example, by selecting the “Island” category, you can explore more secondary scenes related to islands. Best showcases are also displayed next to it to help you better decide scenes that are suitable for your products. After selecting a scene, you can also check the tags below to supplement, such as: weather, season, filter, etc. Generate your ideal style picture.


Step 5: Prompt Description (Optional)
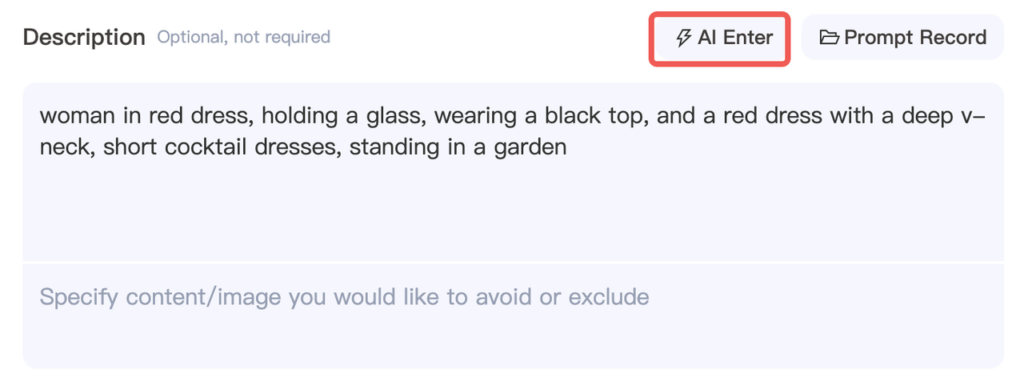
After selecting your desired location, you can choose to describe your image:
- Description: Please describe the content you wish to generate. This can be a simple phrase or short sentences. Use commas to separate different descriptive phrases.
- Positive prompt: Use positive language to describe your needs, avoiding negative words. Clear sentence structure and precise descriptions enhance the realism and depth of the generated product scenes. Use ( ) or (( )) to emphasize important parts. Place descriptions you want to emphasize at the beginning for higher priority. If you want a specific style of image, specify the photographic equipment, camera model, and lens. Describe unwanted content directly without using additional words like “not,” “don’t,” or “shouldn’t.” Keep sentences brief; single words are sufficient.
- AI Enter: If unsure how to describe accurately, click AI Enter. We’ll identify and automatically write based on your uploaded image. After autofill, you can continue adding necessary descriptive words. If you’ve previously generated images, click Prompt Records to review past prompts.
- Note that tags you select, the quick template, and your prompt will combine. Therefore, carefully consider the image style you want to generate to avoid confusion.
(Note: We support prompts in all languages, but each paragraph must be in the same language.)
Step 6: Generate
- By clicking the “Settings” button next to “Generate,” you can choose between two modes: Free Creation and Refer to the Original Image.

- In Refer to the Original image: AI will generate images based on the original background and style. You can also adjust the number of images to generate.
- In Free Creation: AI will generate images independently and freely, without considering the original background or style.
Let me show you the difference between Free Creation and Refer to the Original image. Please take a look at the example below: Location is【European seaside town】


Please note❗️: Different number of images will consume different amounts of computing points.
Step 7: Confirm Images
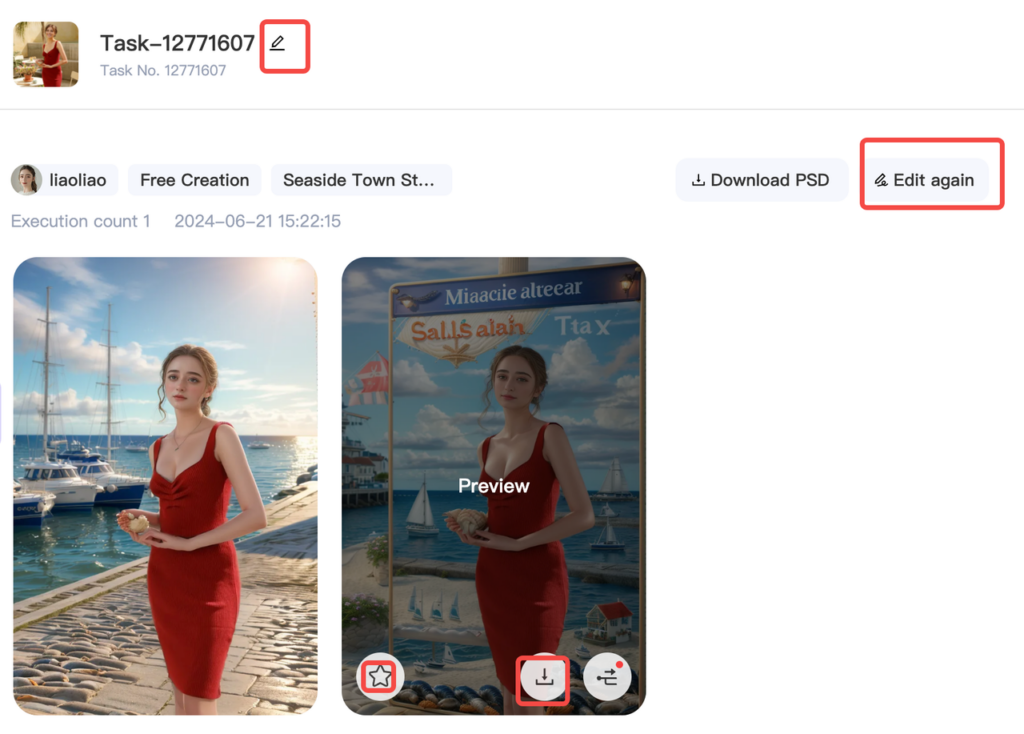
- Once the AI-generated image is complete, you can click to preview the image and choose to download full-size Image or 4K Image. The task name can be modified for future reference. If you need to change the AI model or scene, simply click “Edit Again.”
Please note❗️: Download and full-size image preview require are only available for Pro users.
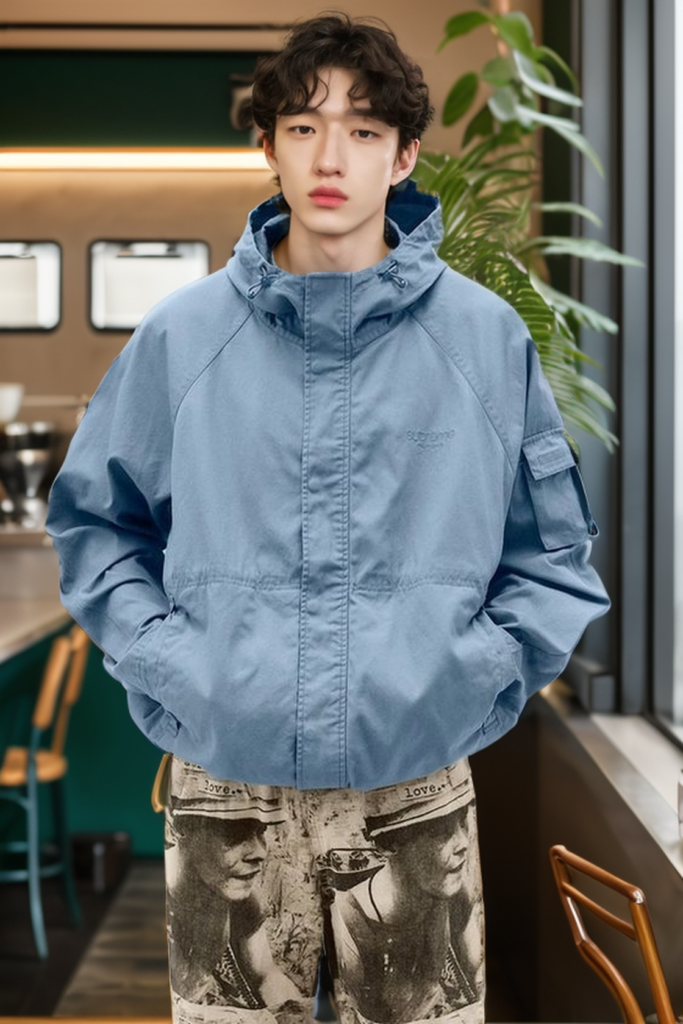
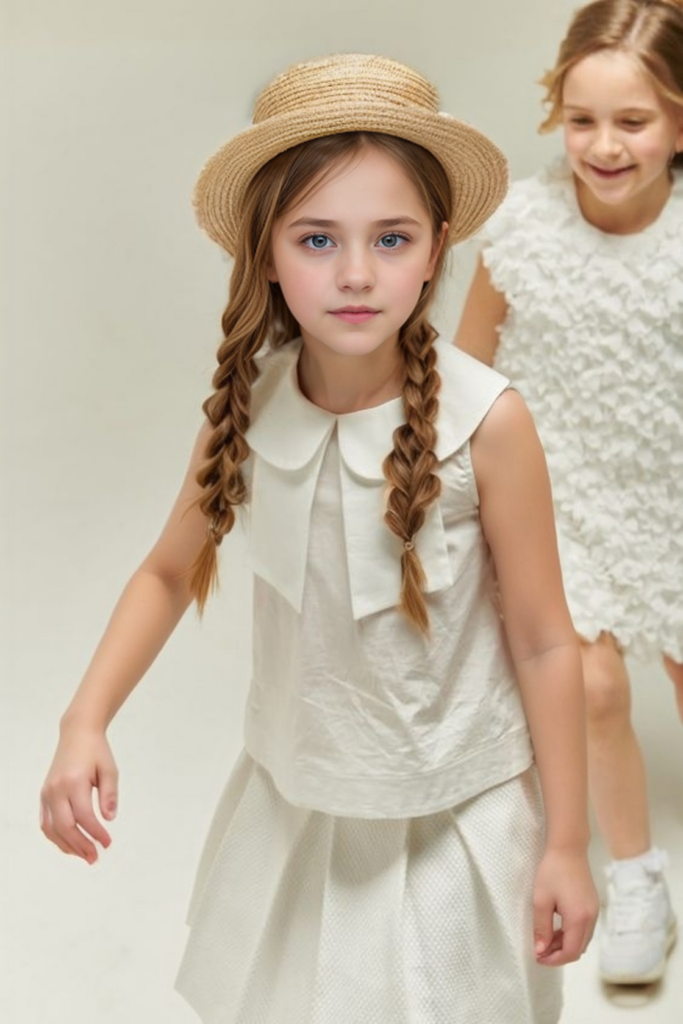
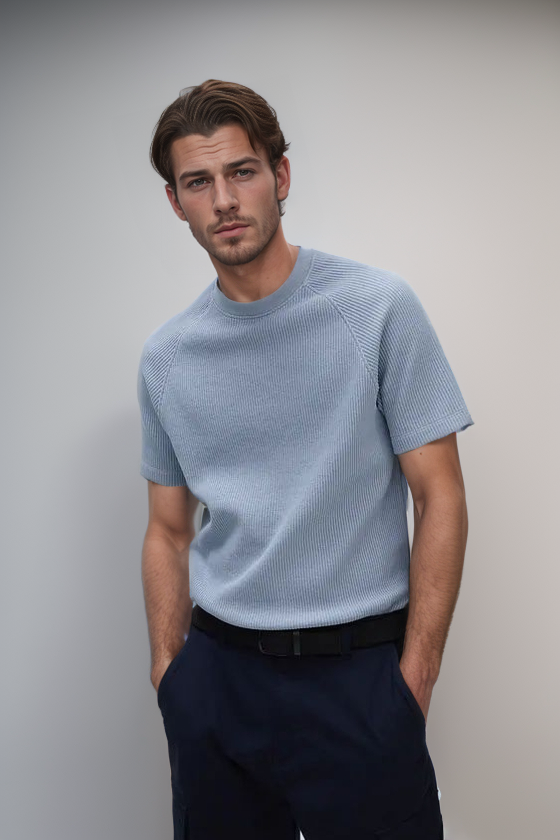
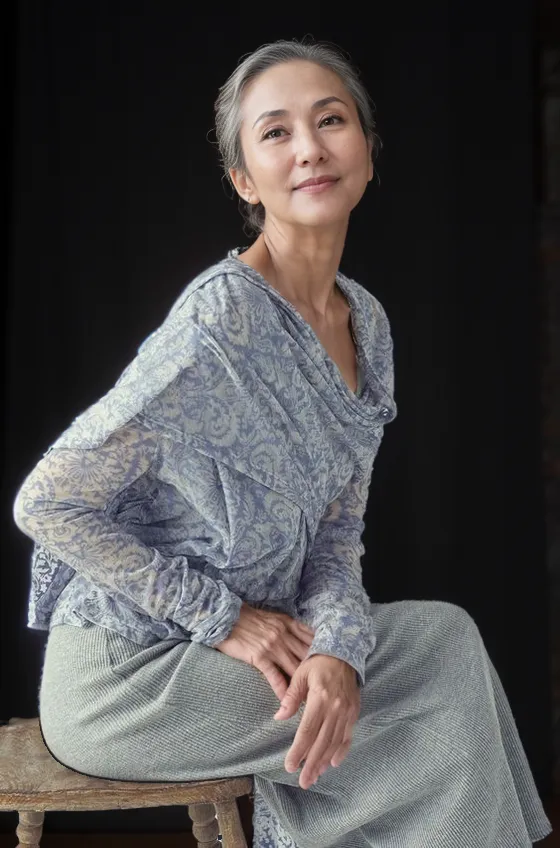
- More examples to discover:







3.2) AI Product
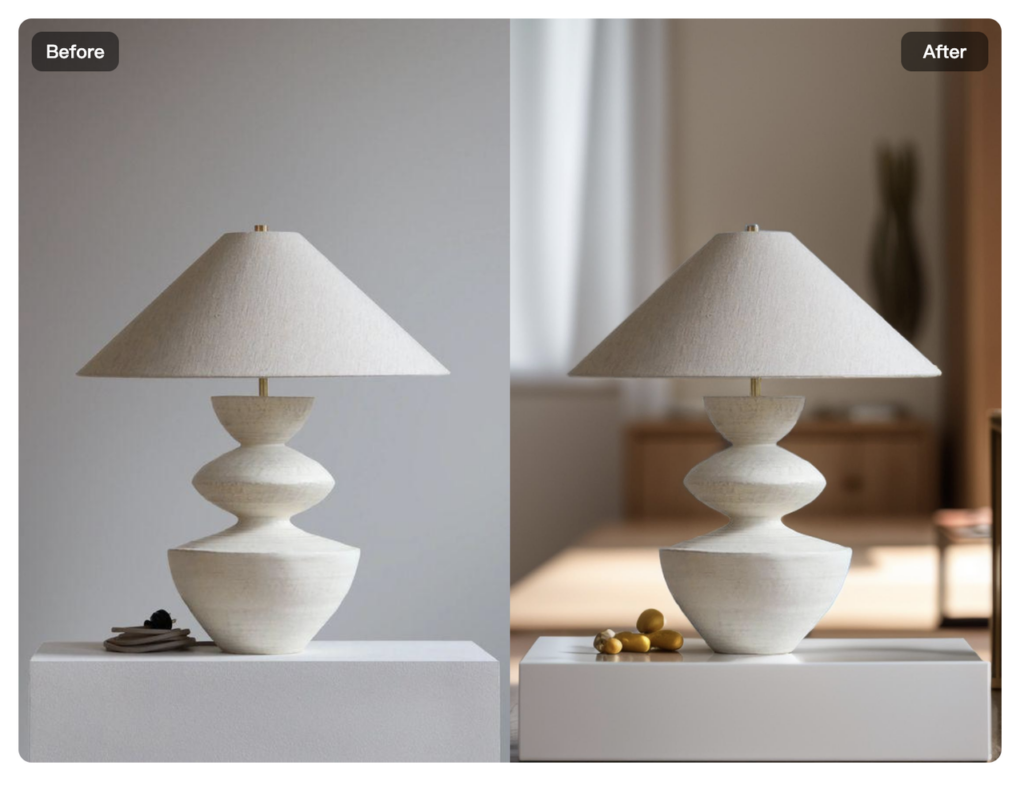
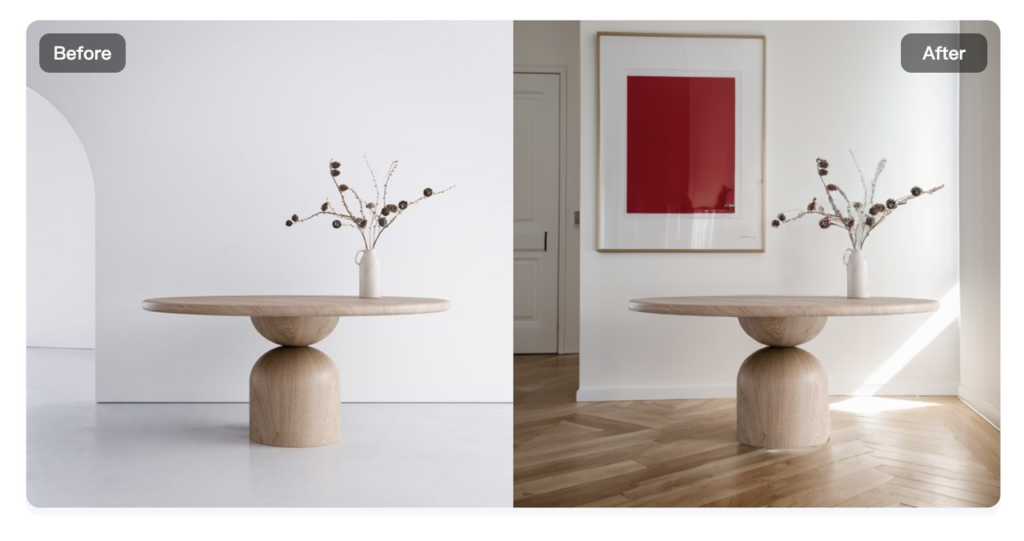
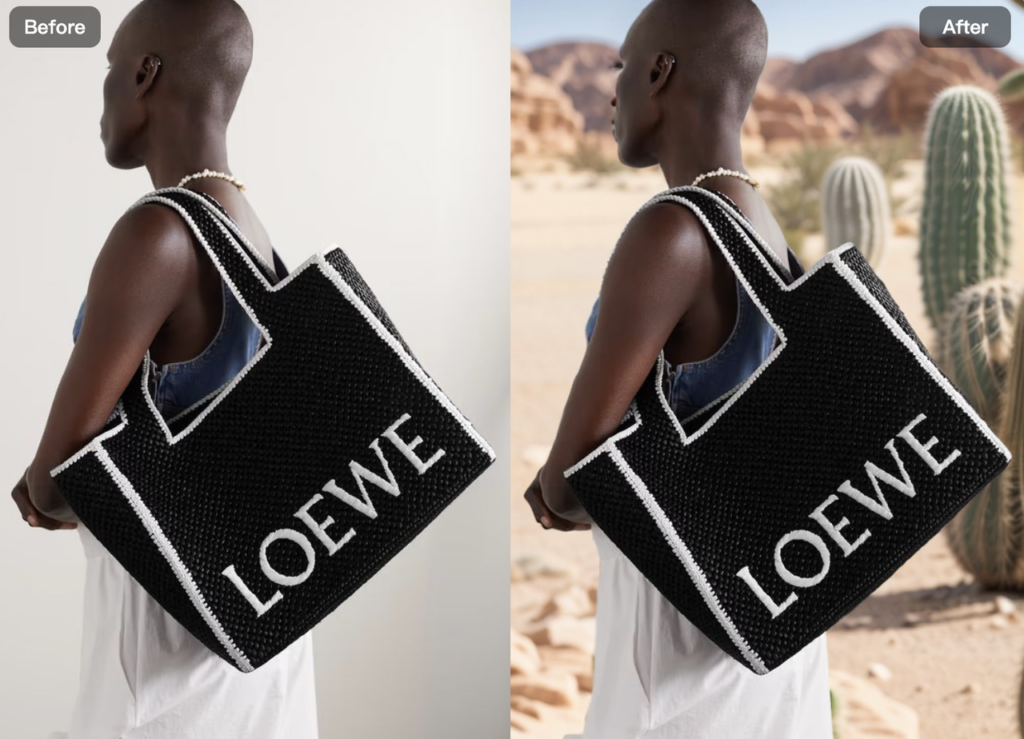
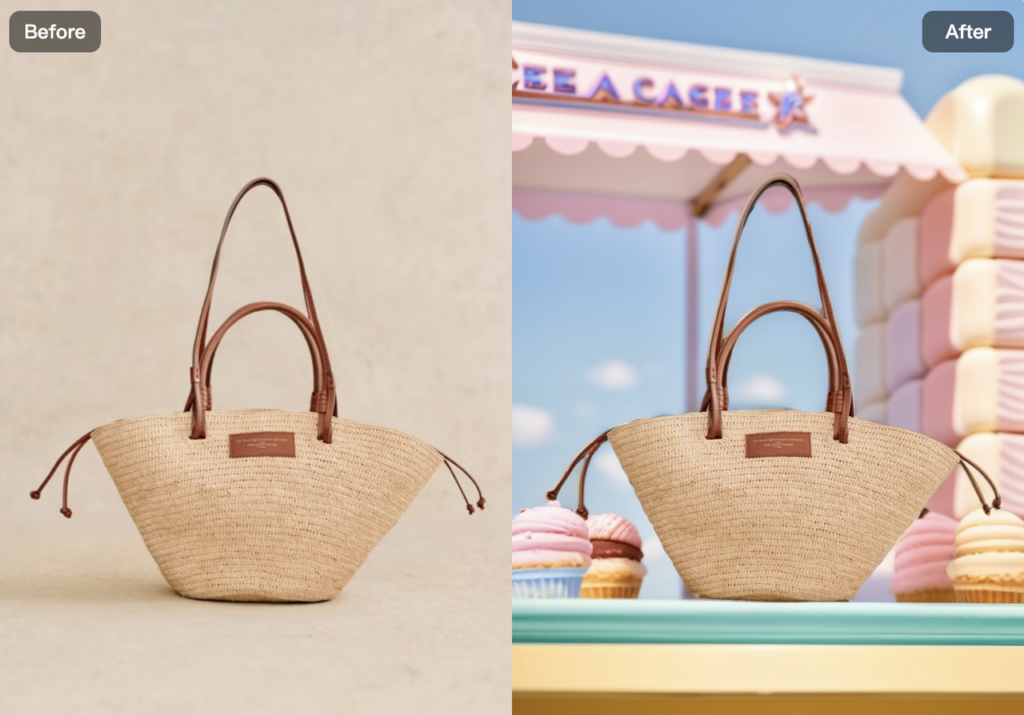
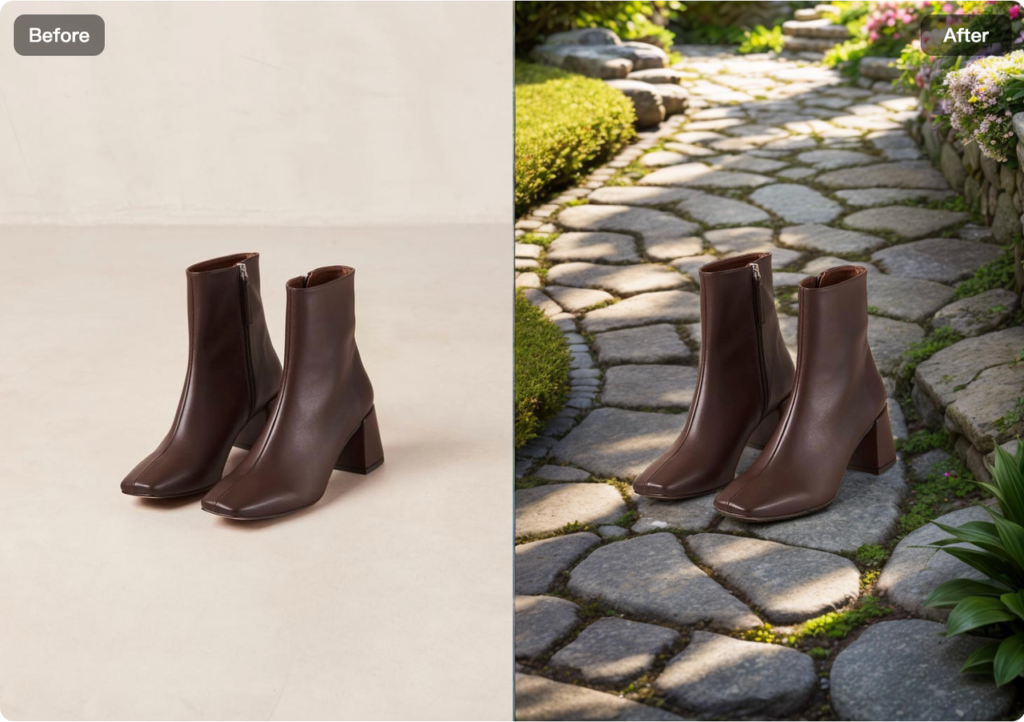
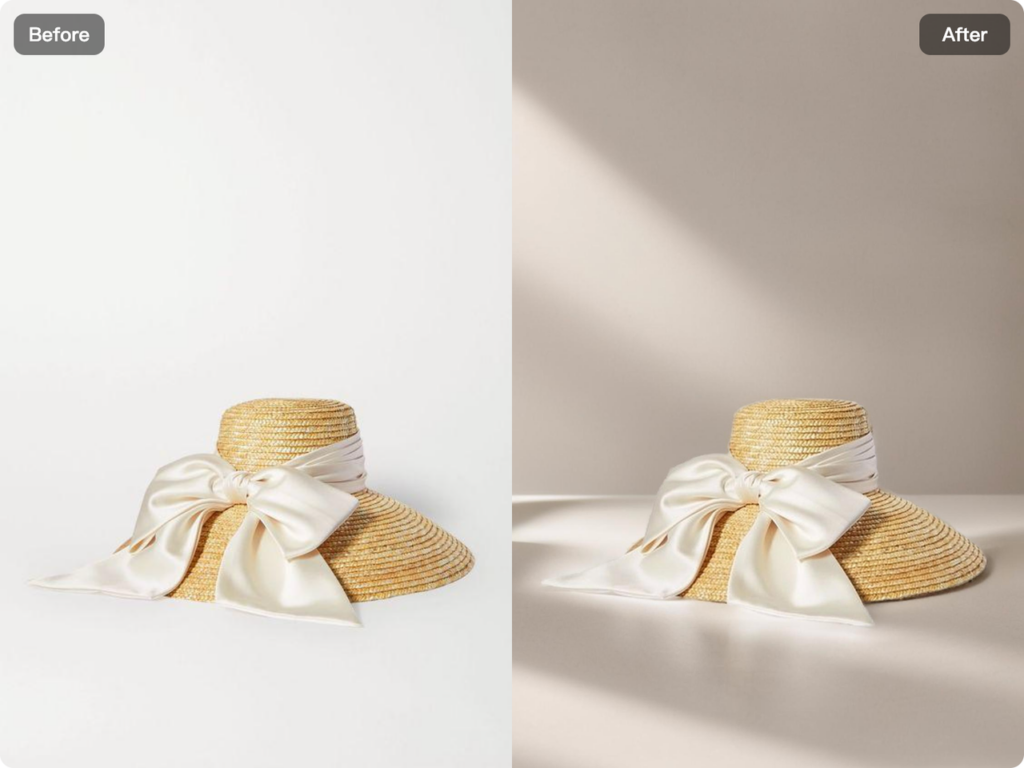
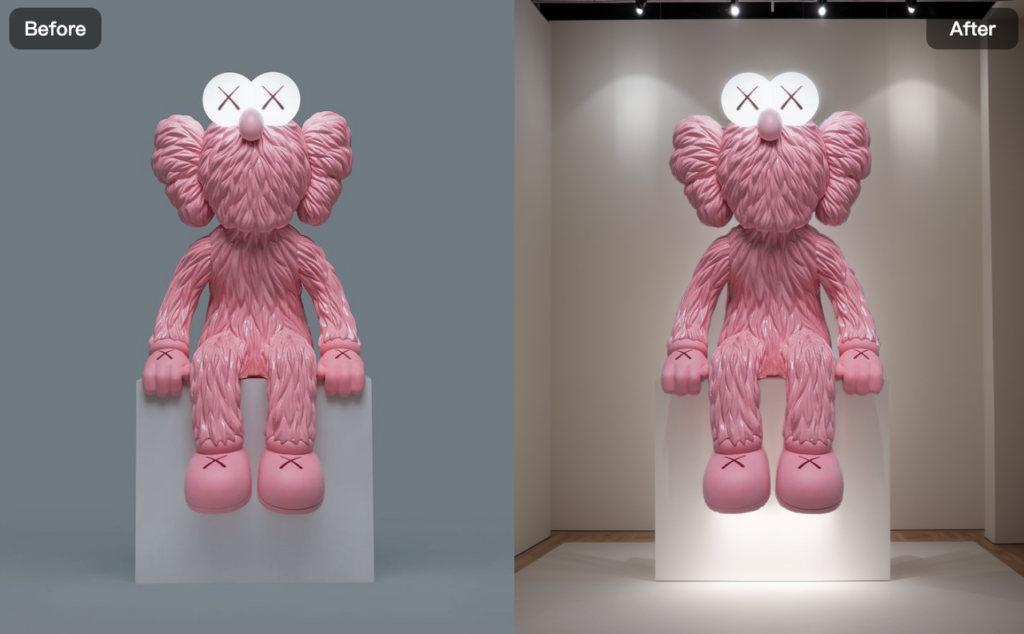
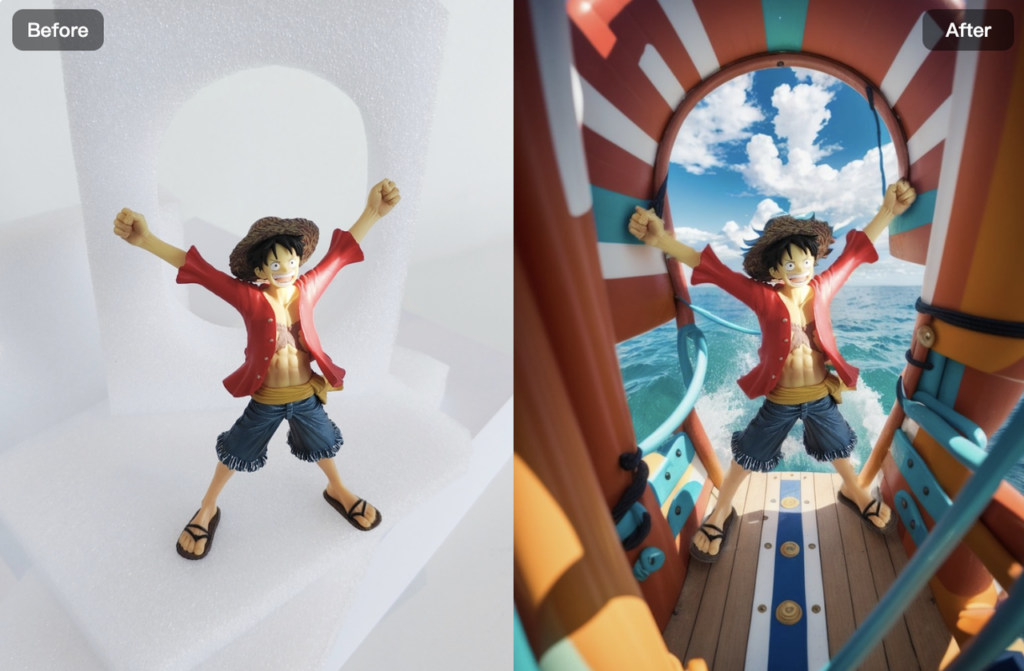
Create stunning product images with few clicks from anywhere. Easily generate product images with professional commercial photography effects. Whether it’s home decor, cosmetics, trendy toys, bags, or shoes and accessories, AI product can create realistic product scene images. For detailed operating procedures, refer to the above and AI Product tutorials.
AI Product Generated Image Examples:
- Household products
- Bags
- Shoes, Accessories
- Toys
3.3) AI Tools
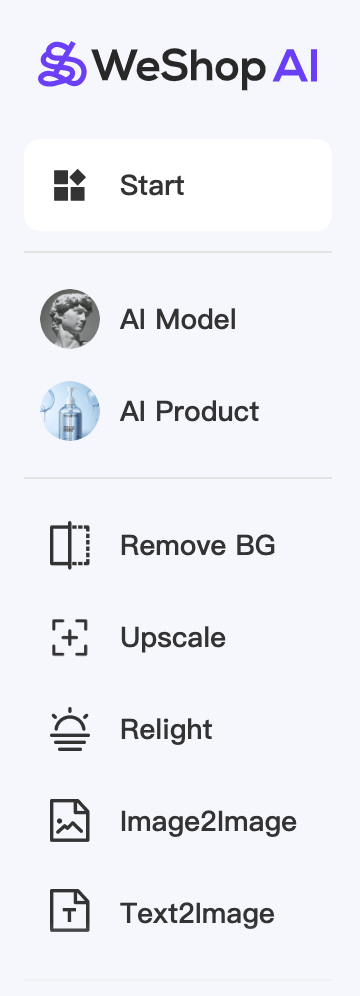
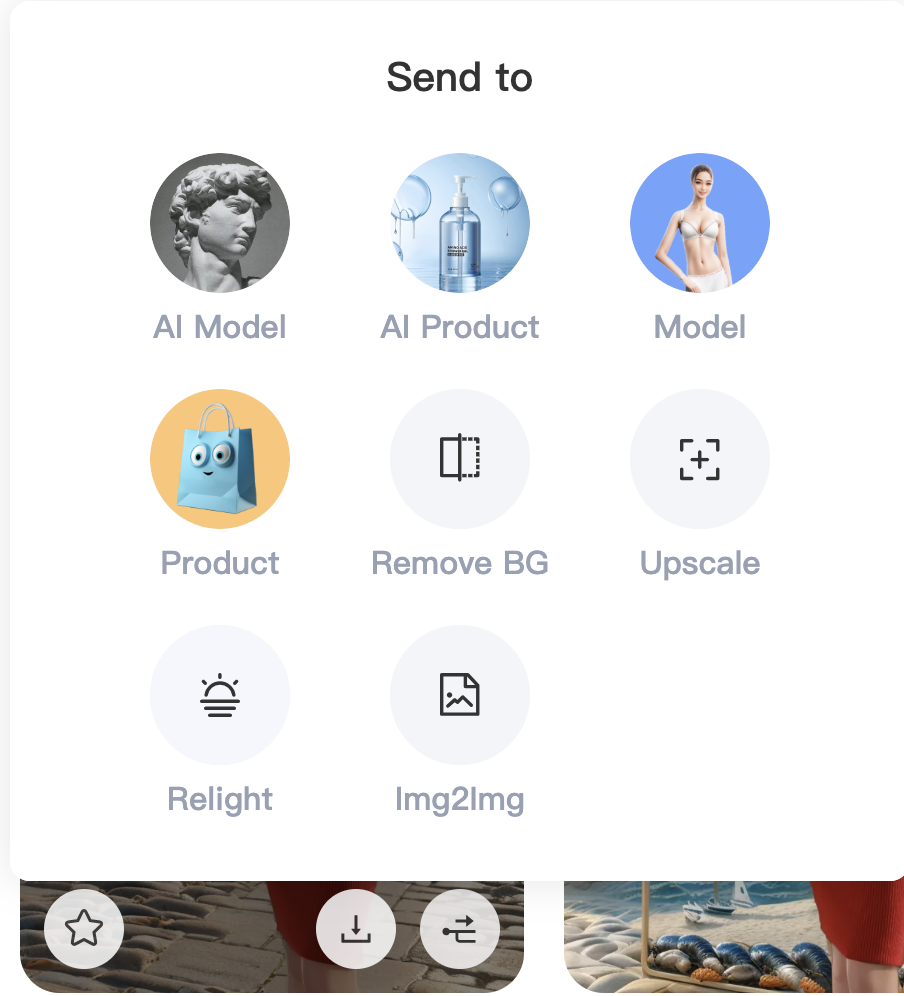
In addition to AI Model and AI Product mentioned above, we provide additional tools: Remove background, Upscale, Relight, image-to-image generation, and text-to-image generation. You can access each specific tool workspace through the left sidebar, or you can access thru clicking the option next to the download button when previewing images generated by AI Model and AI Product.
3.3.1) Remove BG
Remove backgrounds is ideal for brand merchants or cross-border e-commerce sellers who need white or solid color backgrounds.
- Enter the workspace and upload the original image. WeShop will automatically perform “auto subject segmentation” on the image.
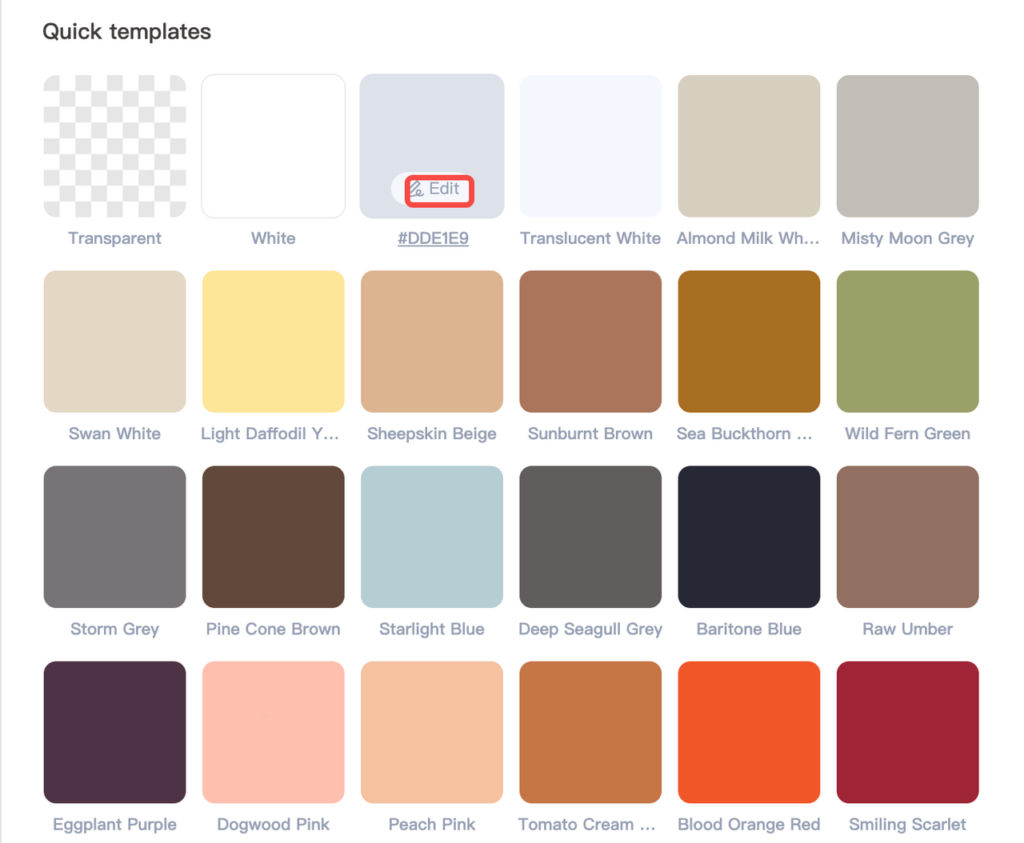
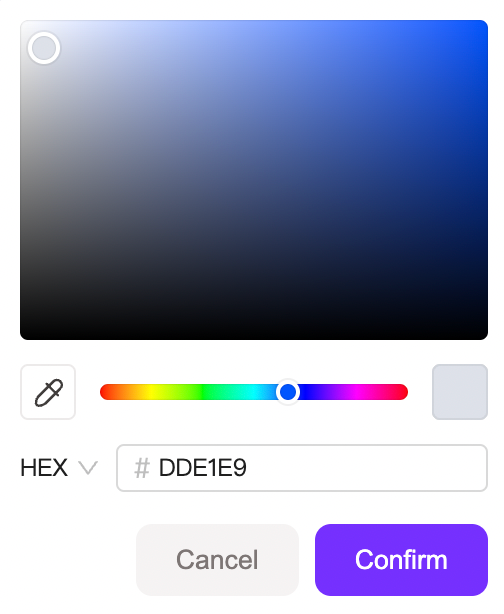
- Solid Color Background: You can choose to change the background color or click “Edit Color” to enter the hex code of the color you want in the pop-up dialog box, or select it by sliding the color picker. The built-in background colors are all standard across major cross-border platforms, aiding merchants in precise selection. Additionally, we keep up with market trends and offer the latest popular background colors, referencing Pantone’s trending colors.
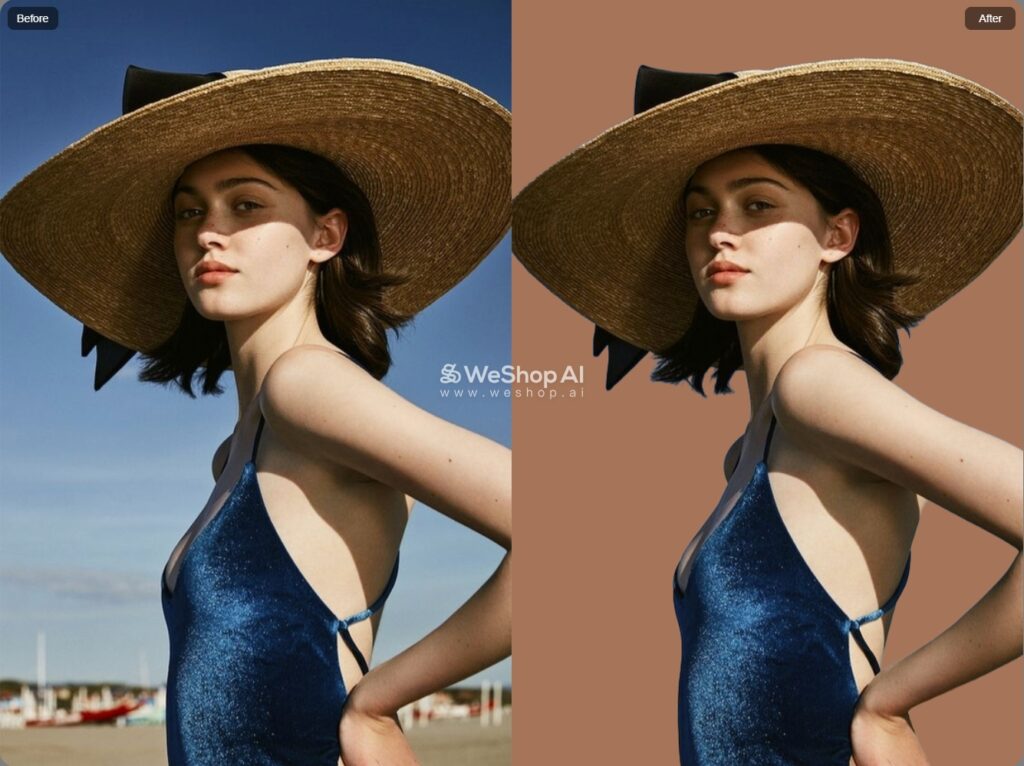
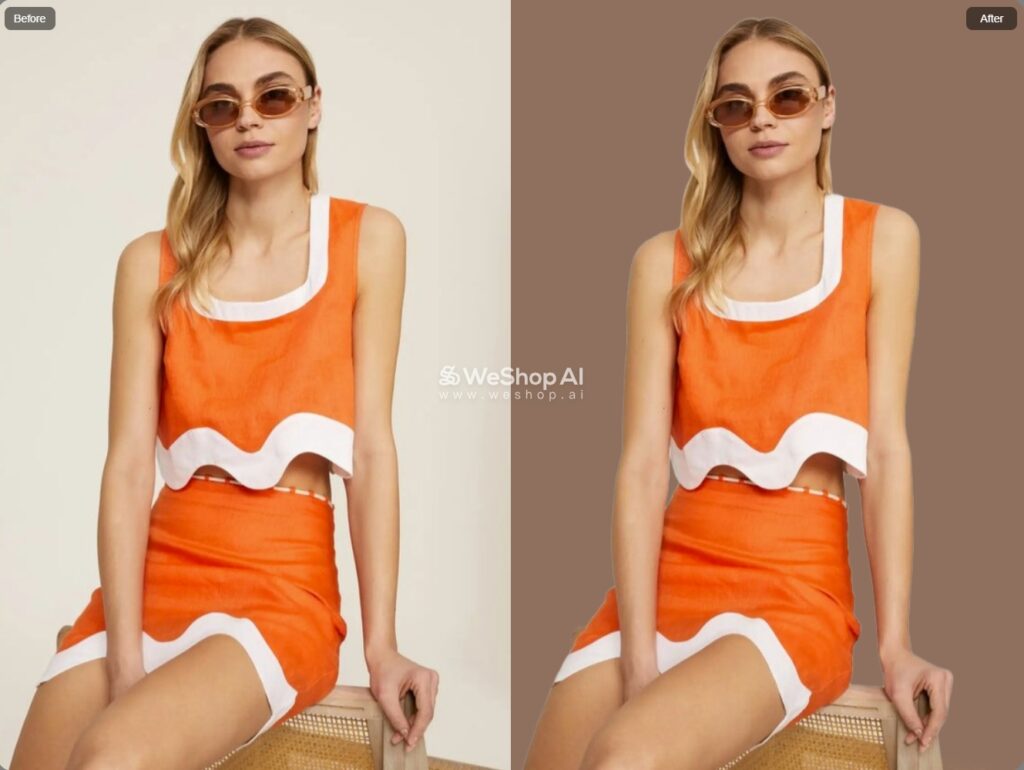
- 【White Background】: We can quickly convert complex backgrounds into a white background for you. The white background images we provide use the standard color code for Amazon product detail pages, ensuring your products are displayed in the simplest and most professional environment.
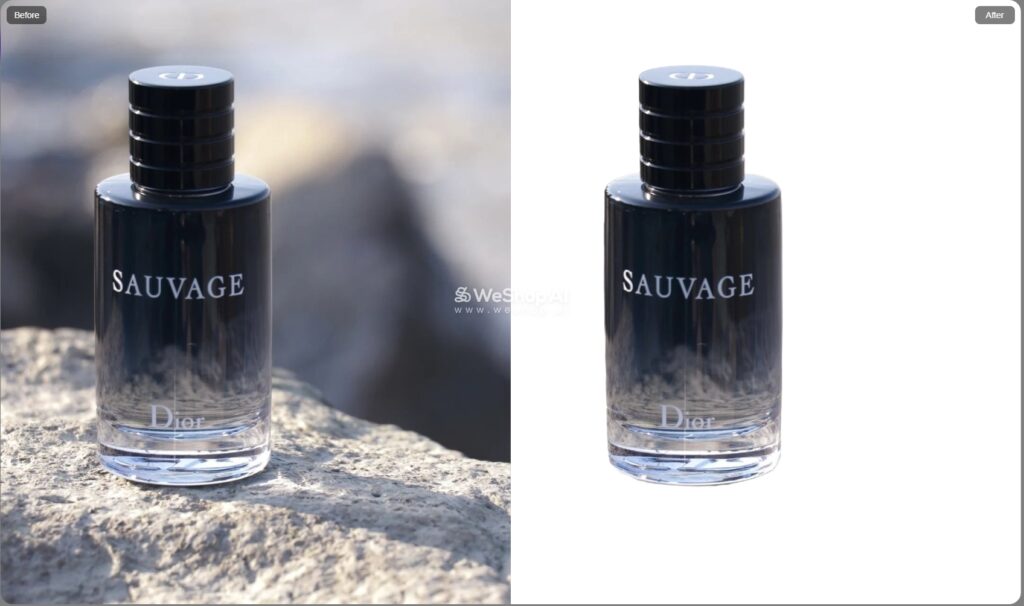
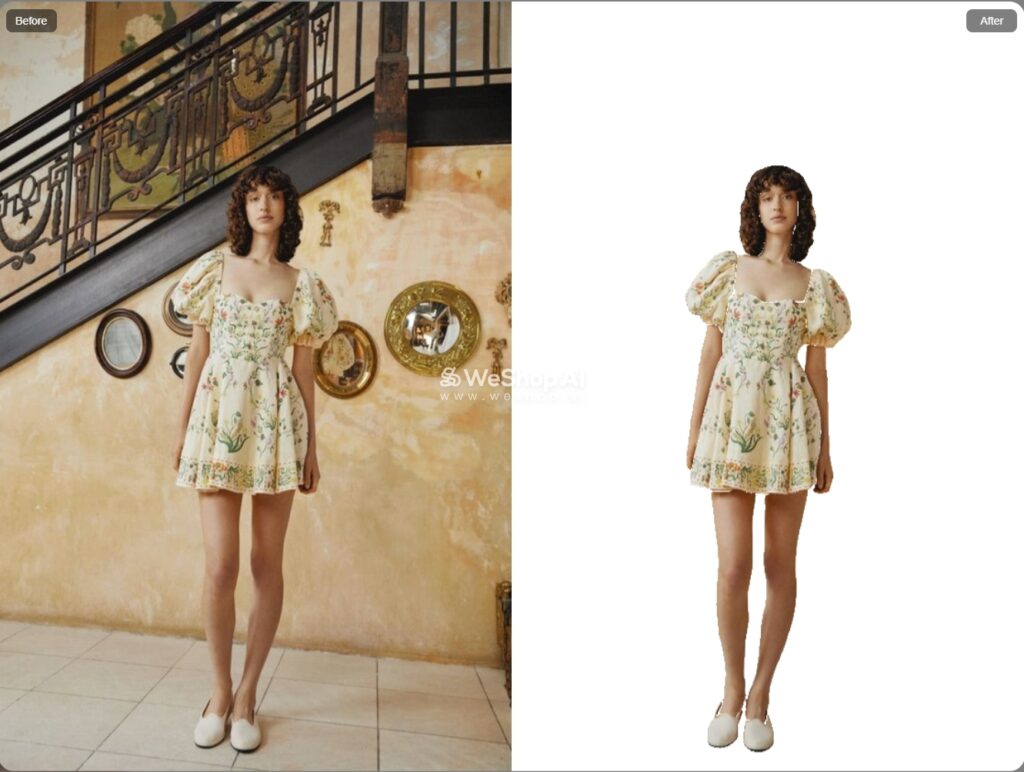
- 【Transparent Background】: Transparent background images can effectively help merchants achieving professional-grade background removal effects.
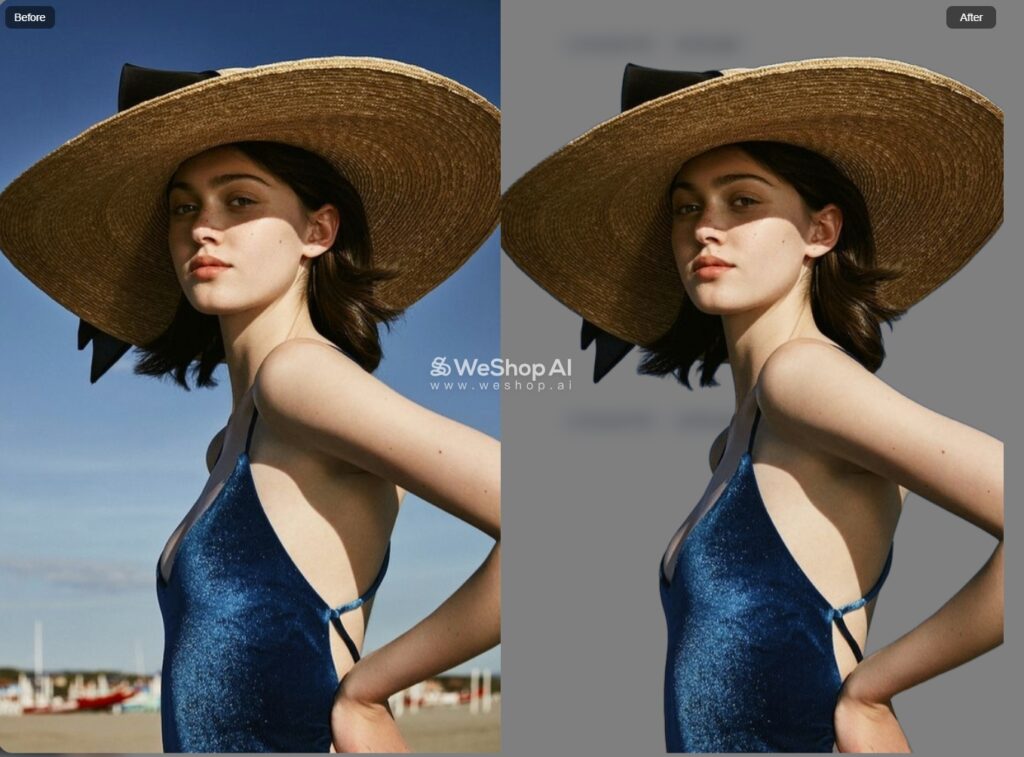
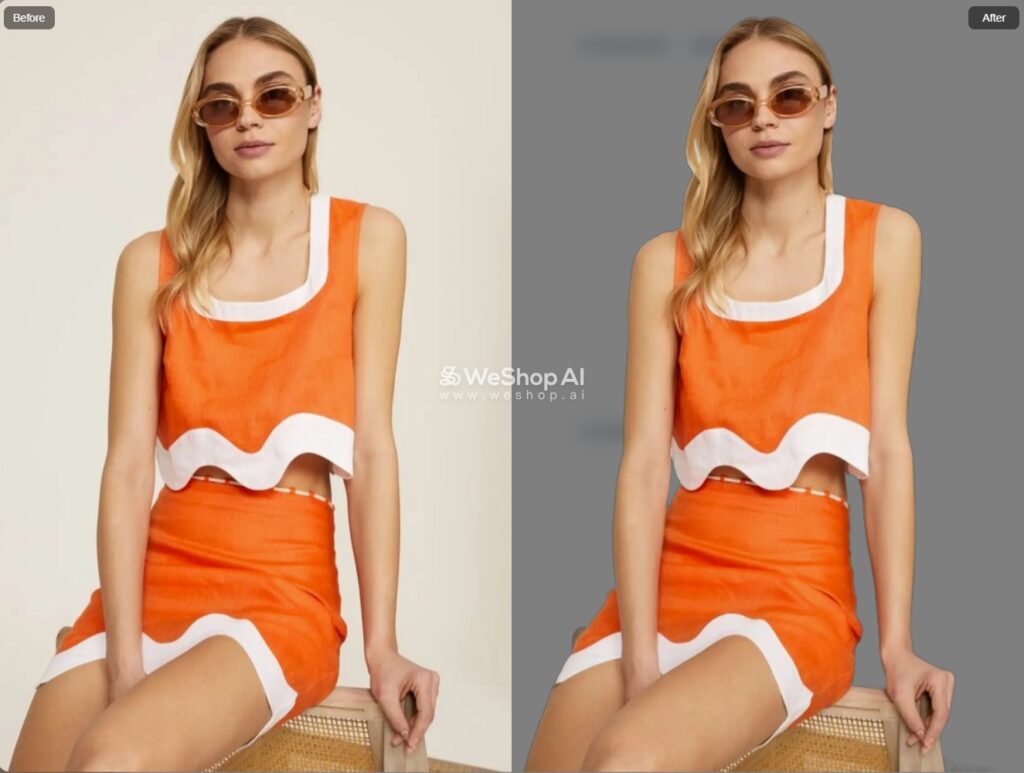
Background Removal version 2.0: The generated images will now retain the same dimensions as the original images, no longer scaling to 1024 size. Additionally, only one image will be generated at a time, which only consume 10 points, enhancing the speed of image creation.
3.3.2) Image Enhancer
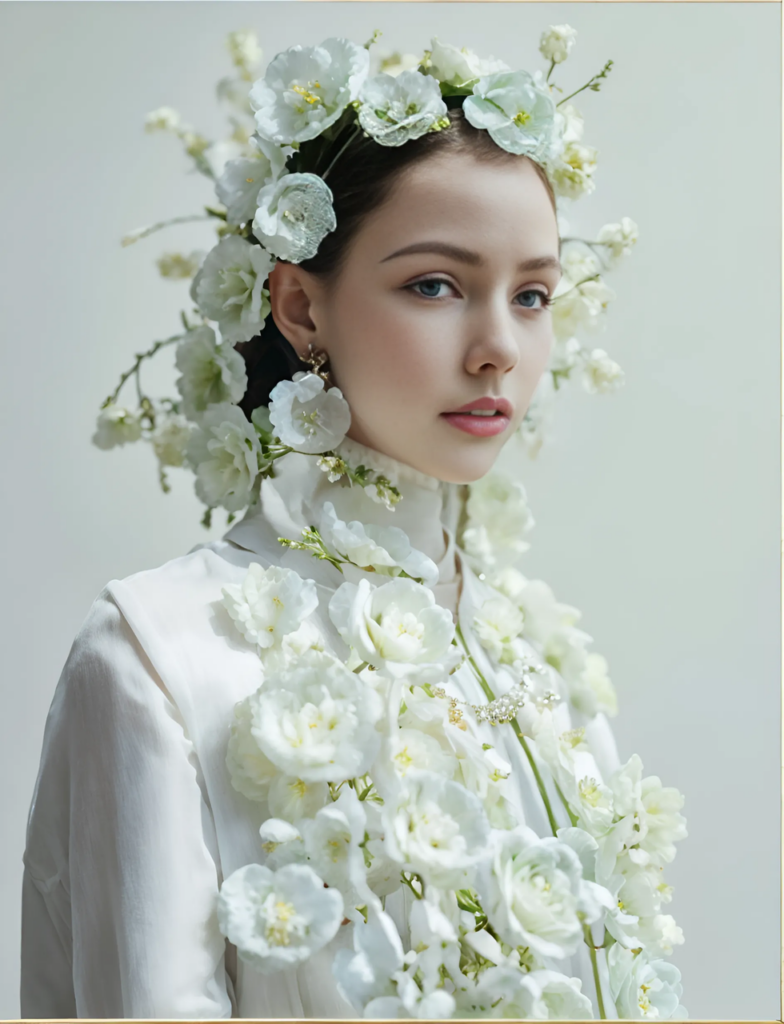
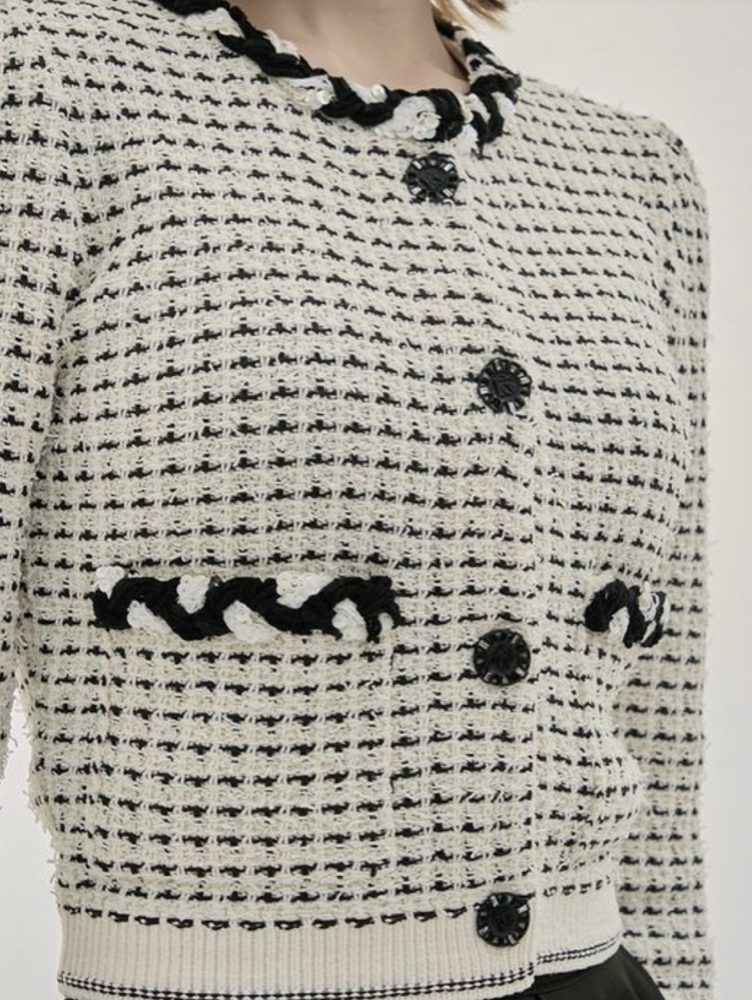
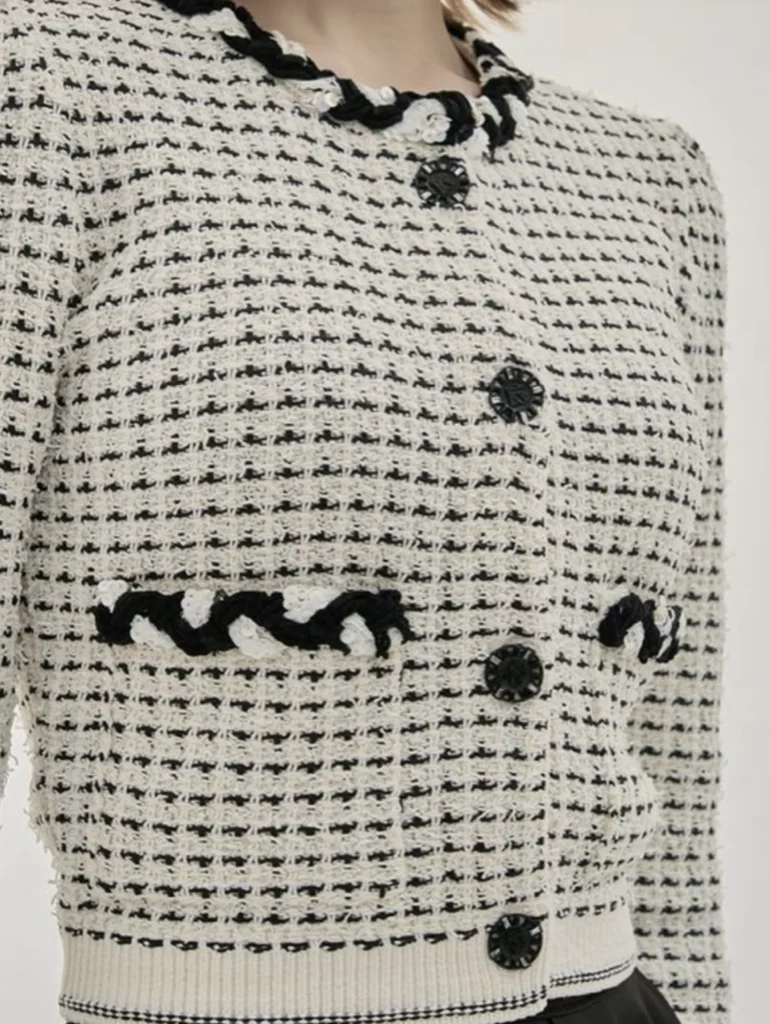
Whether you want to convert blurry images to high-definition, enhance product details (such as accessories and bags), or handle and retain special fabric details (such as sweaters, cashmere, silk, etc.), image enhancer feature will meet your needs.
- Firstly upload your image in Upscale. You can choose between 2x or 4x magnification.
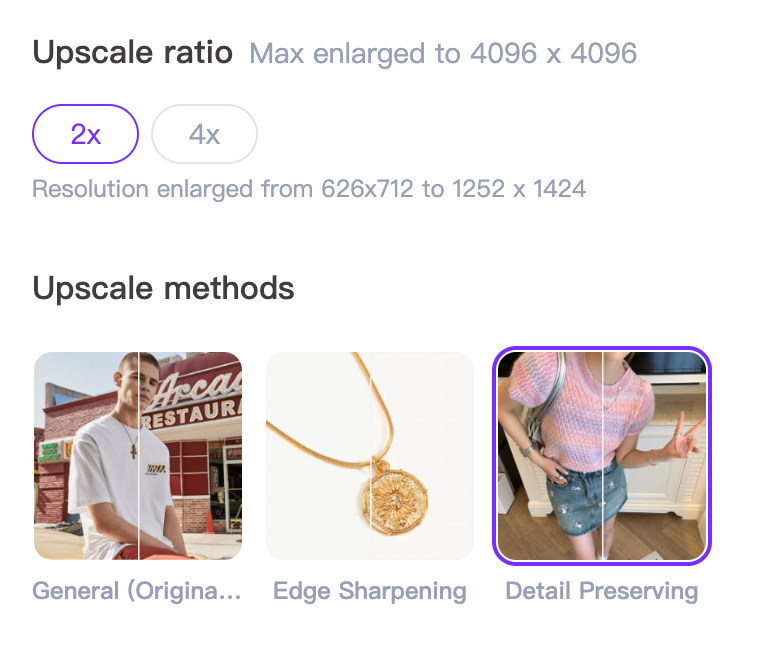
- In the Upuscale methods, you can select General, Edge sharpeningn, or Detail preserving. The “Edge Sharpening” option improves the clarity of image edges, while the “Detail Preservation” option ensures that image details remain unaffected.


3.3.3) Relight
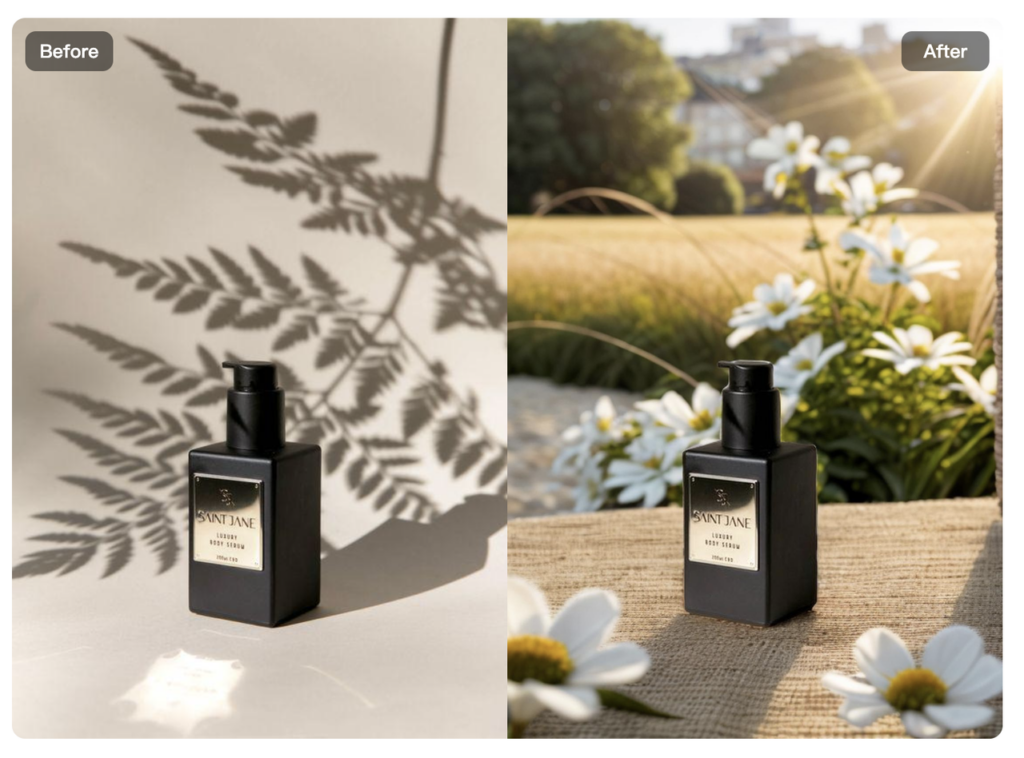
For business owners operating across multiple platforms, “Relight” is a must-have tool. In just a few seconds, effortlessly add lighting and shadow effects to your products, meeting the refined needs of various platforms.
- Upload the original image.
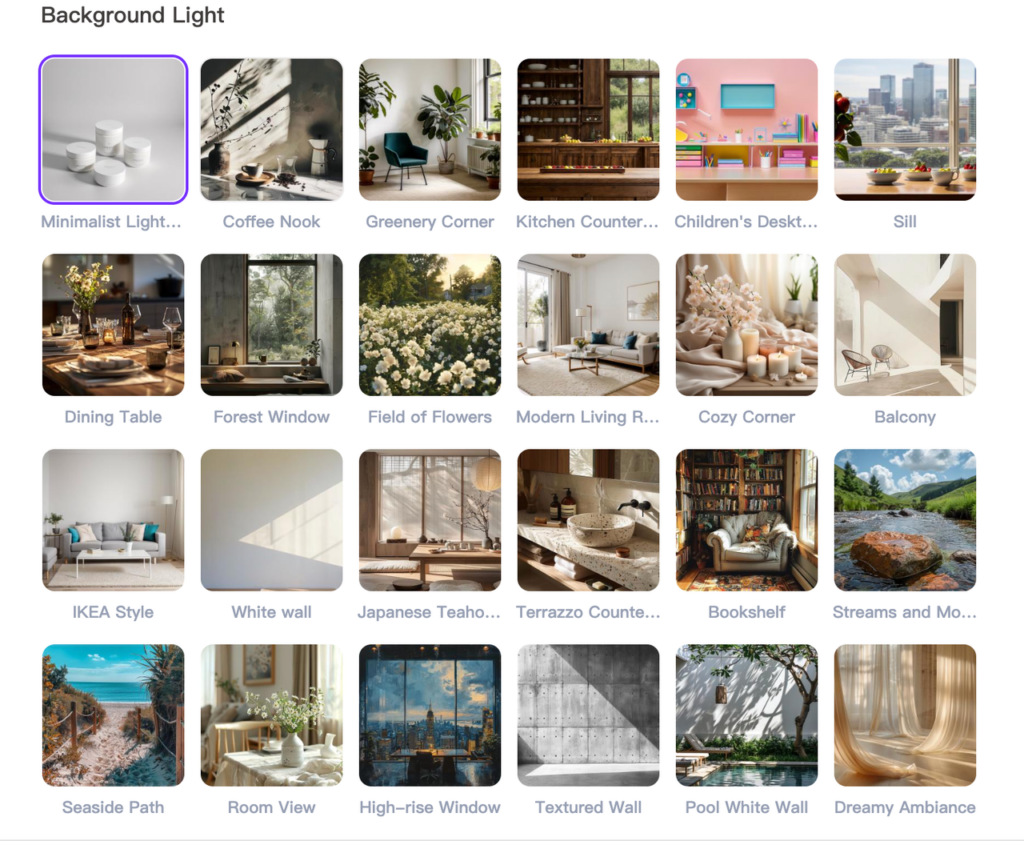
- Choose the desired background light effects. Additionally, you can select different lighting angles below for further customization.
- For detailed guide, refer to the Relight blog

More examples of Relight:
3.3.4) Image-to-image
Image-to-images bring unprecedented changes to creativity and design.
- Upload the original image, and then change parameters accordingly, finally click generate.
- For comprehensive guide, please refer to image-to-image guide.
3.3.5) Text-to-image images
Text becomes a vivid image
- Describe the content of the image you want to generate, and then change parameters accordingly, finally click generate.
- For comprehensive guide, please refer to text-to-image guide.
Please note❗️: The image-to-image and text-to-image tools are recommended primarily for users who are already familiar with AI-based image editing tools. This feature allows you to make complex adjustments to your images, but it requires a certain level of expertise and additional learning to use effectively.
4) Previous Version
Under the AI Tools section, we have retained the old agents including: Mannequin, Model, Product, Toys, and Children. We would recommend to start using AI Model and AI Product since they are our latest version and they will deliver the best results.
5) Saved Photos
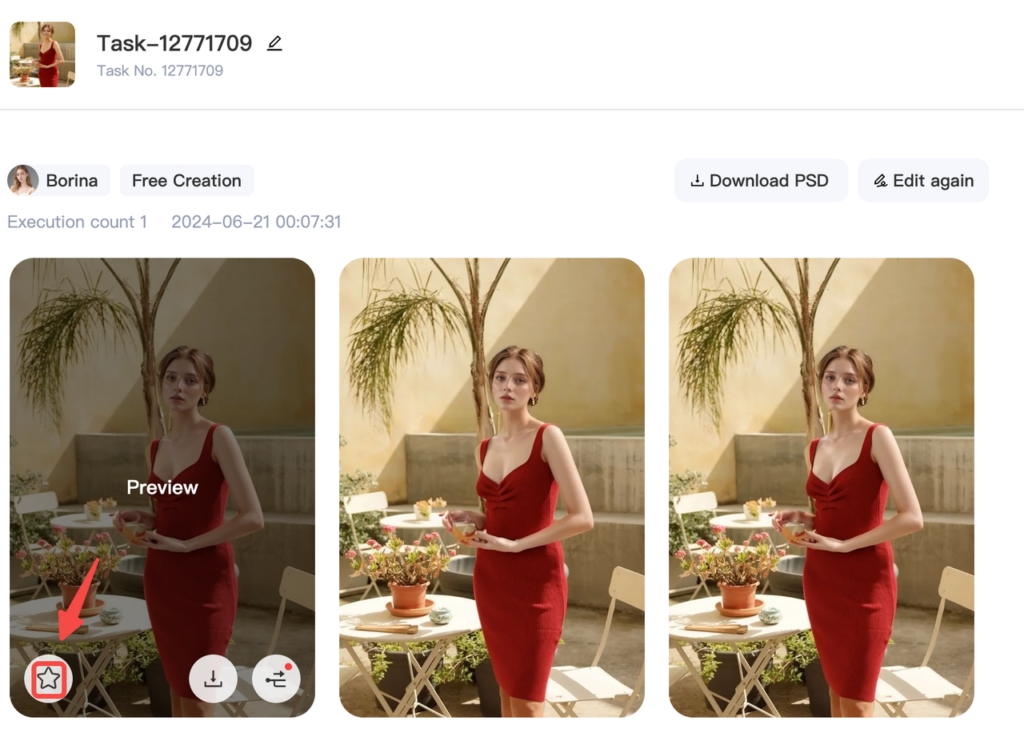
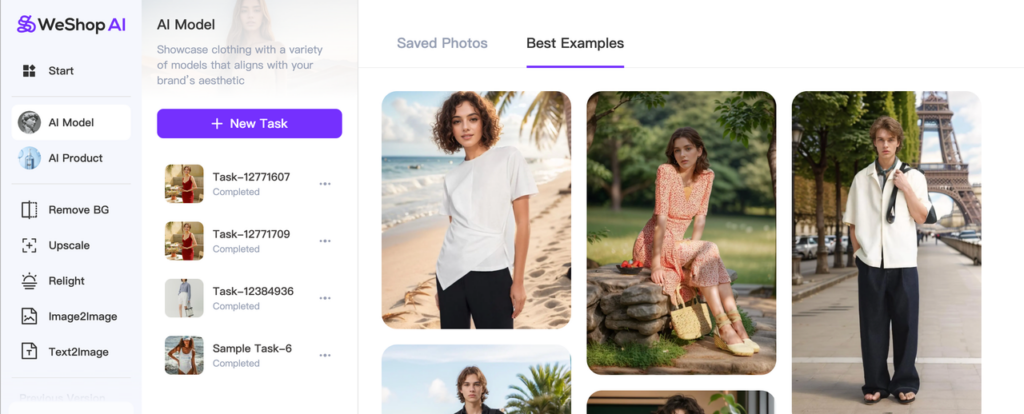
- Mark satisfactory images with the star for easy access. View all starred images under “Saved Photos,” with options to locate tasks, download, and re-edit.
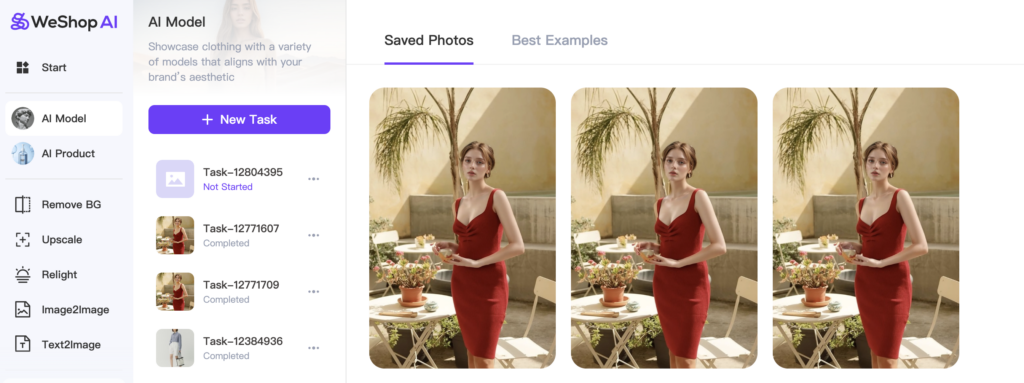
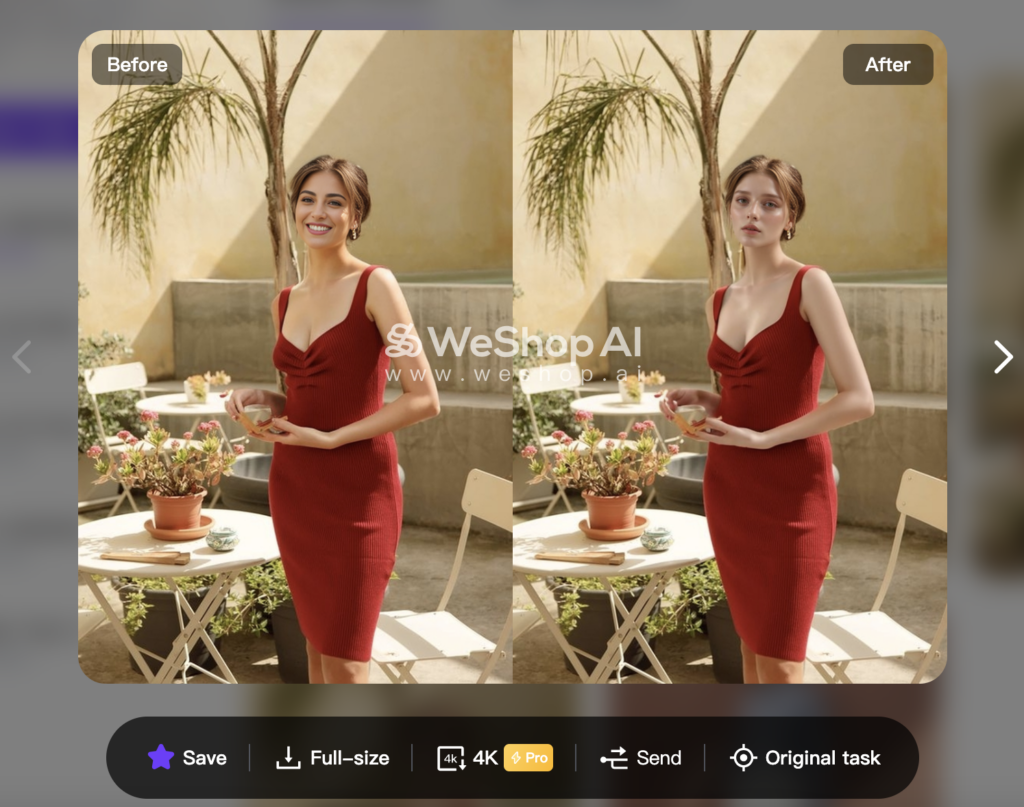
- In “Saved Photos,” after clicking on an image, you can select “Original Task,” which will redirect you to the corresponding task for further editing. You can also download the high-definition image and send it to other workspaces for additional operations.
6) Best Examples
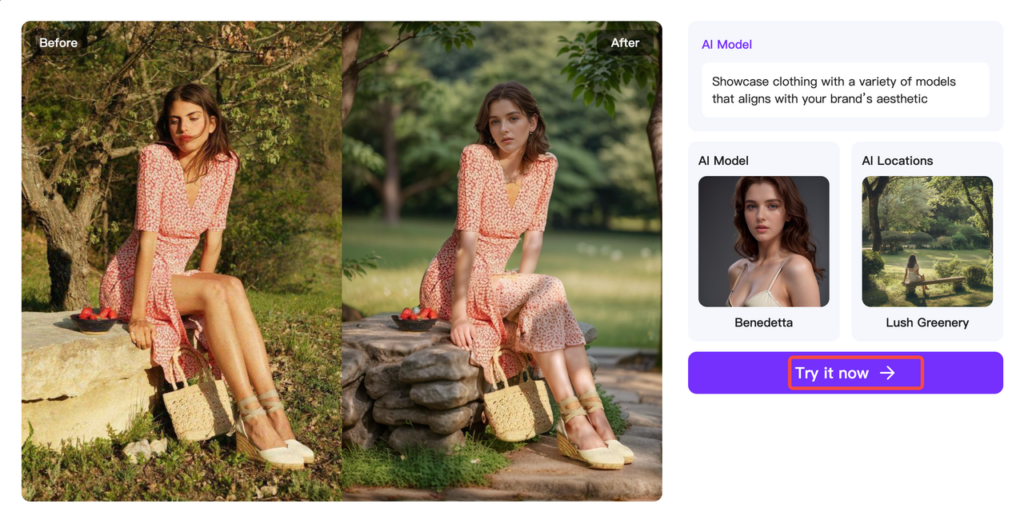
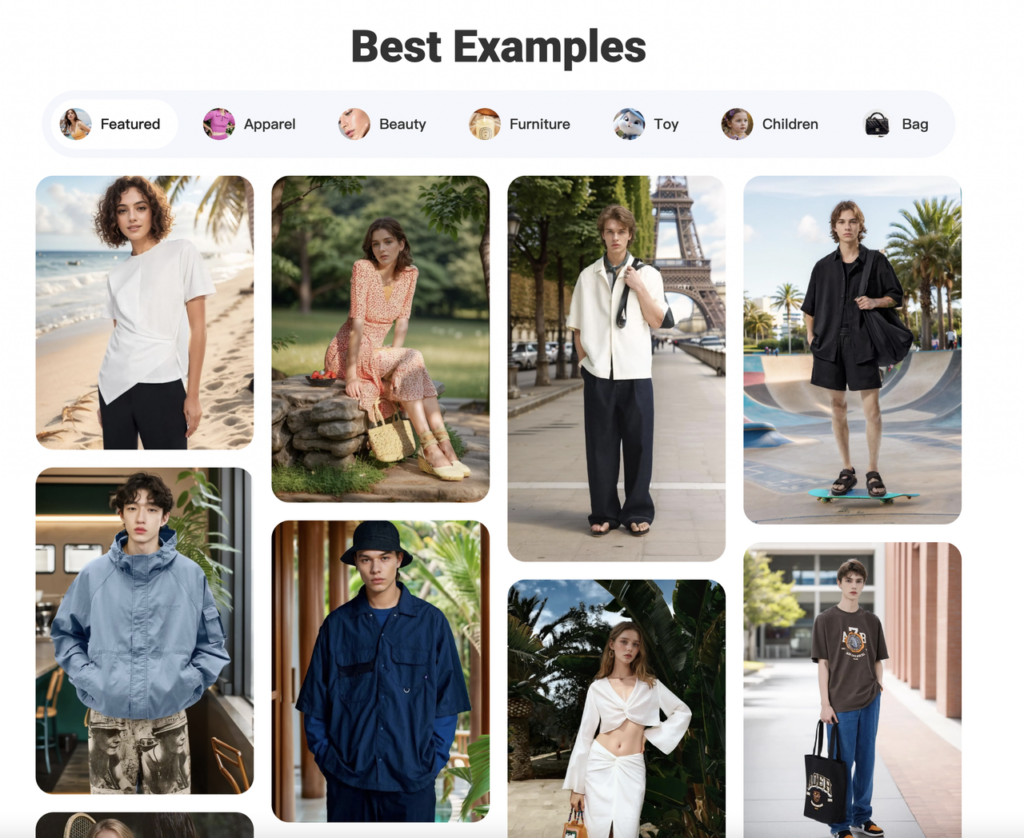
- Each workspace features excellent cases for learning. Click an image to view parameters and replicate results yourself. Excellent cases are also categorized on the homepage.
7) Plans and Pricing
AI Computing Power Points
“AI points” is used for computational tasks and applications related to artificial intelligence (AI). AI Computing Power Points empower users to generate images, render, download, and participate in community activities within WeShop.
- Click on “My Points” to view your current balance. Scroll down to choose a plan that suits your needs.
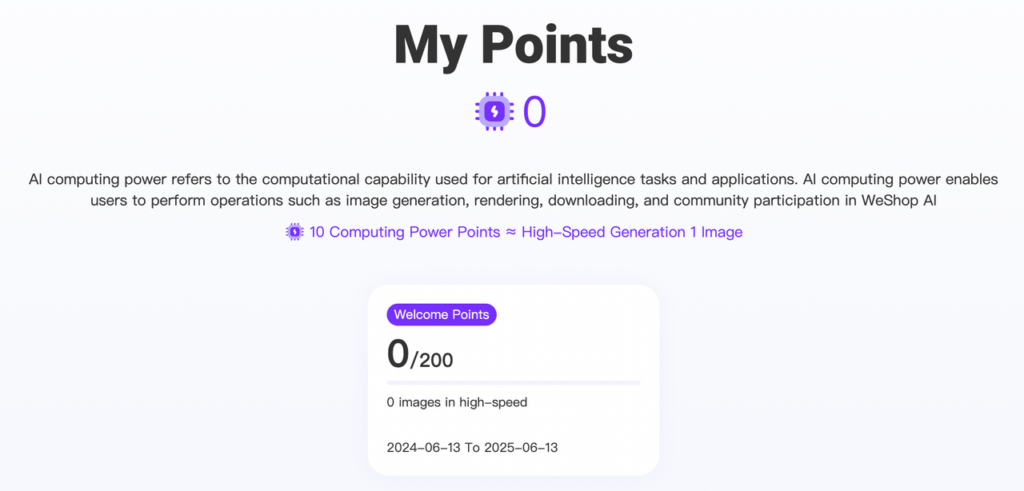
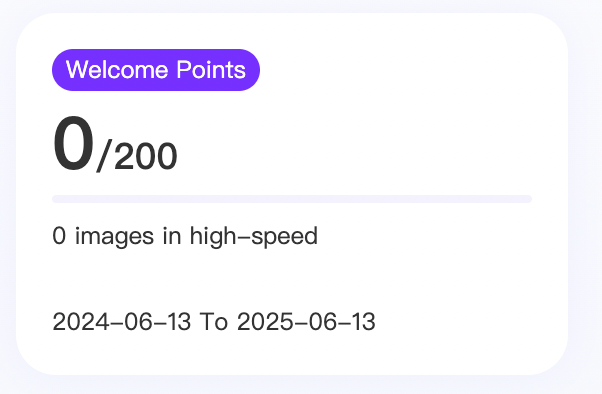
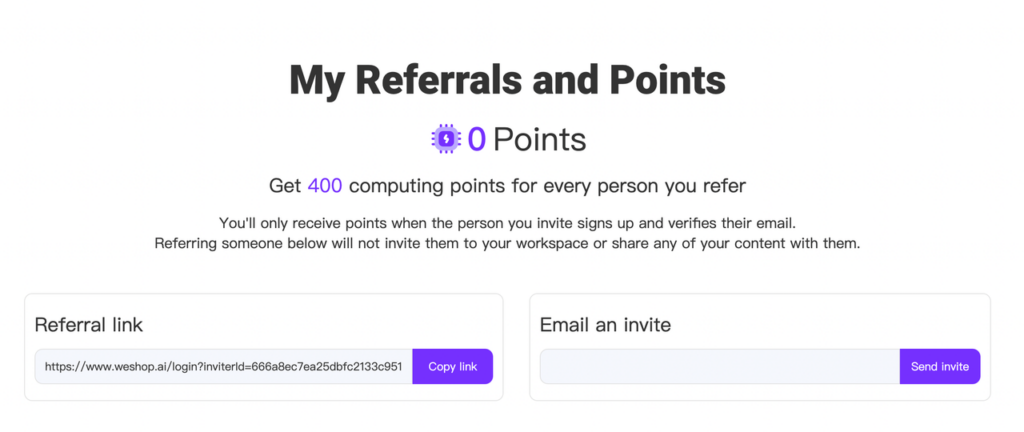
We give out 200 free points for new signups and you could earn free points for referrals.
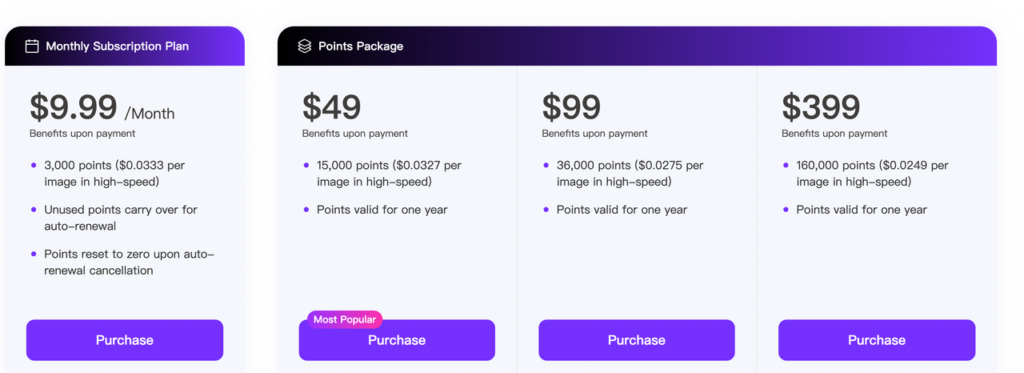
Plans:
- Monthly Subscription Plan: Automatic renewal each month, with any unused points from the previous month carried over to the next month. You could cancel your subscription auto-renewal at any time.
- Annual Packages: Three packages available for purchase as needed, with a validity period of one year.
API Service
We have just rolled out our API service, and users could integrate WeShop API into your business for efficiency. For further details, please refer to our API Doc.

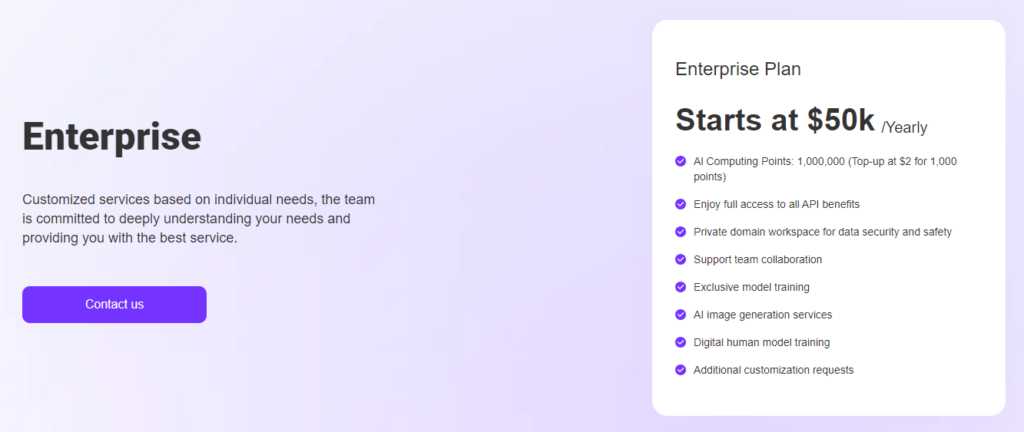
Enterprise Plan
Customized services based on individual needs. We’re committed to deeply understanding your needs and providing you with the best service.
