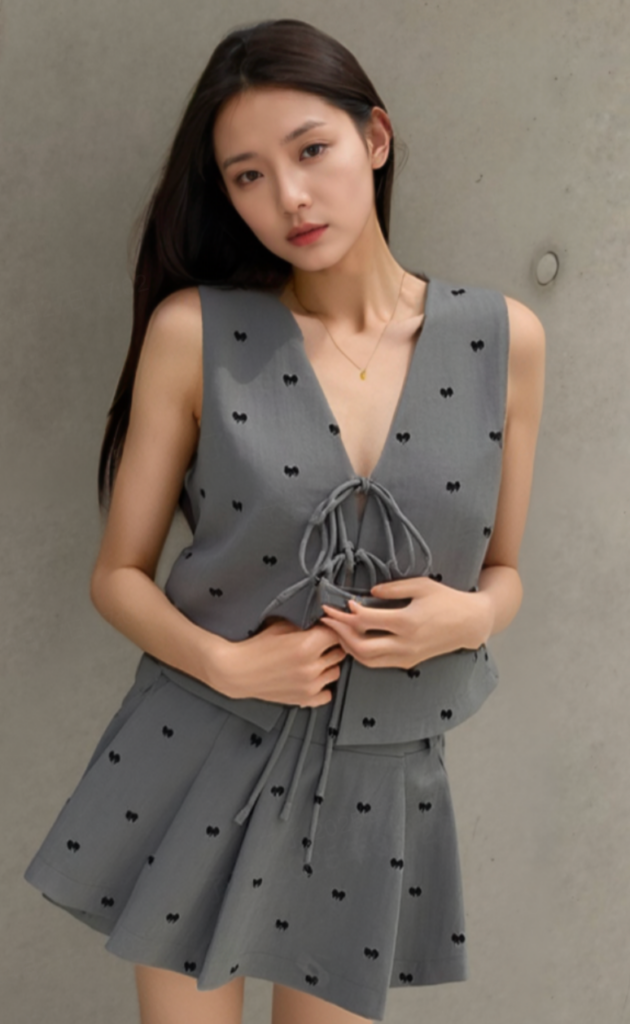
Hey there! We’ve been busy rolling out updates to WeShop AI to enhance your experience. While you might have noticed some major changes, there are also some cool features you may have missed. Today, we’re breaking down all the latest updates and answering your frequently asked questions to help you get the most out of WeShop!
What’s New
Update FAQs
- AI Background 2.0: Custom Background Creator and Replicate
- Batch Image Upload
- Intelligent Mask Selection
- Model Shop & Location Shop
- Send to Other Agents in Workspace
Help & Support
Known Issues & Solutions
- Clean up mannequin and convert to AI Model
- Best Smiling Model Options
- Luxury Scenes with AI Background 2.0
- Managing Custom Models
AI Background 2.0: Custom Background Creator and Replicate
Already a pro at using AI Background 2.0: Custom Background Creator and Replicate? We’ve collected all our previous guides in one place – check them out below if you need a refresh!👇
- AI Background 2.0: Custom Background Creator and Replicate
- Creative Ways For AI Background Changer by WeShop AI
- Efficient Combination of AI Outpainting and AI Model
- AI Model Photography: Meet Handsome AI Male Models
- AI Background Generator: Explain Photo Composition Reference
Batch Image Upload
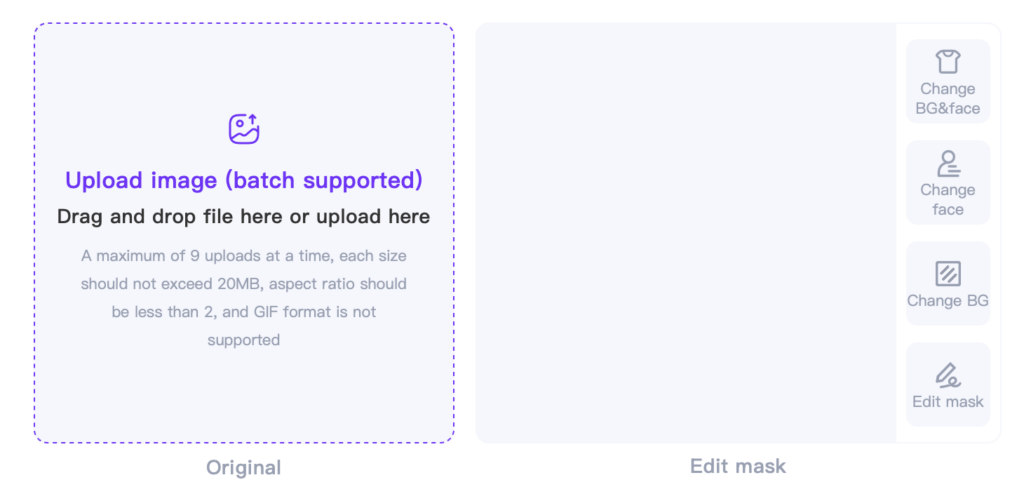
Intelligent Mask Selection
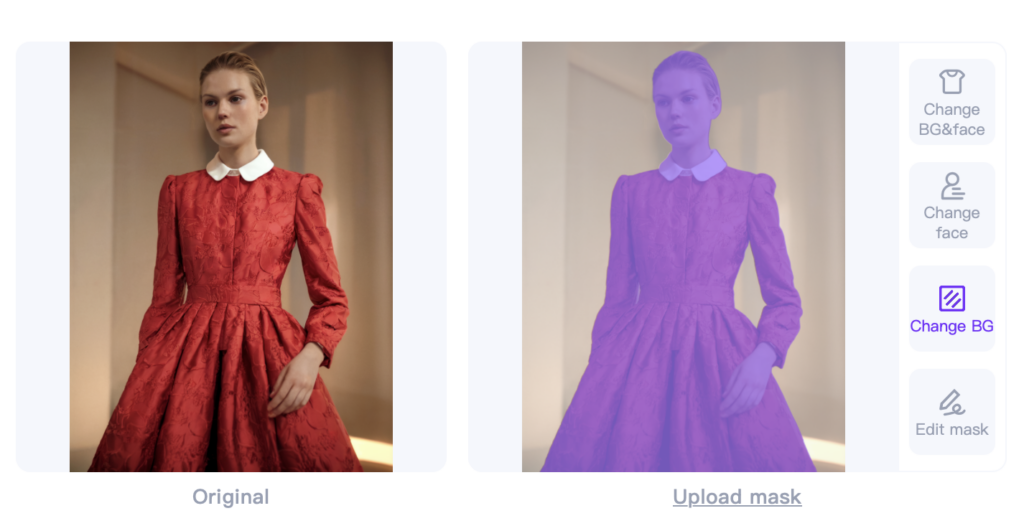
Once your image is uploaded, look for these four options in the right toolbar:
- Change BG & Face – for modifying both the model and background
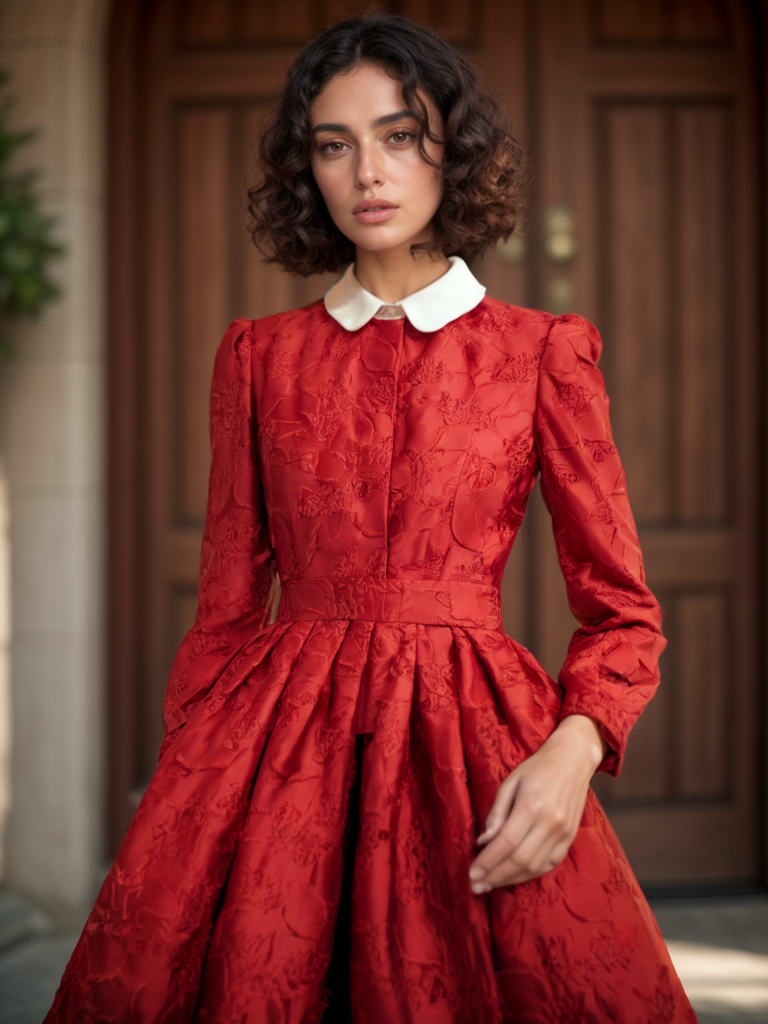
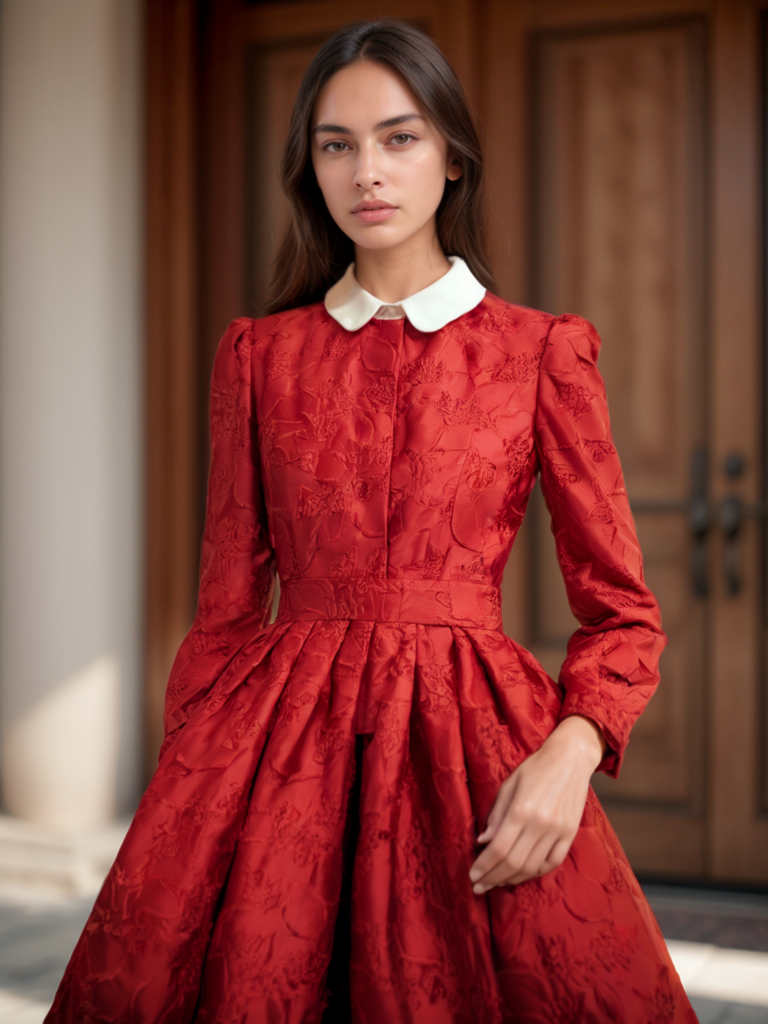
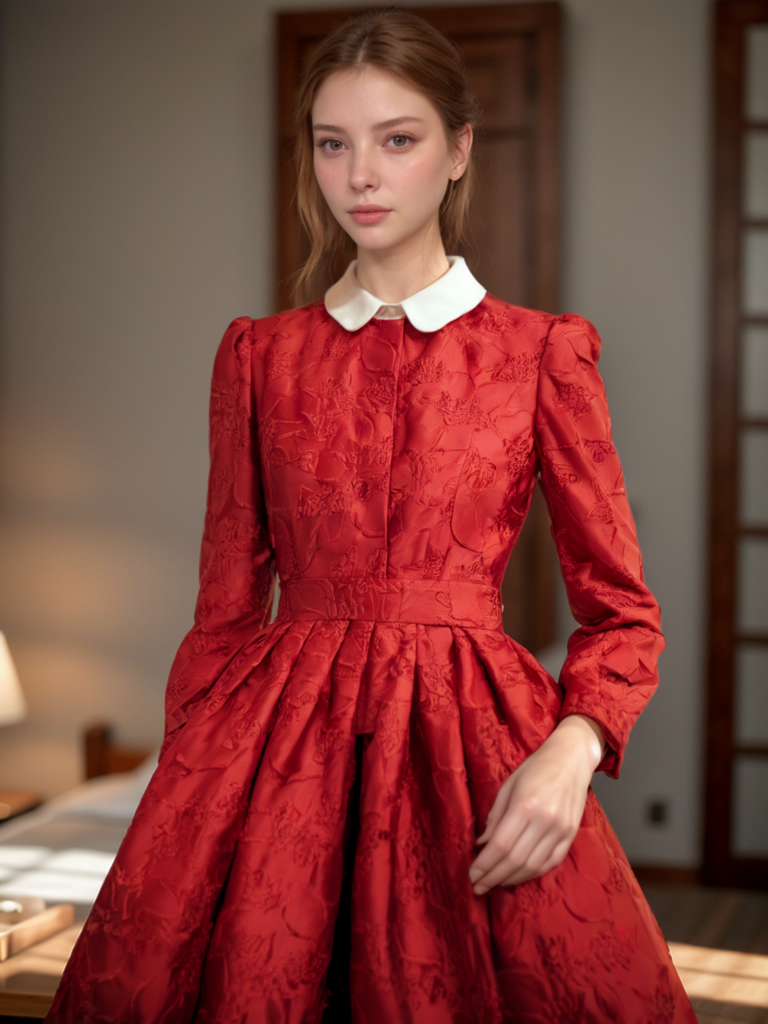
- Change Face – for swapping just the model
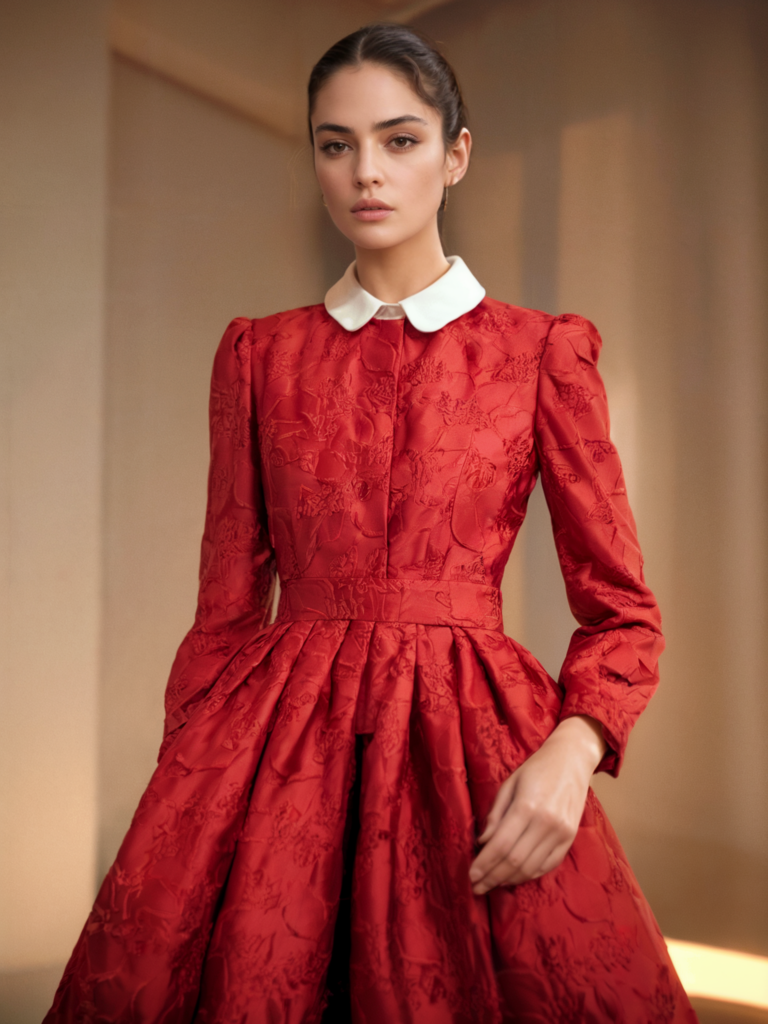
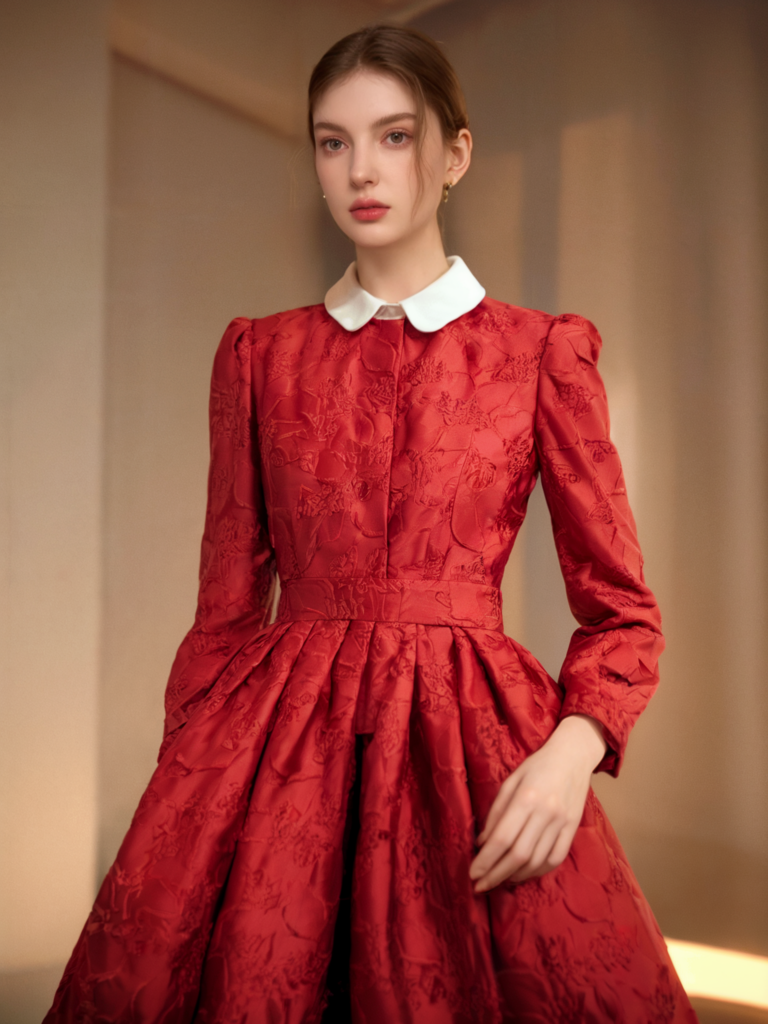
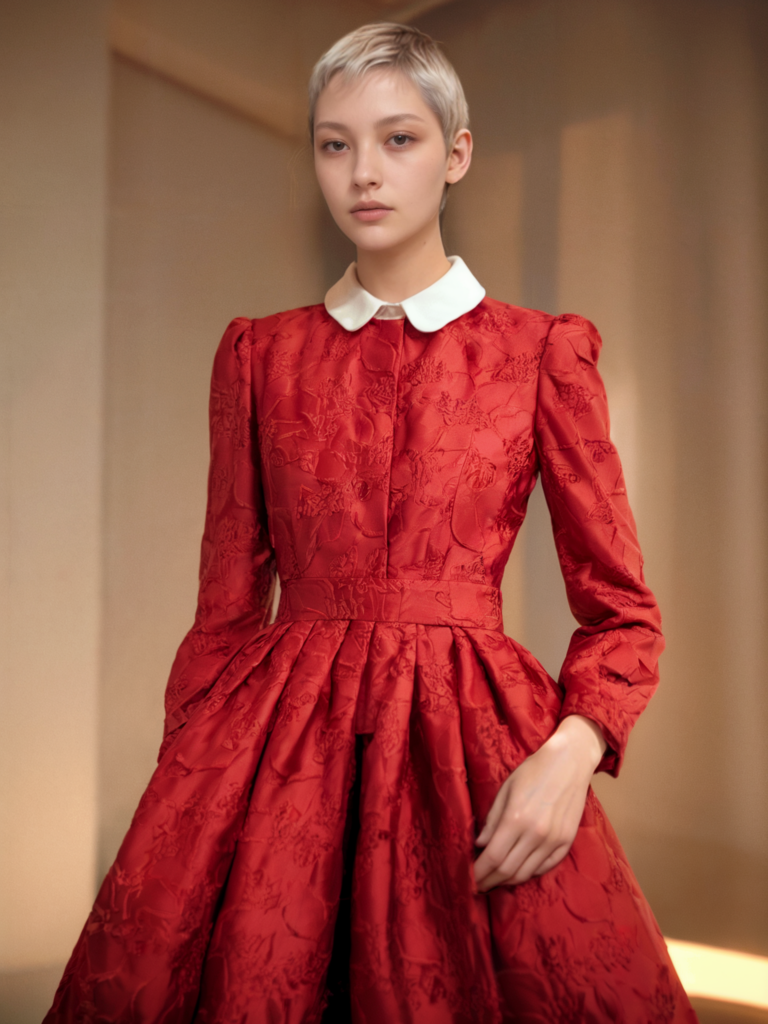
- Change BG – for changing only the background
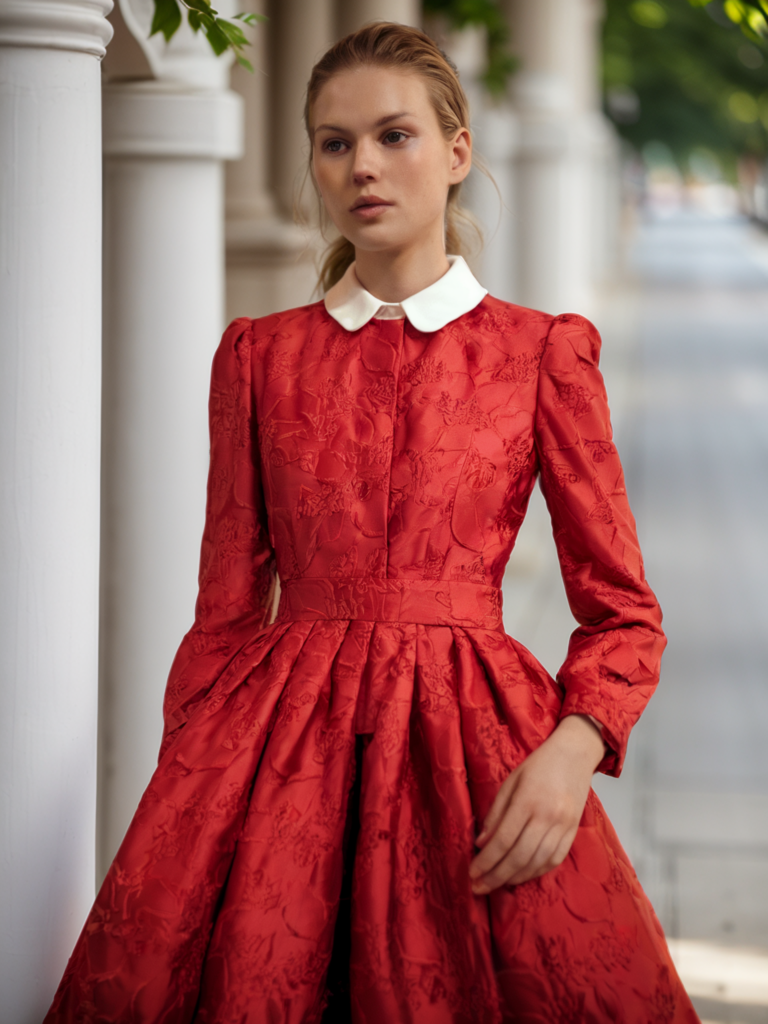
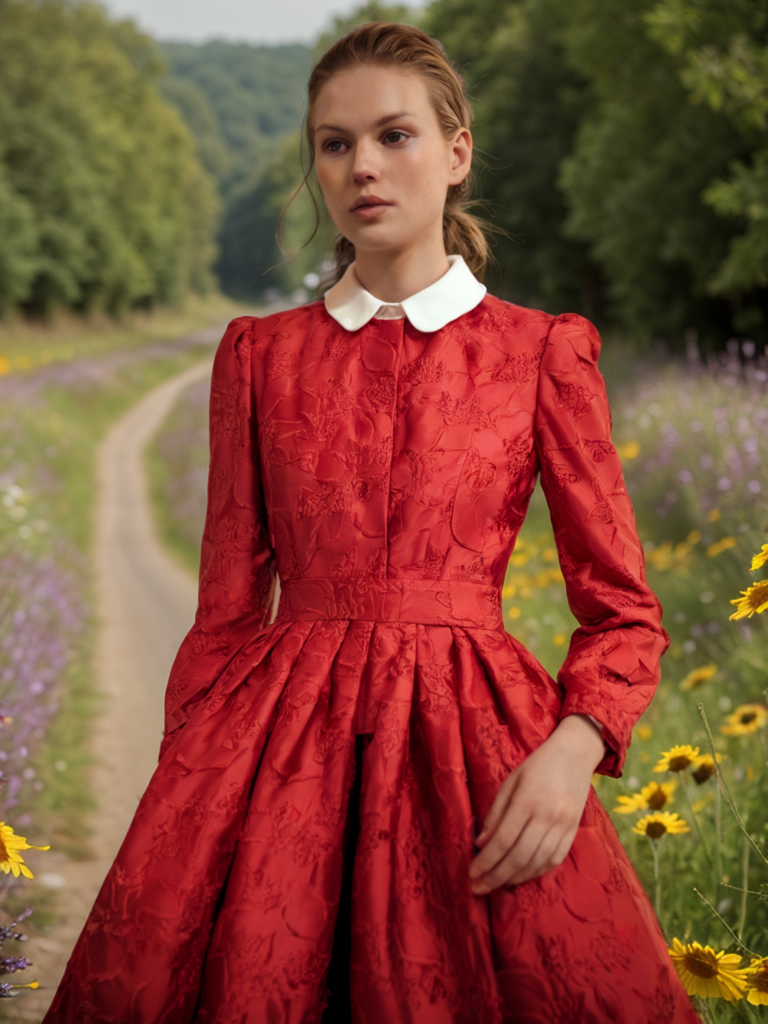
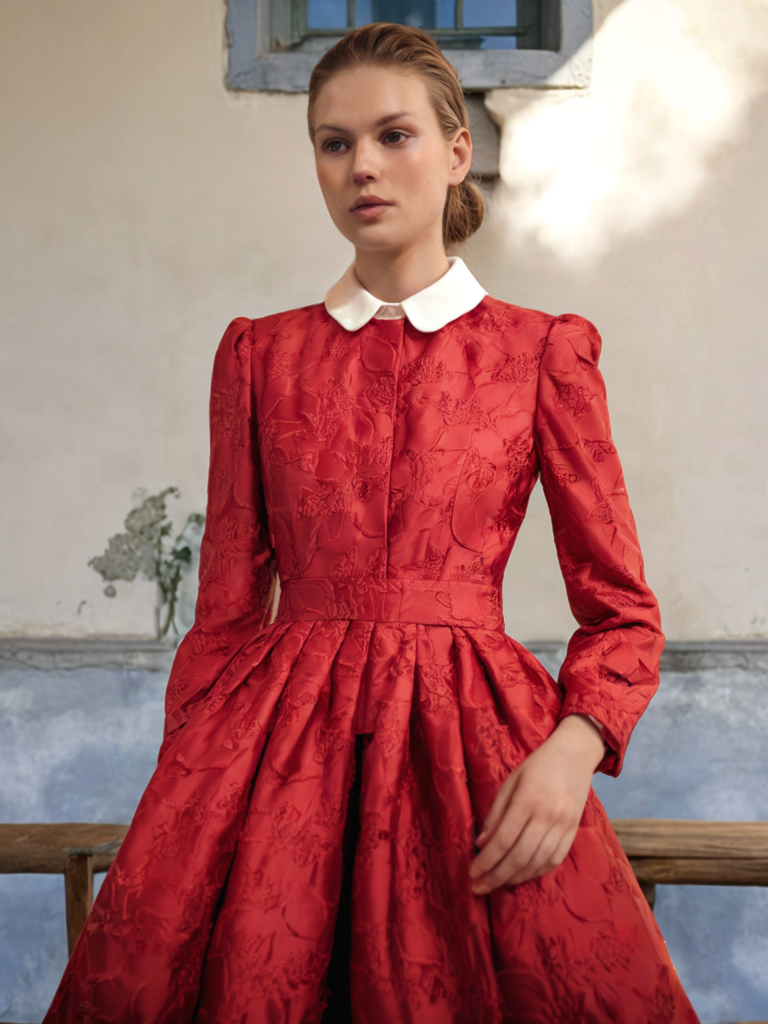
- Edit Mask – for fine-tuning your selection
Model Shop & Location Shop
Finding Models in the AI Model Shop
- Navigate to the AI Model Shop where you’ll find category tags at the top. Select the model type that best fits your product needs.
- After choosing a category, use the filter options below to refine your search: • Style filters – Choose from different modeling styles • Nation filters – Select models from different backgrounds Note: You can apply multiple style and Nation filters simultaneously
- Pro tip: Spotted a model you like in our blog posts? Use the Search bar 🔍 in the top right corner to quickly find them by name.
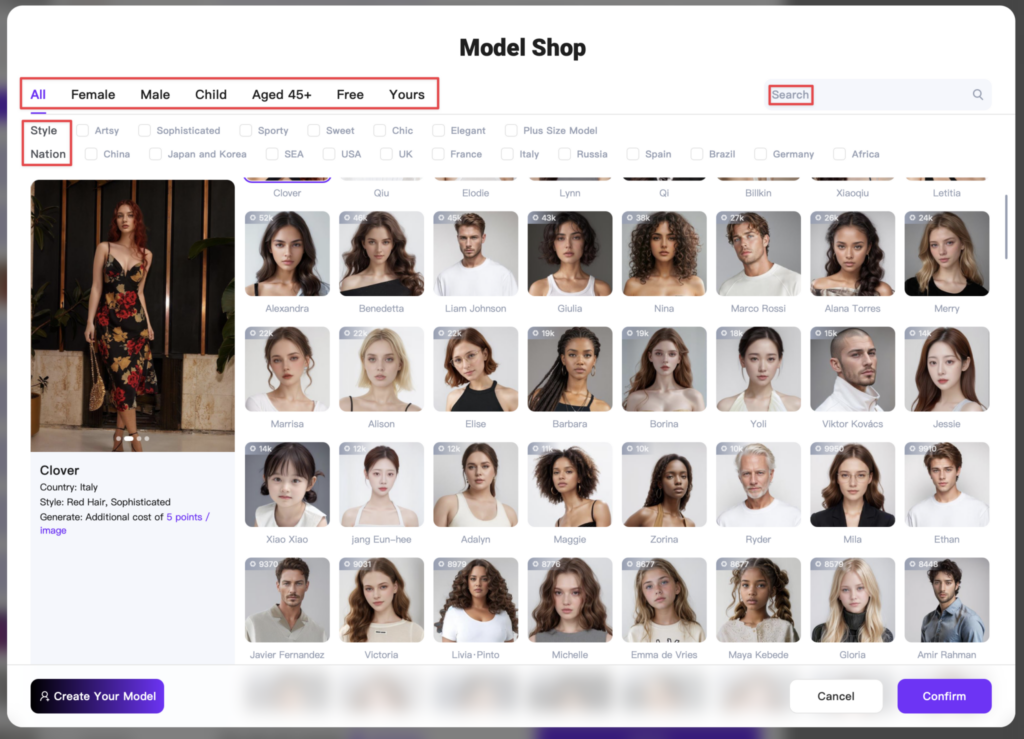
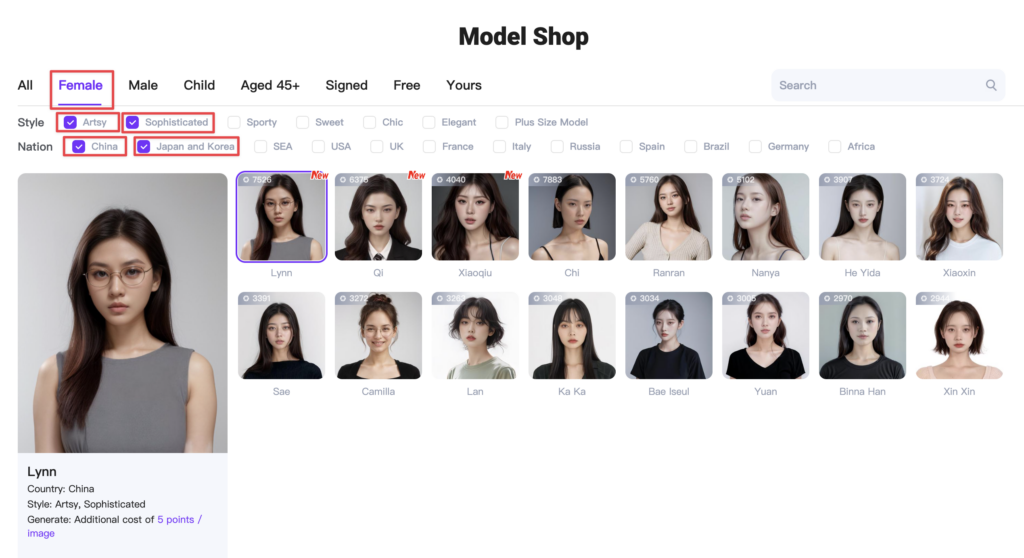
Example: Let’s say you want to find models with an Artsy, sophisticated look from East Asian backgrounds. Here’s how:
Select multiple ethnicities:
- Chinese
- Korean
- Japanese
And filter by styles:
- Artsy
- Sophisticated
Finding Scenes in the AI Location Shop
- Navigate to the Location Shop where you’ll find category tags at the top. Select the scene type that best fits your product needs.
- Looking for our featured scenes? Use the Search bar 🔍 in the top right corner to quickly find them by name.
- Pro tip: Don’t forget to check the ‘Reference image’ button in the bottom left corner – this lets you design your own custom scenes tailored to your needs!”
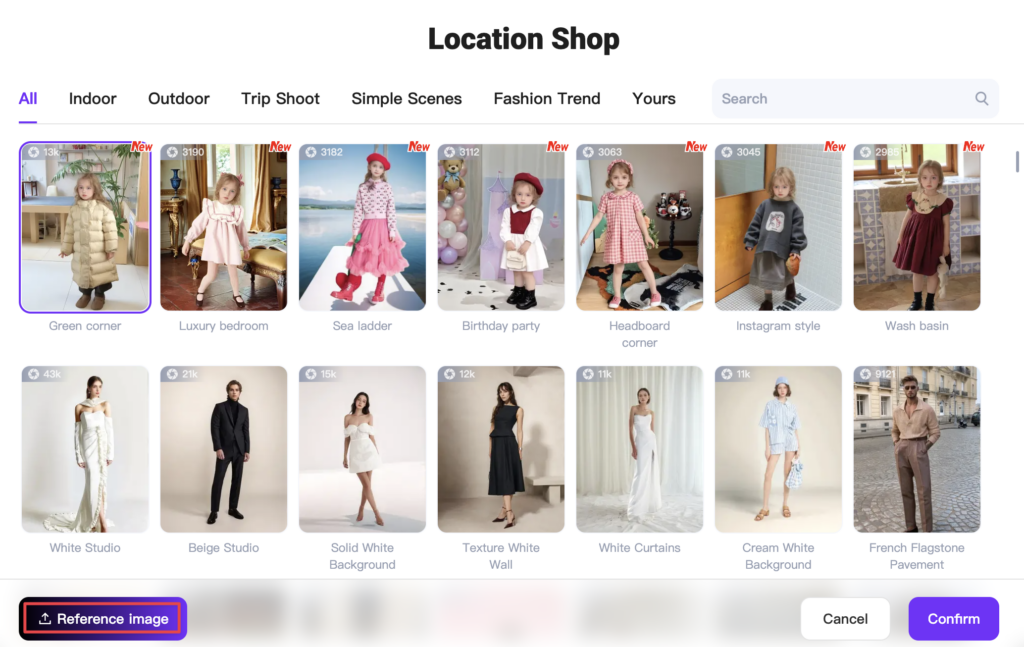
Just like the AI Model workspace our AI Product feature has also been updated! The navigation and filtering work exactly the same way.
Send to Other Agents in Workspace
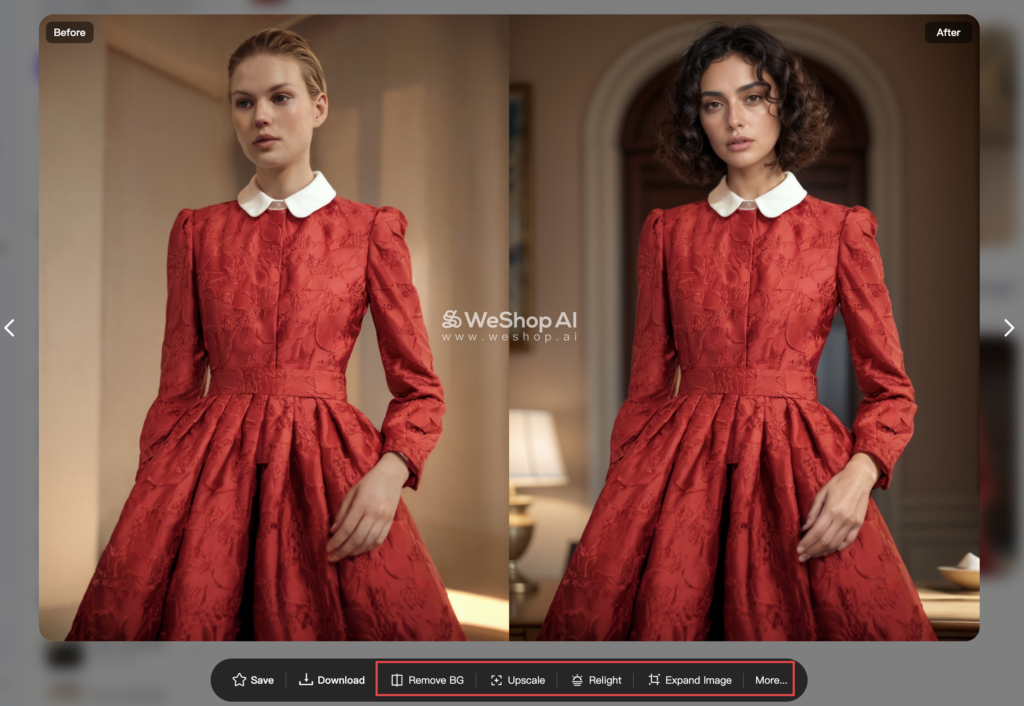
After generating your image, you can instantly send it to other workspaces for additional editing. Simply click the image directly and choose your target workspace
Clean Up Mannequin and Convert to AI Model
Some users have noticed mannequin stands appearing in their generated images. Here’s how to fix this:
Remove the Stand • First, go to the Remove Background workspace • Clean up the mannequin stand from the bottom of the image
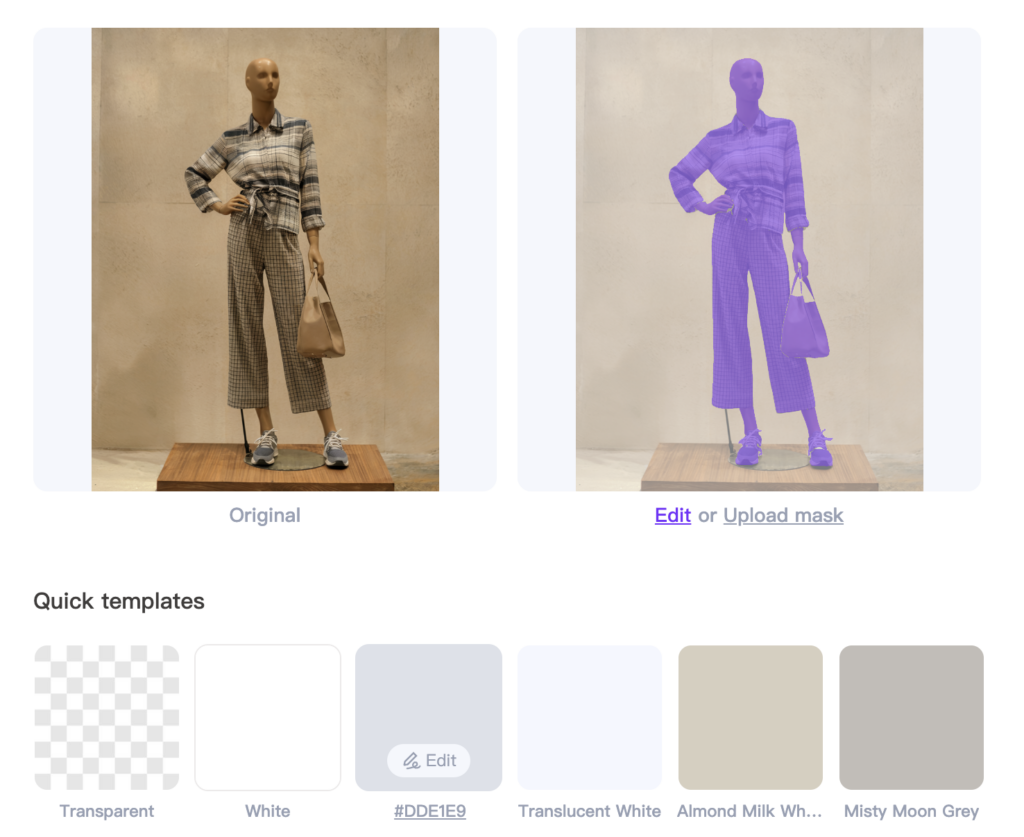
Transfer & Transform • Click Send to AI Model • Select Change BG & Face • Choose your preferred model from the Model Shop (use preset or custom models) • Pick a scene from the Location Shop (use featured scenes or create your own)
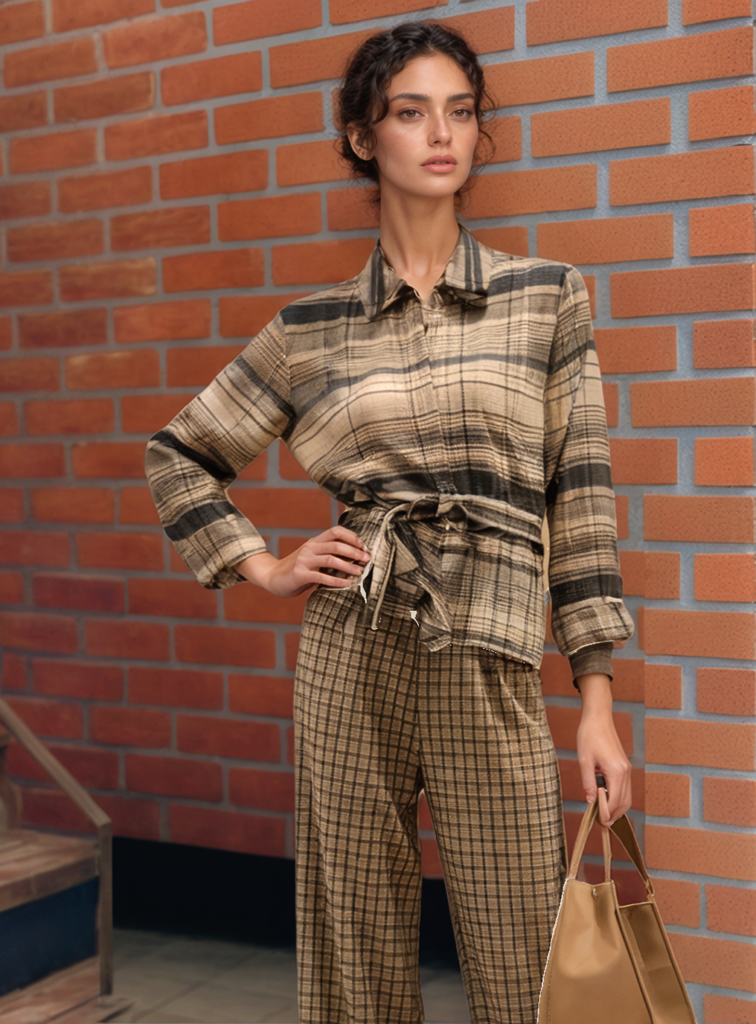

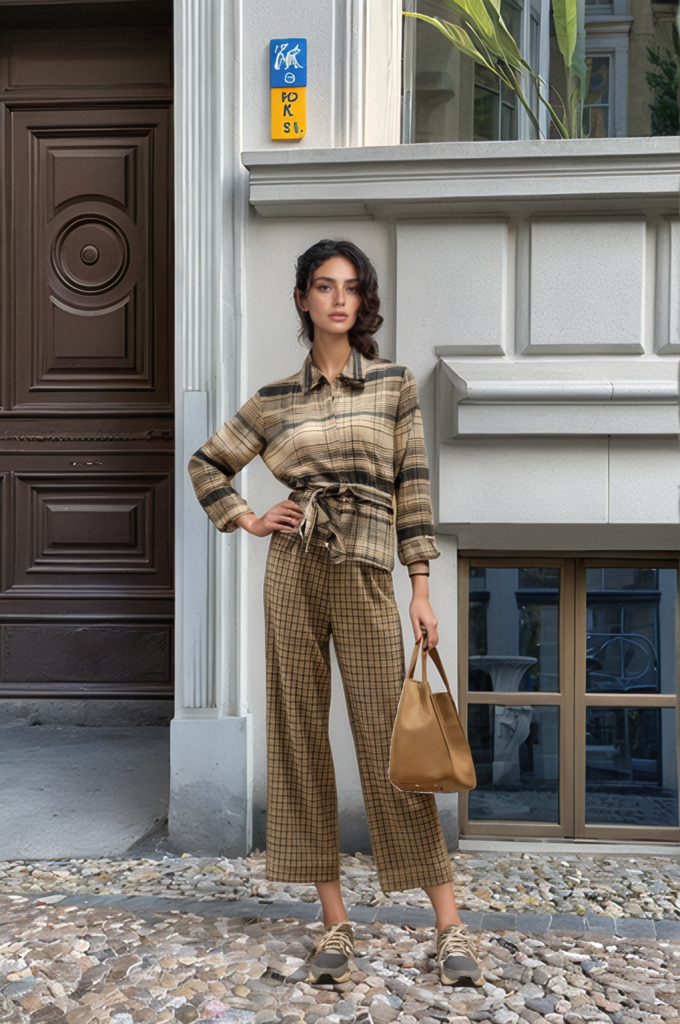
Pro tip: Always remove the stand first to ensure clean model swaps!
Best Smiling Model Options
Looking for Friendlier Model Options? We’ve Got You Covered! 😊
Some users mentioned our models look too serious – but don’t worry! We have plenty of models with warm, friendly expressions.
Quick Guide:
- Head to the Model Shop
- Find the ‘Smiley‘ filter under Style options
- Discover our collection of smiling models!
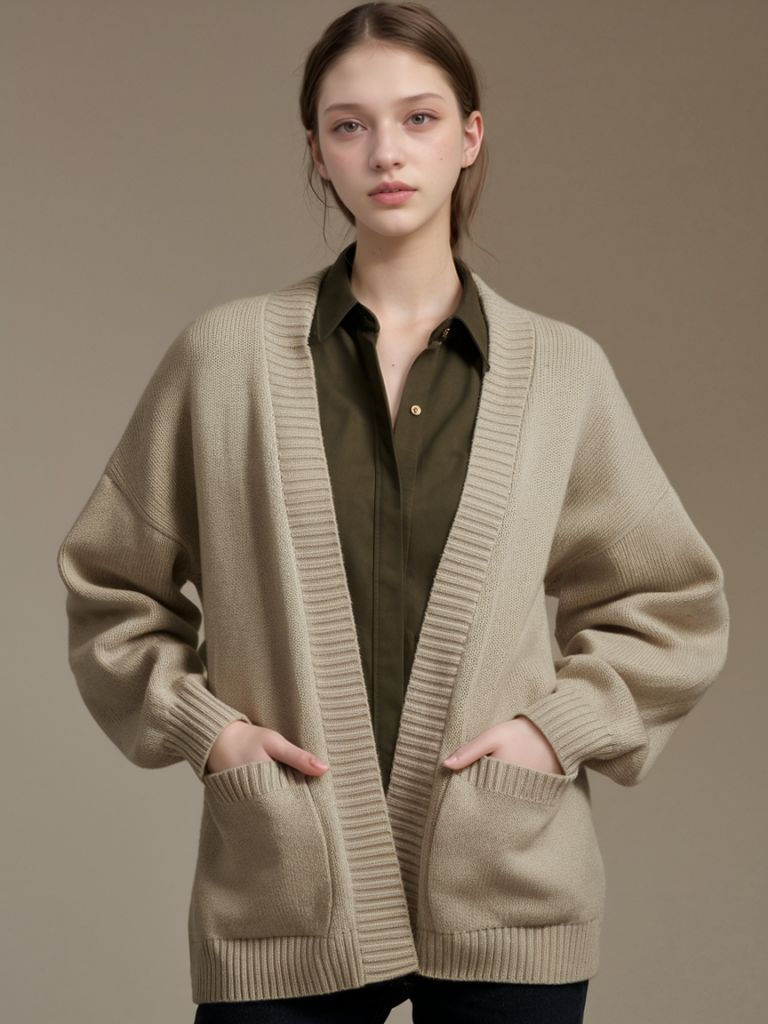
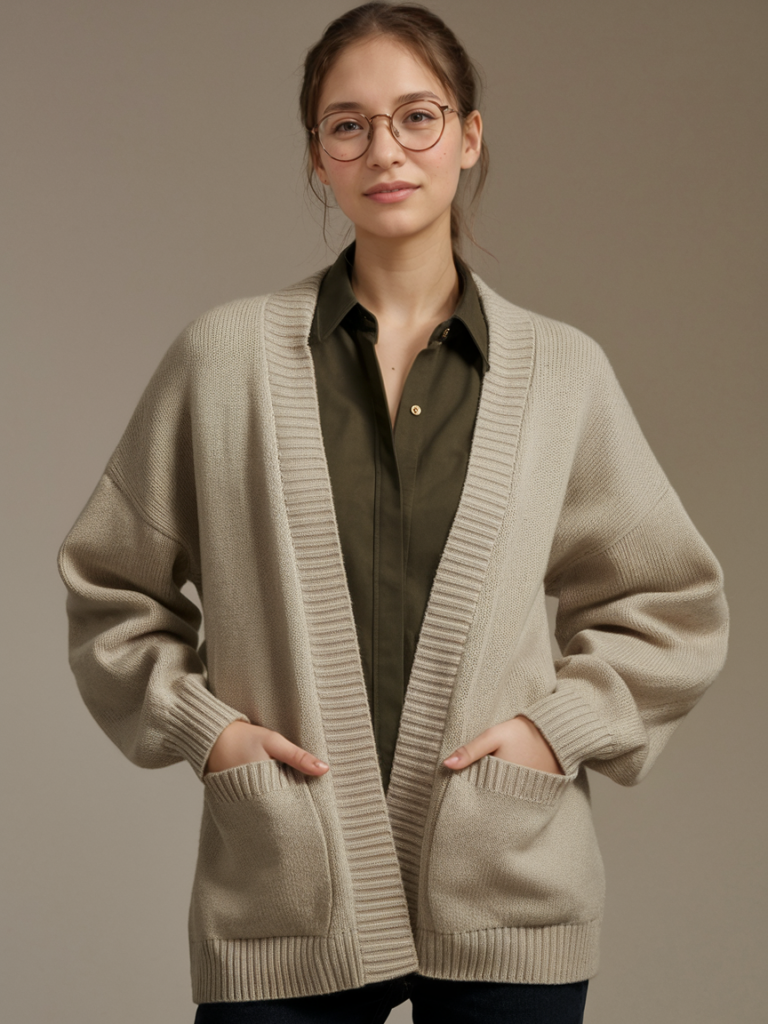
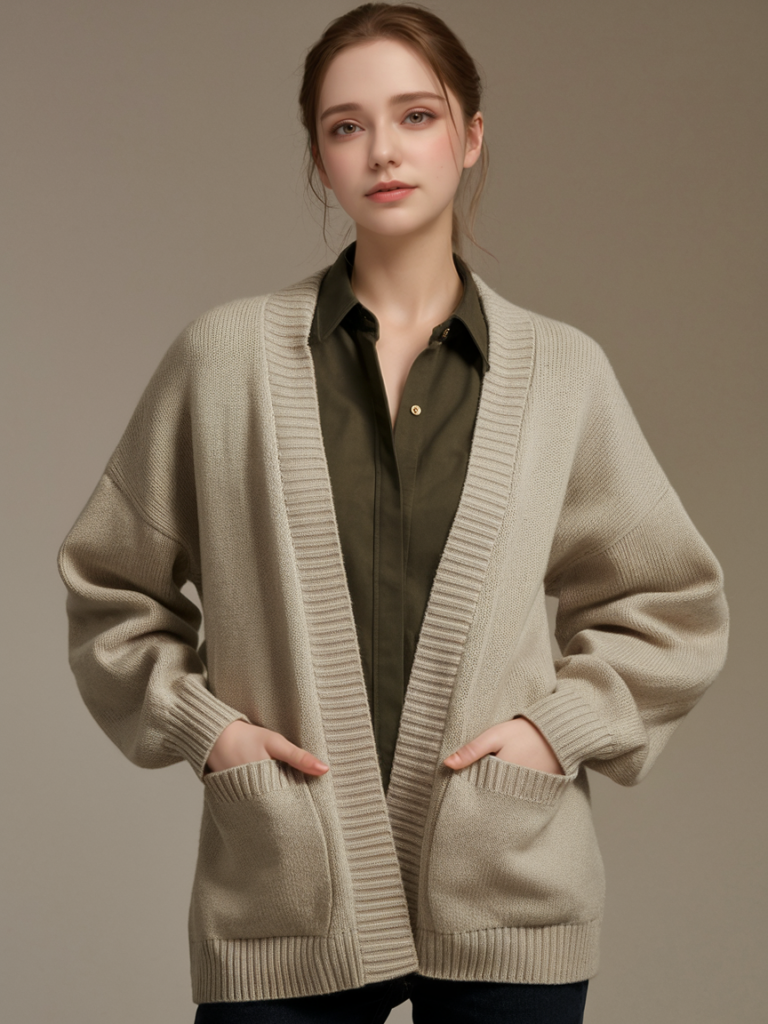
Pro tip: The ‘Smiley’ category features models with natural, welcoming expressions perfect for approachable brand imagery.
Luxury Scenes with AI Background 2.0
Creating Custom Scenes with AI Background 2.0
One of the key features of AI Background is the ability to create and save your own custom scenes. Here’s what you can do:
- Design your perfect scene
- Save it for future use
- Access it anytime in ‘Yours’
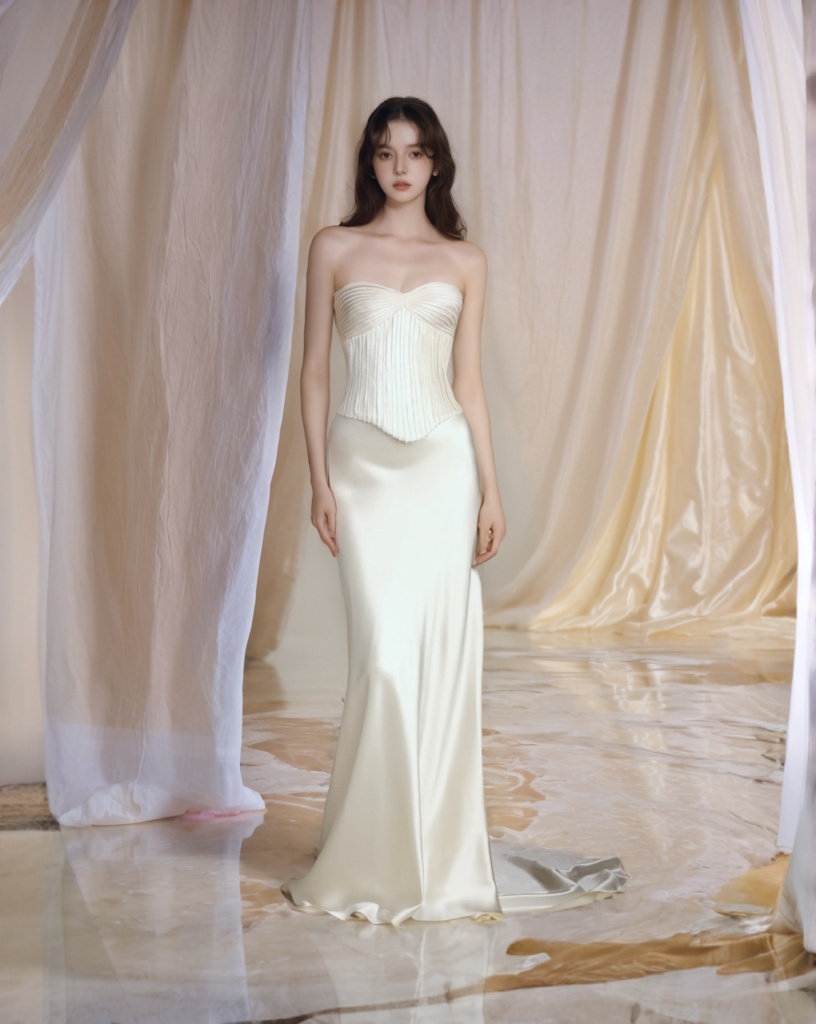
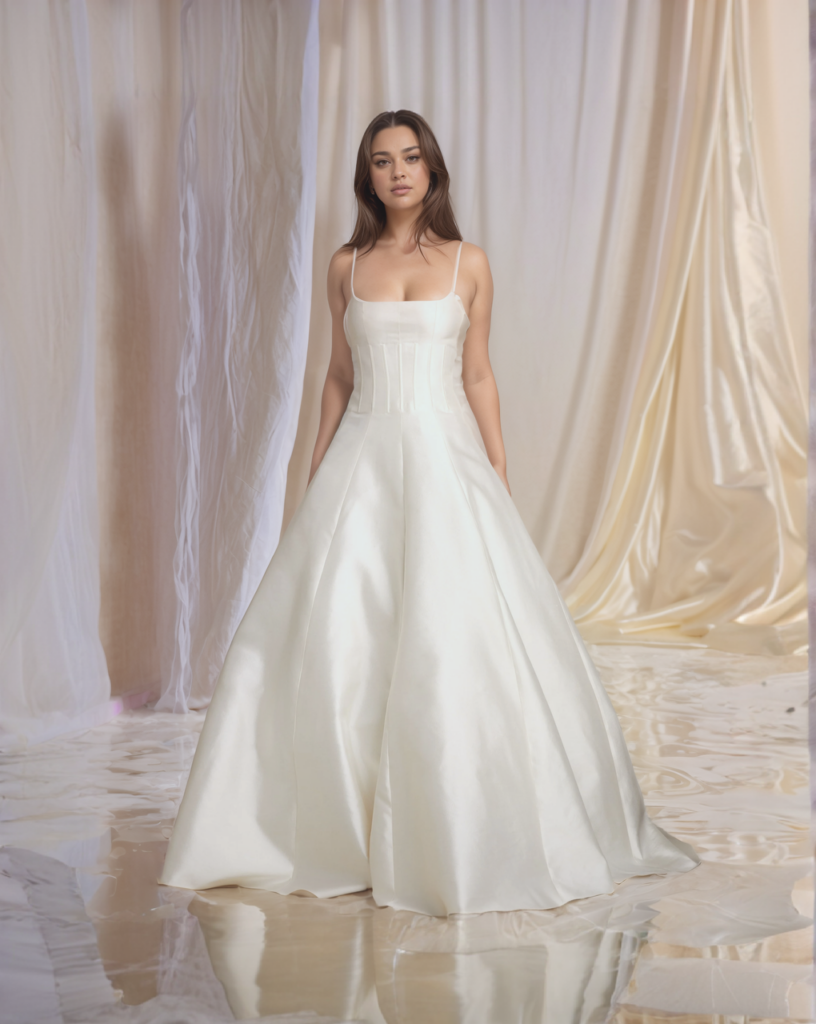
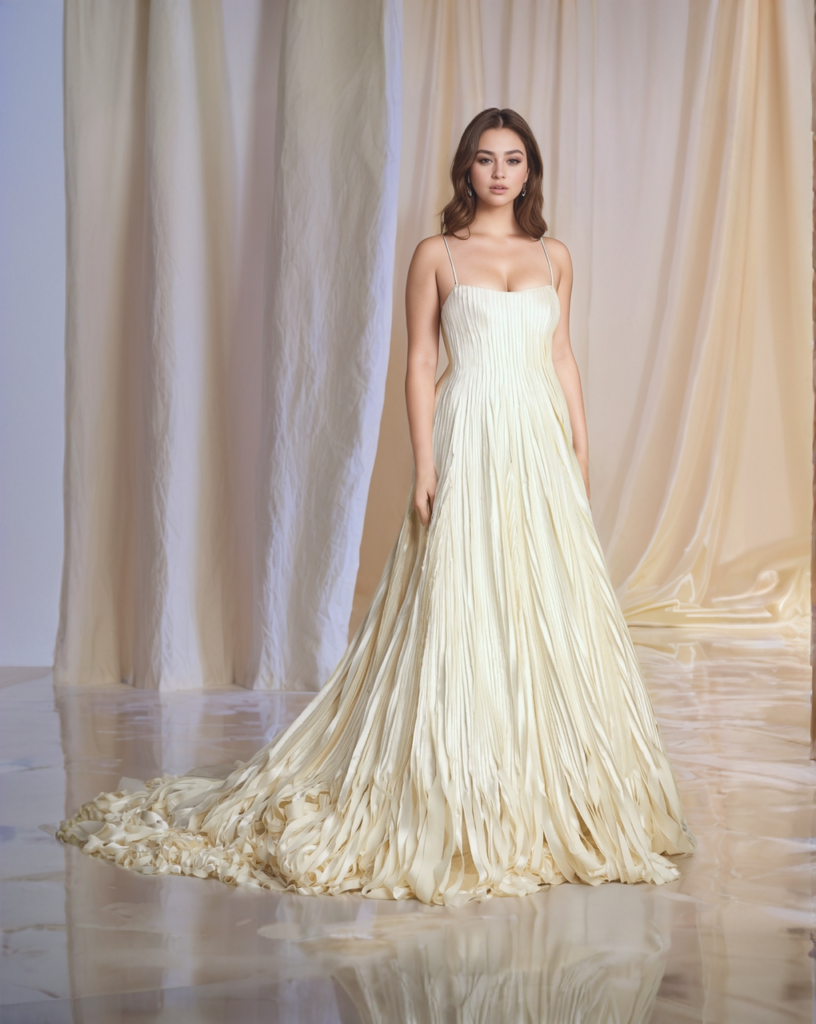
Pro tip: Save your favorite scenes to build a personal library of custom backgrounds!
Managing Custom Models
Need to remove models you’ve created? Here’s a quick guide:
- Go to the Model Library
- Click ‘Yours’ tab
- Find your custom model
- Click the delete button next to it
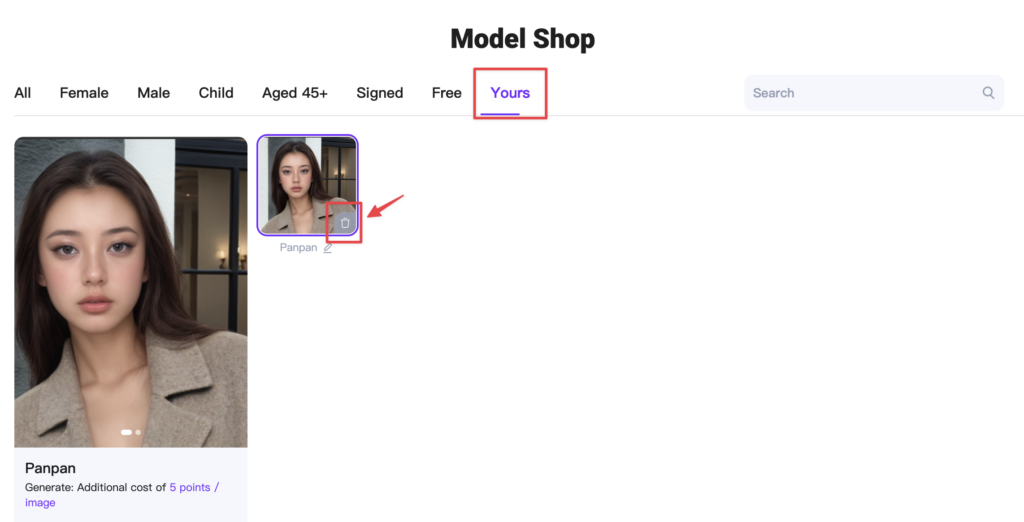
⚠️ Important: This action cannot be undone!

