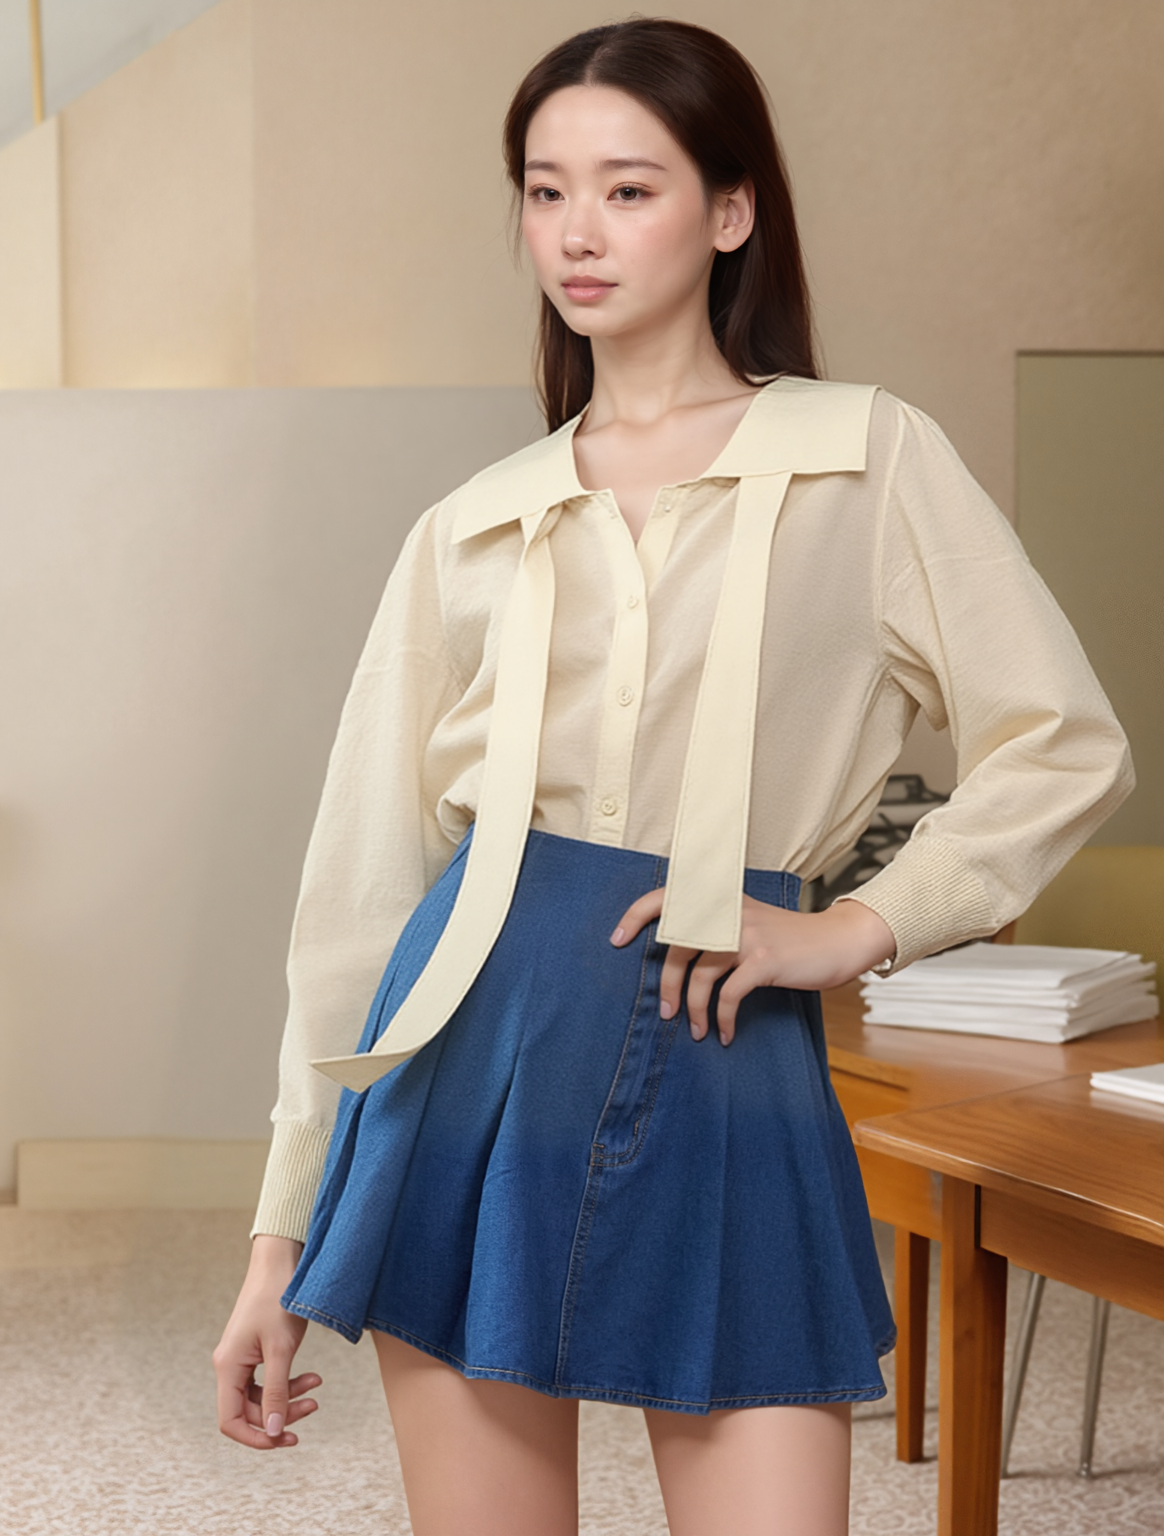
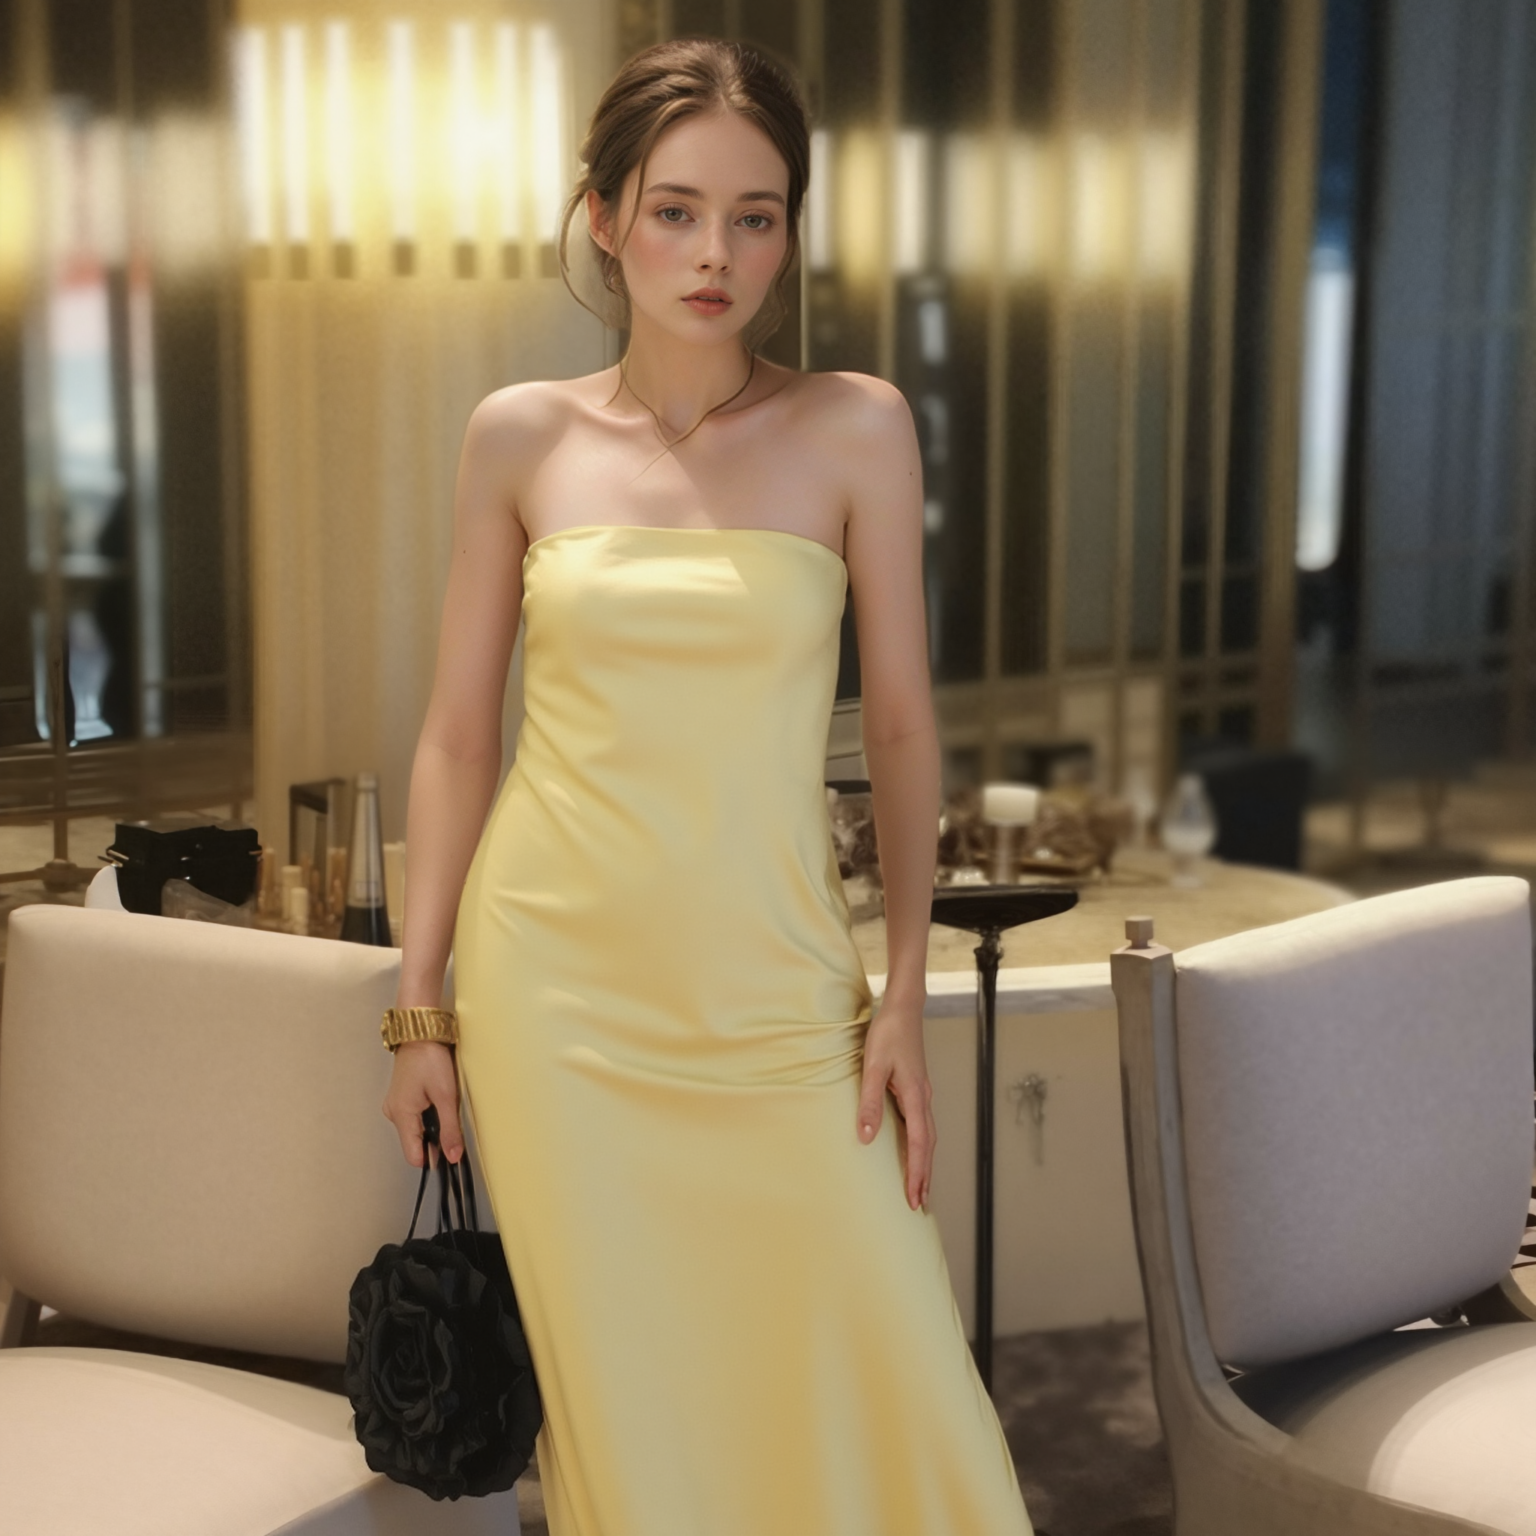
Discover how you can use the Invert Selection tool to isolate everything outside a selection’s border
We’ve heard some requests from our users for tips on using the invert selection feature, and we’re excited to share them with you.
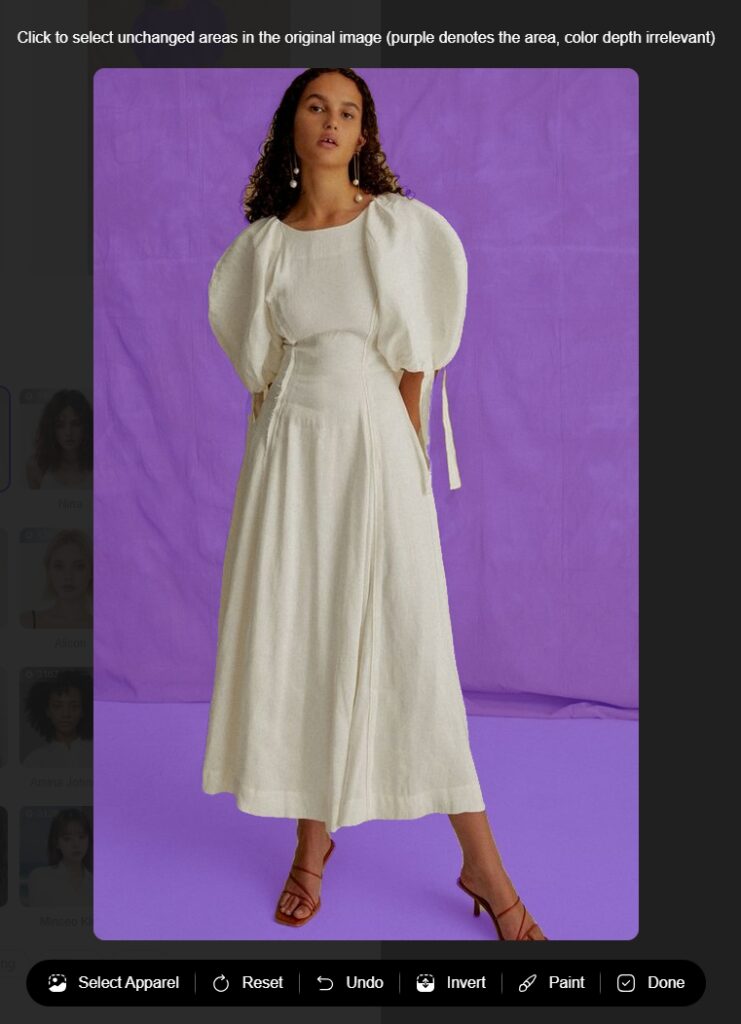
First, for those unfamiliar with WeShop AI’s invert selection feature, let us explain. The “invert” feature is perfect for businesses that want to retain large areas of the original image. Instead of manually selecting each part, simply choose the area you want to change, and then click ‘Invert’.
[Invert] Feature Introduction
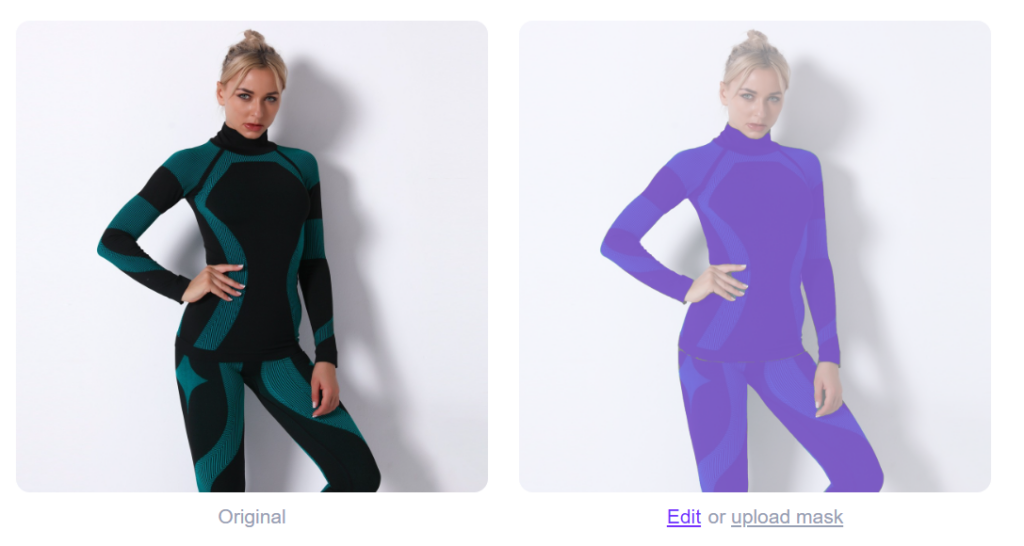
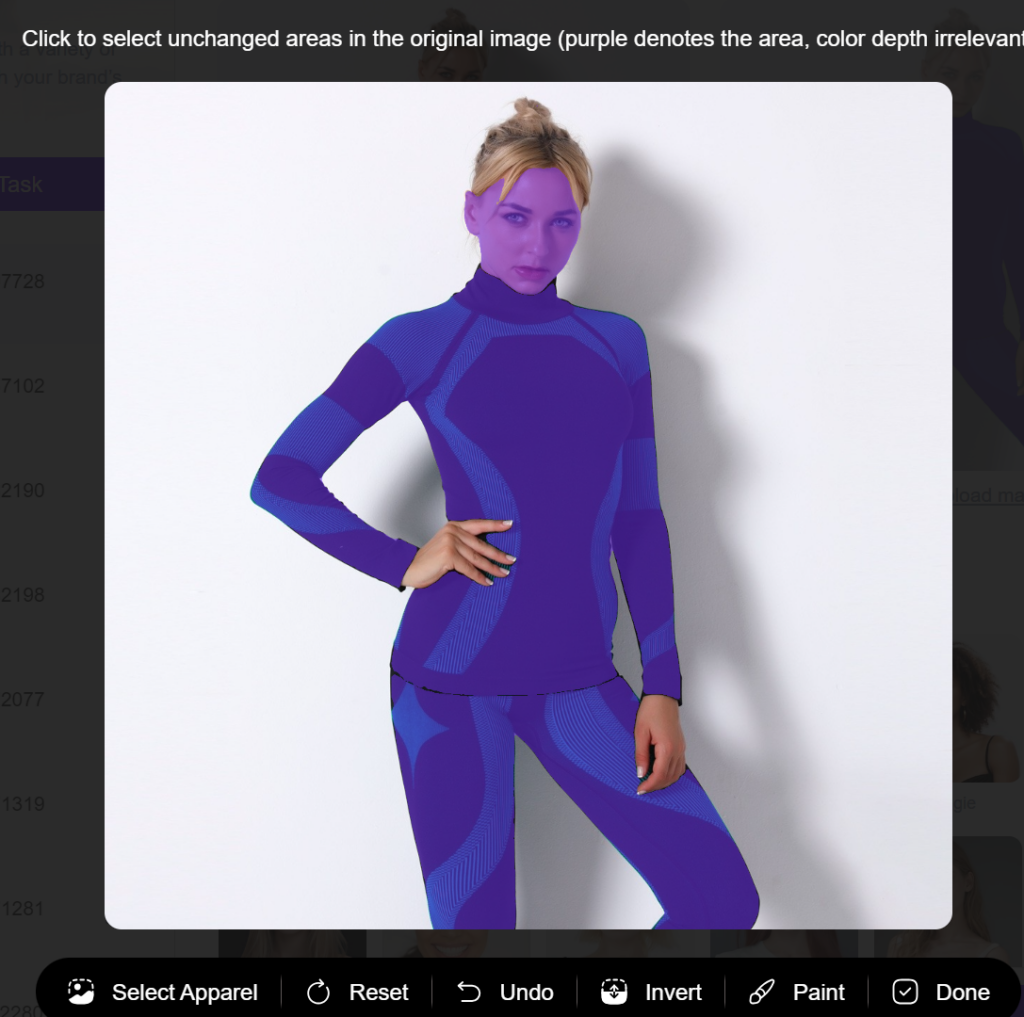
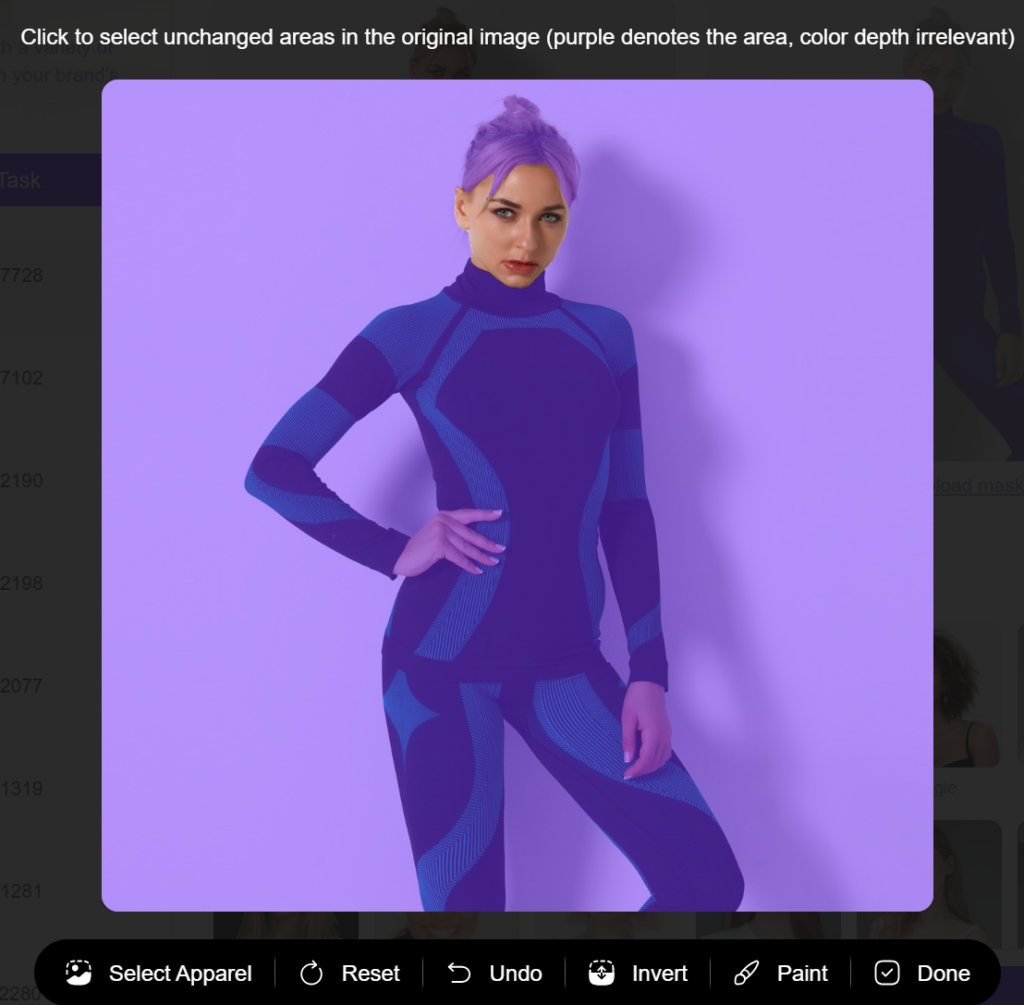
In our AI model or AI product workspace, upload your image, and WeShop AI will automatically segment the selection. The “purple area” indicates the selected part to be unchanged (as shown in the image). Then, enter the “Edit” page, click the “Invert” button at the bottom, and you can easily switch to the objects that you haven’t selected. This feature is useful if you want to retain the background, and only changing model’s face. This feature would make your image processing more convenient and efficient.
If you’re curious about how to invert the selection in Photoshop, here is the short answer: To invert a selection in Adobe Photoshop, you can use the keyboard shortcut Ctrl+Shift+i on a PC or Command+Shift+i on a Mac.
How to Use [Invert]?
Only Change Model’s Face
After you have uploaded the image, Enter the “Edit” page:
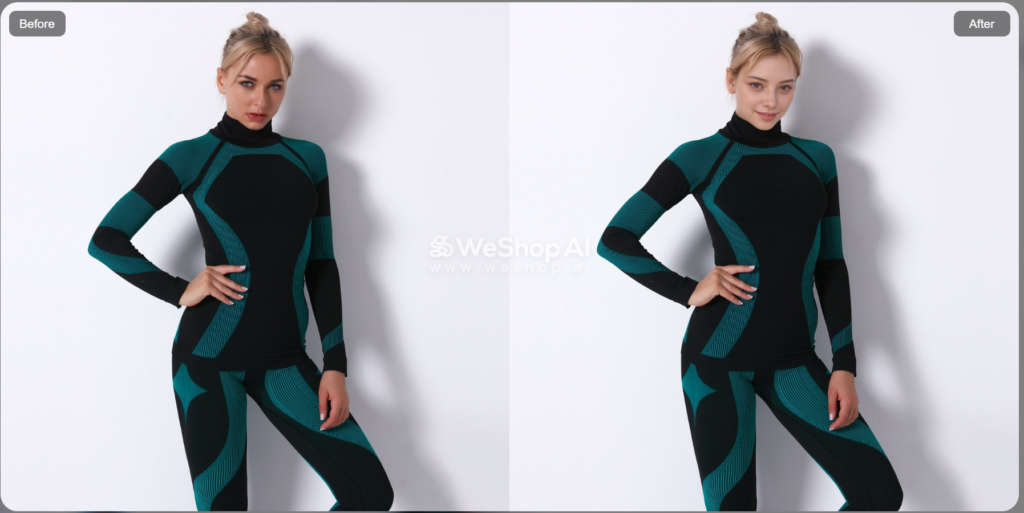
- If you only want to change the model’s face, while keeping clothing and background unchanged, select the model’s face and click “Invert”. Everything except the model’s face will remain unchanged.
Let’s look at the results!
Change Model’s Face and Body
If you want to change the model’s face and body, while keeping the background and the clothing unchanged, select the model’s face and body, then click “Invert.” Everything except the model’s face and body will remain unchanged.
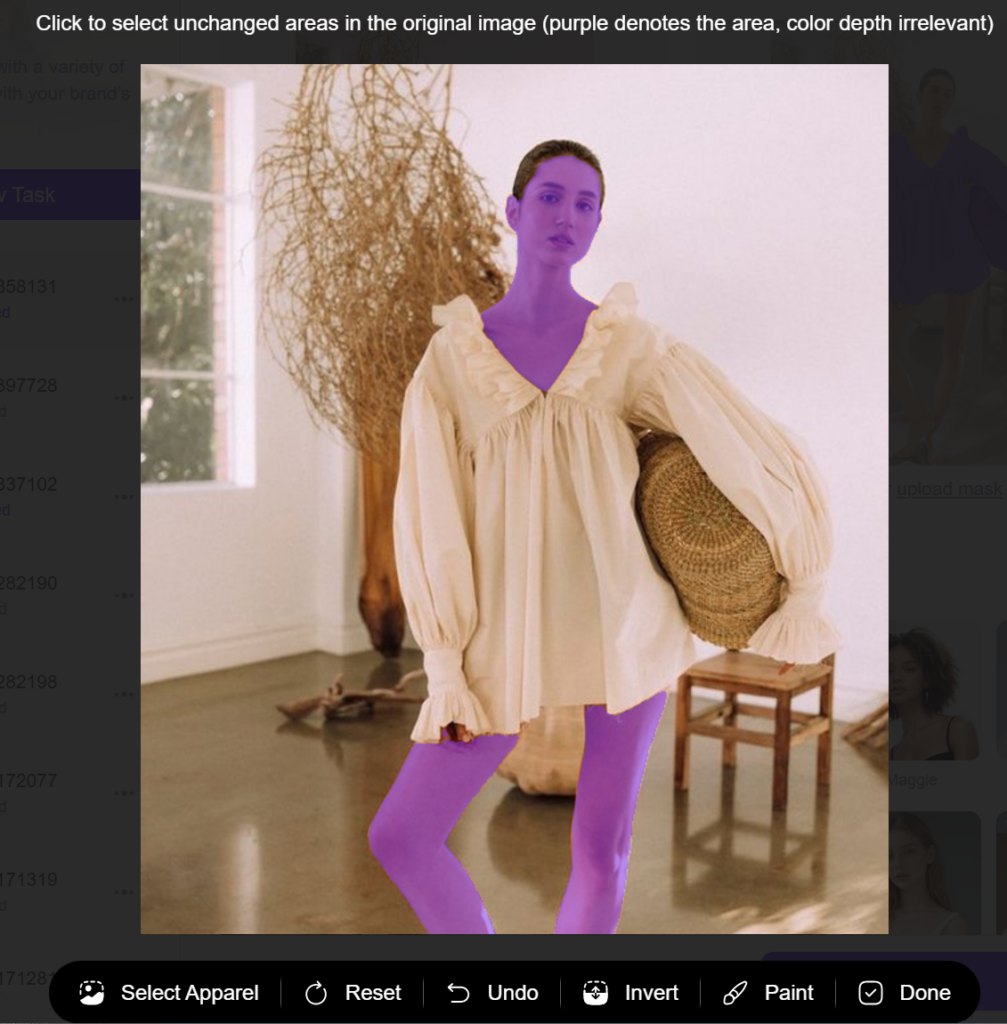
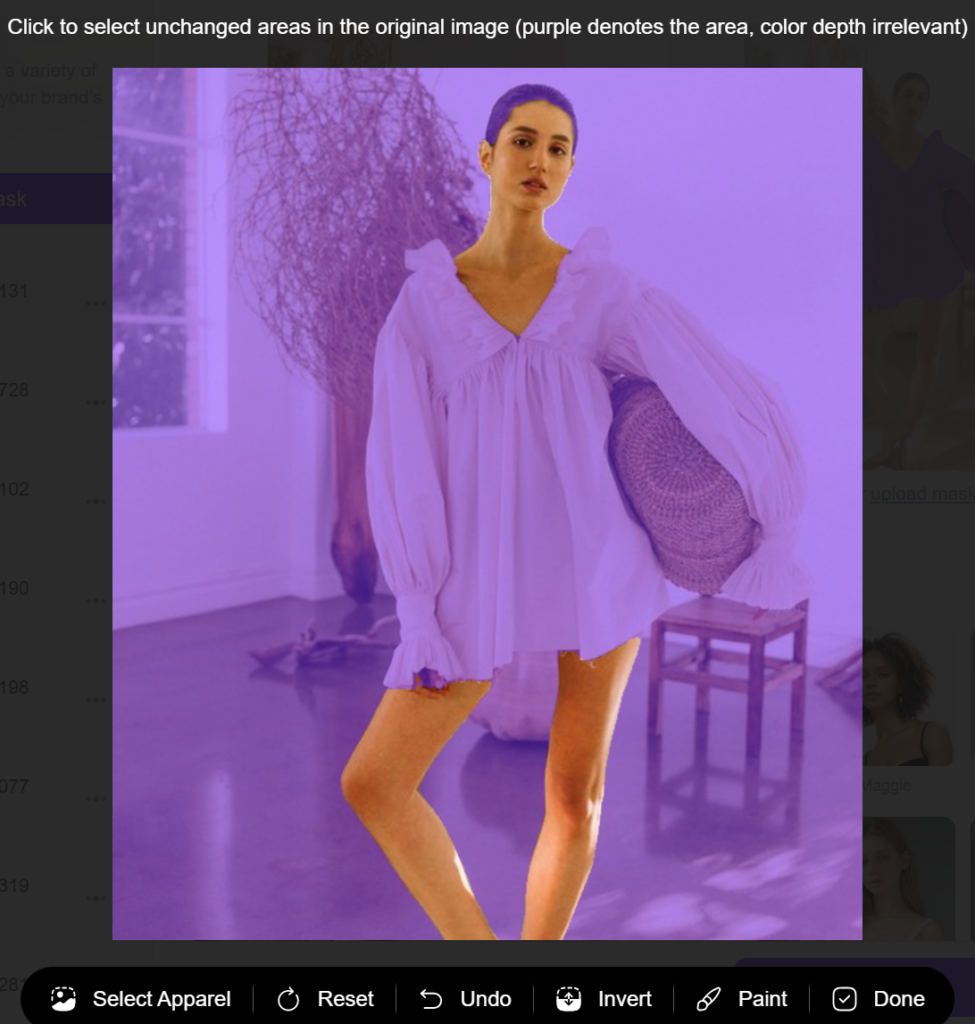
Let’s see the result!
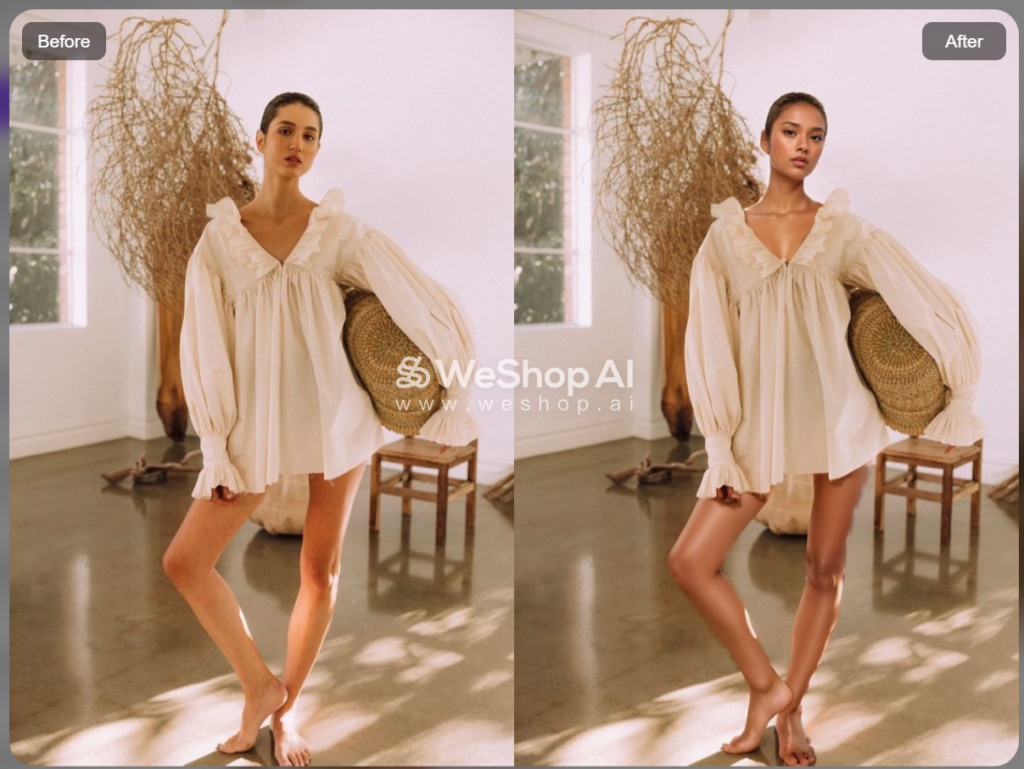
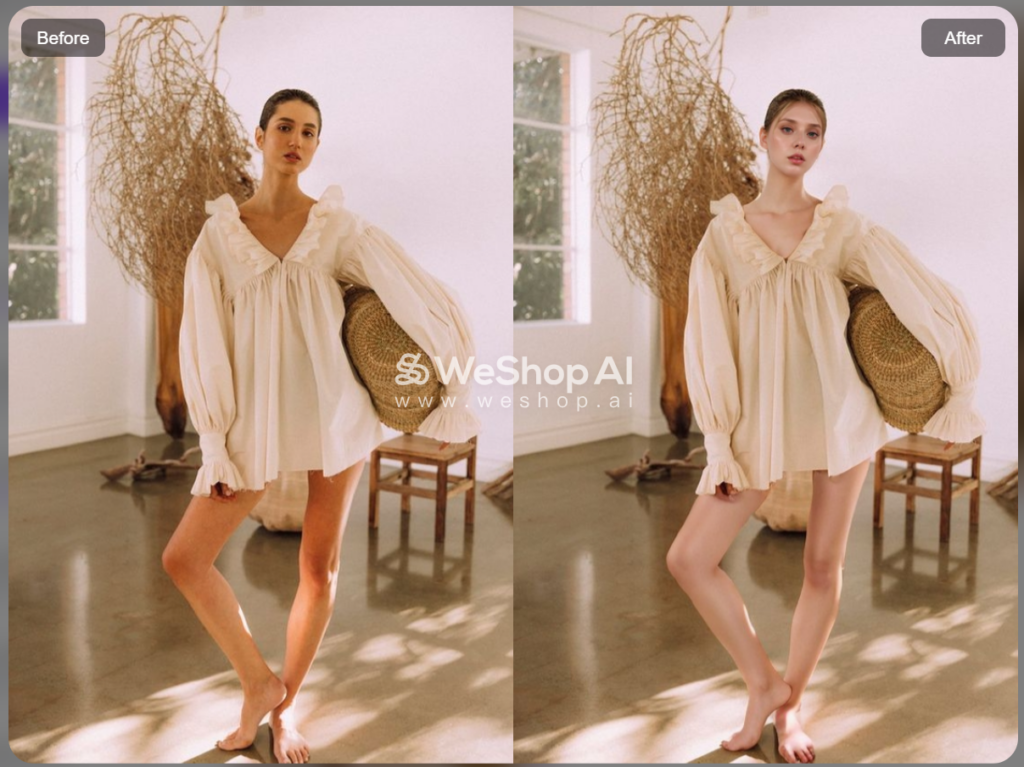
Only Change the Background
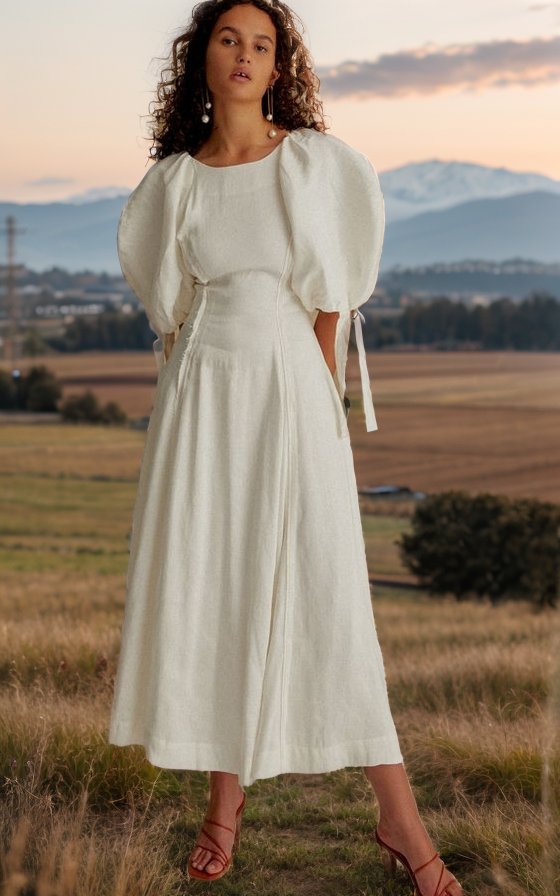
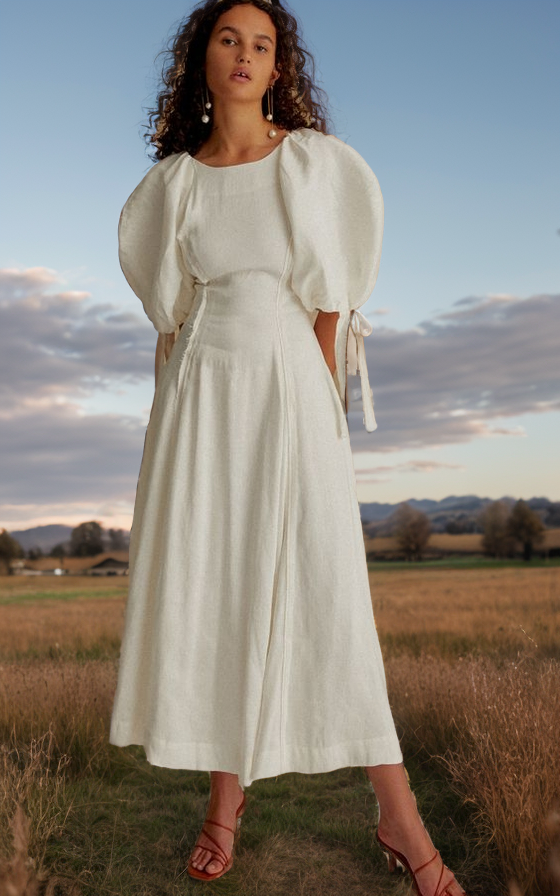
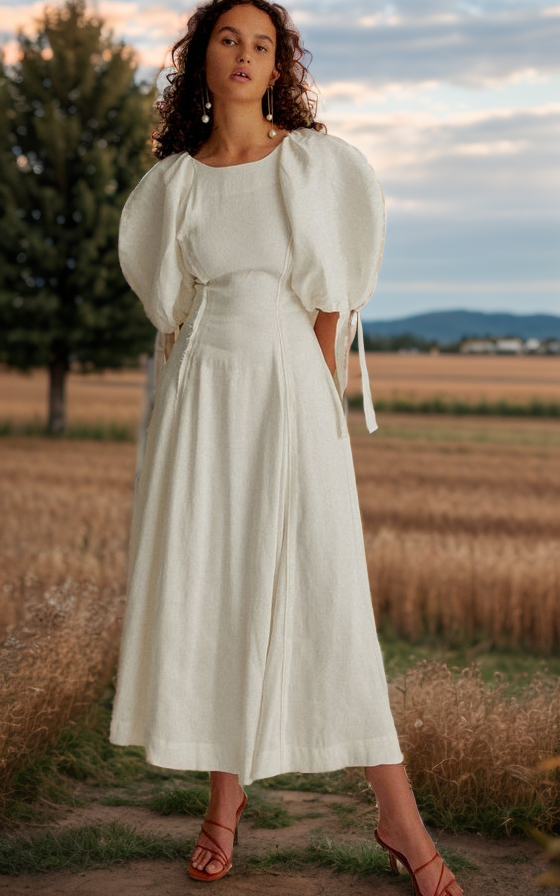
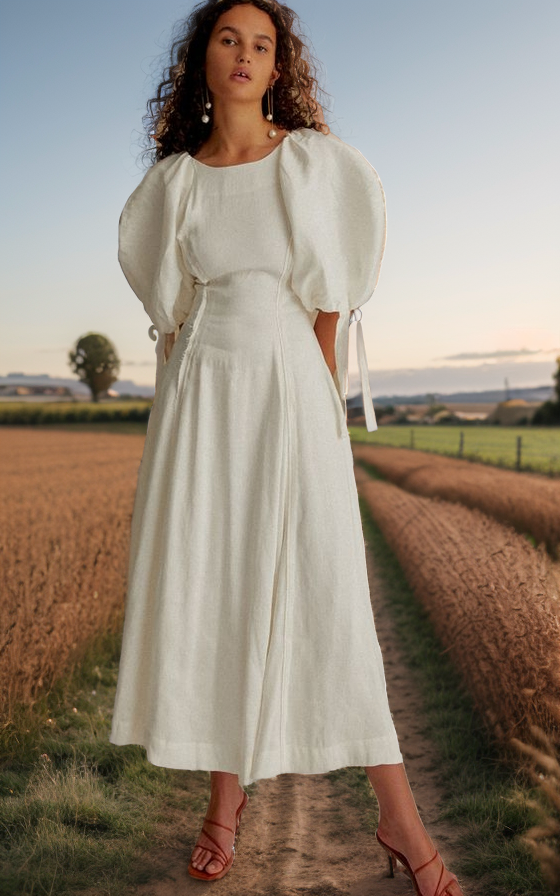
If you want to change only the background, the steps are the same. Select the background, and then click the “Invert” button to keep the model. Go to the Location Shop to choose [Countryside].
How is the result?
Other Tips for Using Invert Selection Feature:
- Choosing the Initial Area:
- To change only the “model’s face,” don’t click on clothing or background areas. Click the face, then click “Reverse Selection.” If you want to change both the face and body, click only the body and face. This saves time and effort.
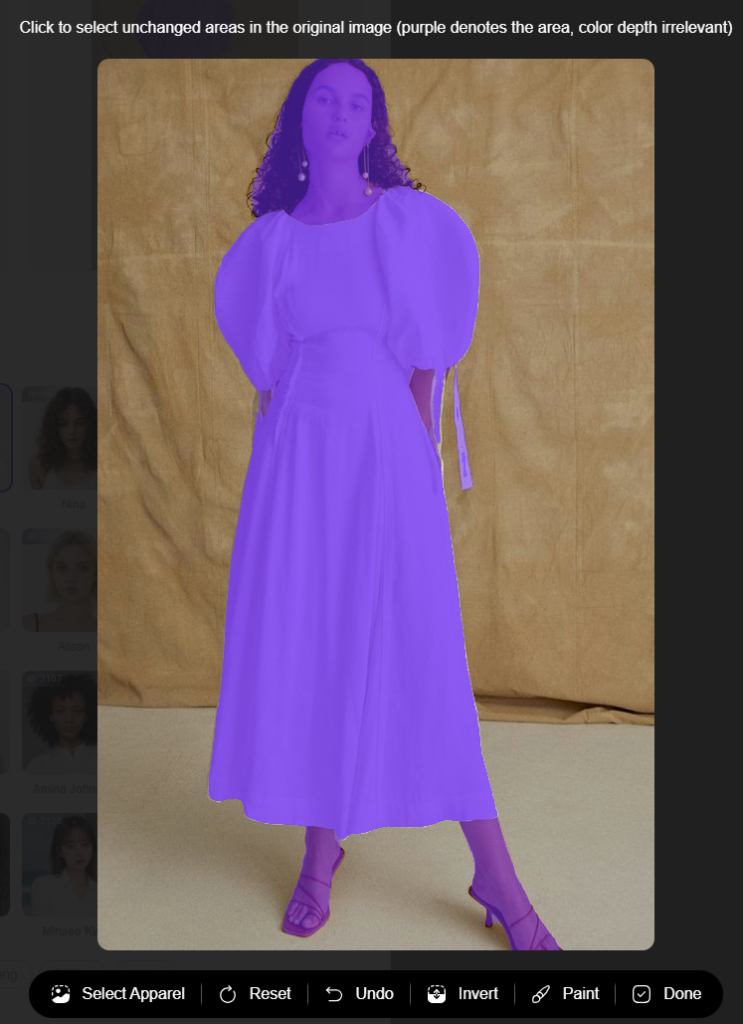
- Choosing the apparel
- If you wish to keep the apparel, you could enter the Edit page, and then click Select Apparel. On the contrary, if you wish the keep everything else except the clothing, you could simply click Invert.
- Using Bruth Tools to Optimize Selection
- For detailed needs like earrings or necklaces, you can enhance the “Invert” feature by using tools like the brush tool.
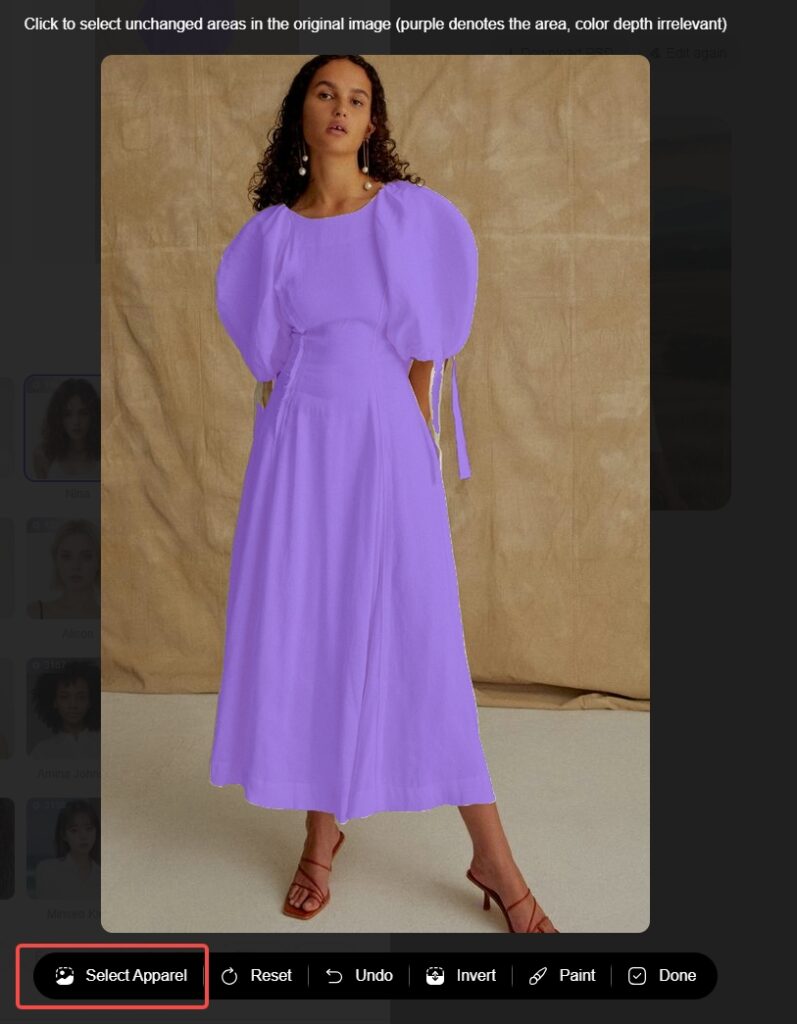
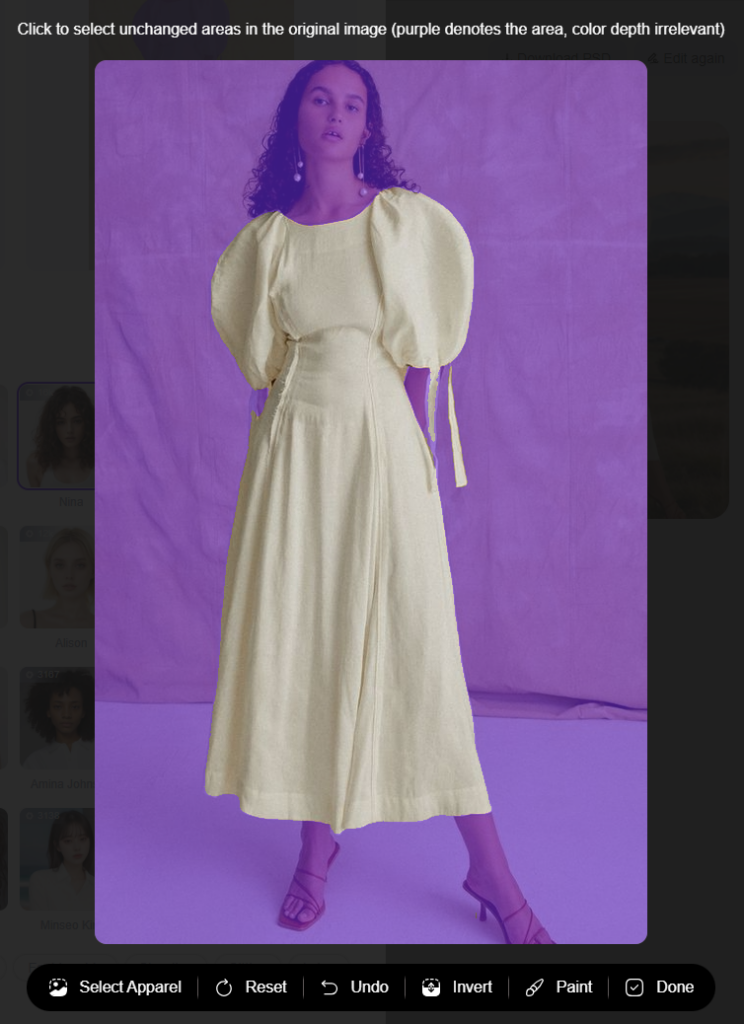


After using the brush, earrings are perfectly retained, and the clothing is diversified.

We hope you found Invert feature helpful. Now, let’s see more examples
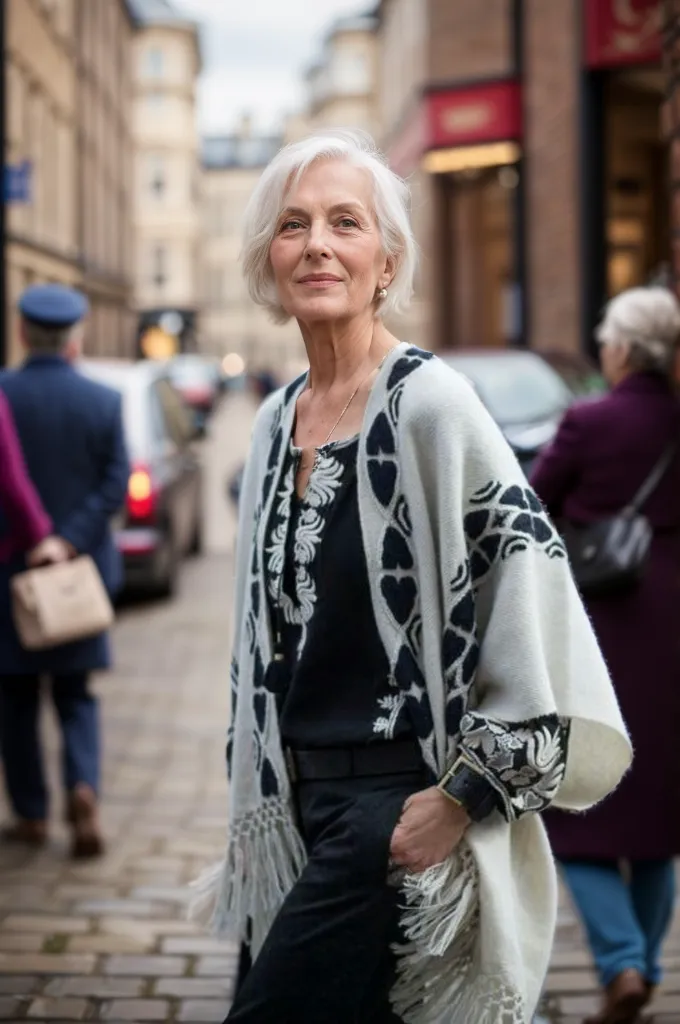
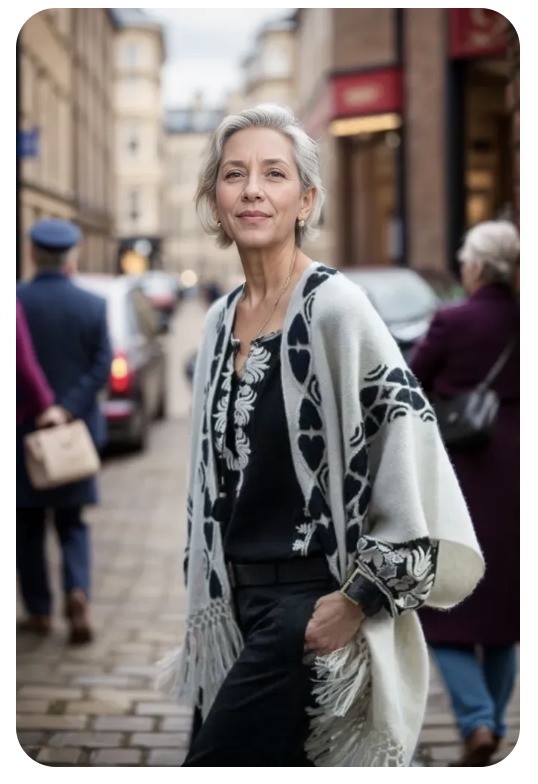
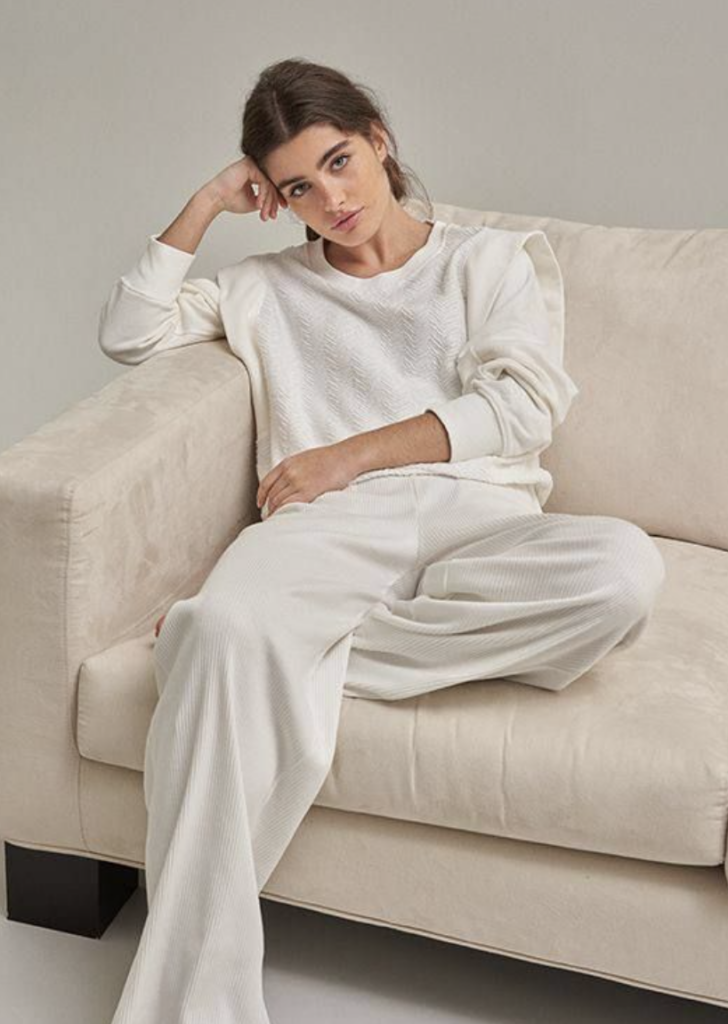
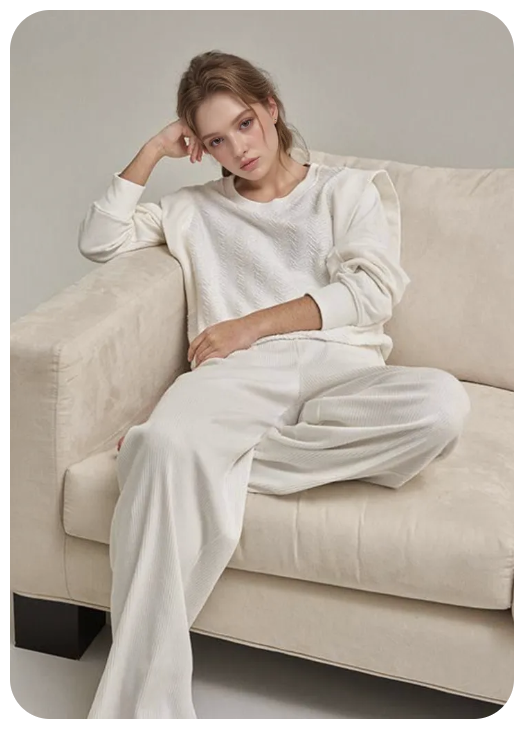
Now it’s time for you to try out the Invert feature! Click here to start your journey! Make your work more efficient and be amazed by its convenience.

