We are excited to announce that our Mask Selection Area in AI Model agent has just updated! In this article, we will walk you through the latest changes to the Selection Area operation process, ensuring that you can quickly and efficiently utilize this feature for your product images.
Updated AI Model Mask Selection Process
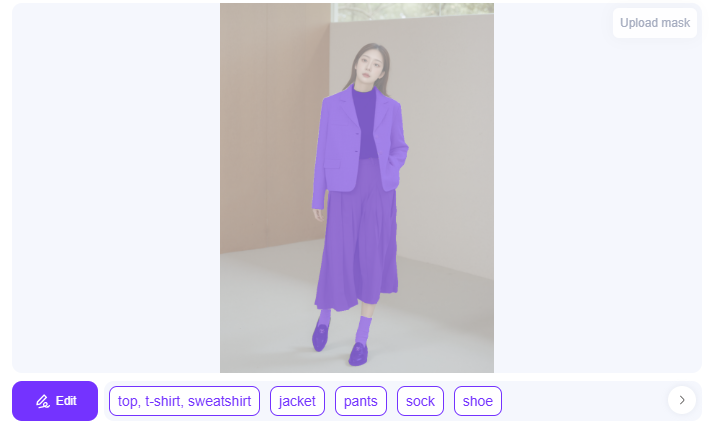
STEP 1: Automatic Categorization and Selection
In the updated Mask Selection Area, the backend system will automatically recognize and categorize different items, including clothing, accessories, bags, and shoes. All you need to do is check the items you wish to retain, and the selection process will be completed quickly.
Important Note❗️:
The updated selection checkboxes are intelligently adjusted based on the types of clothing and accessories detected in the uploaded image. Therefore, the range and content of the checkboxes may vary with each image you upload.
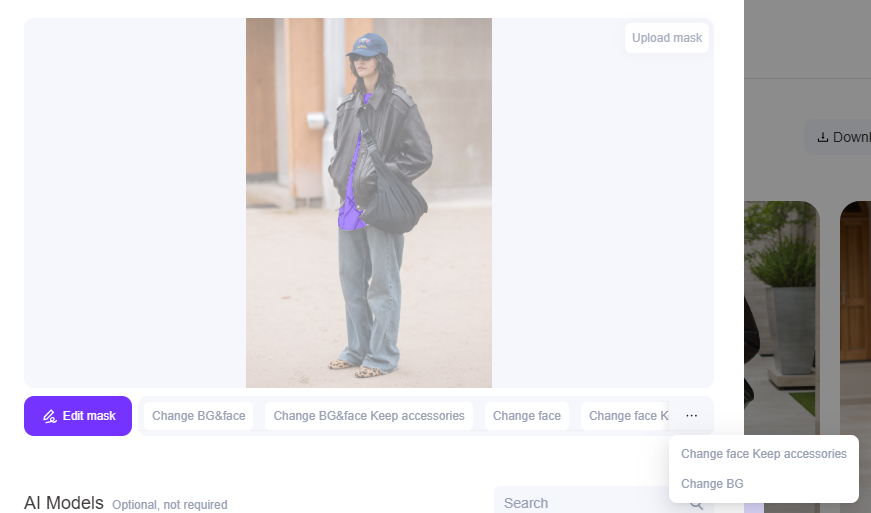
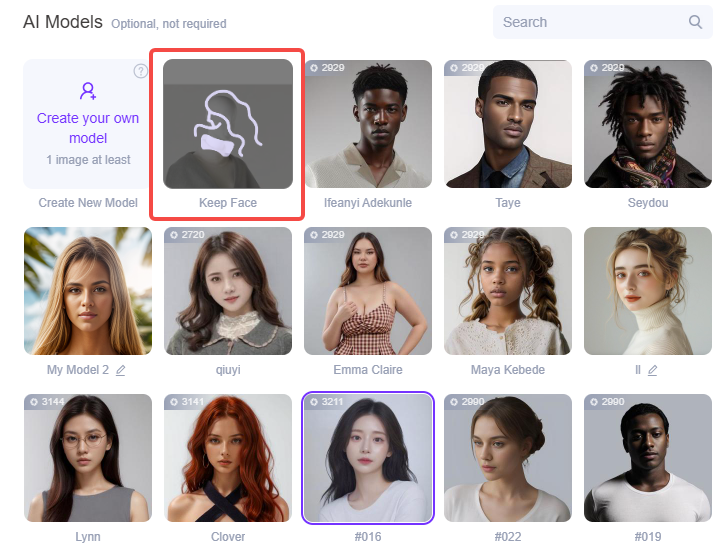
STEP 2: Managing Models and Backgrounds
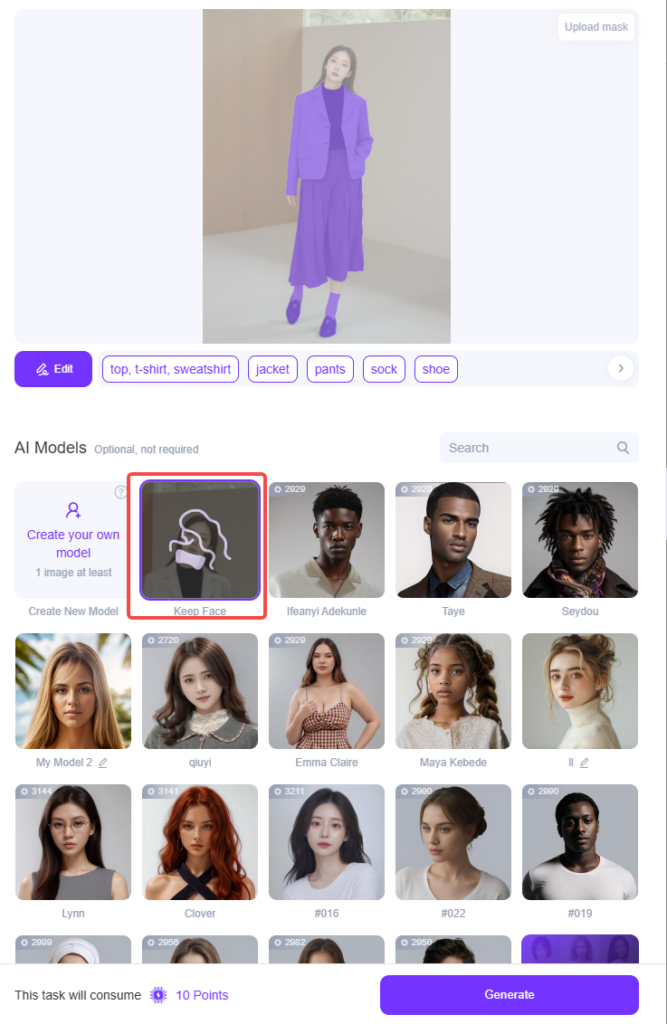
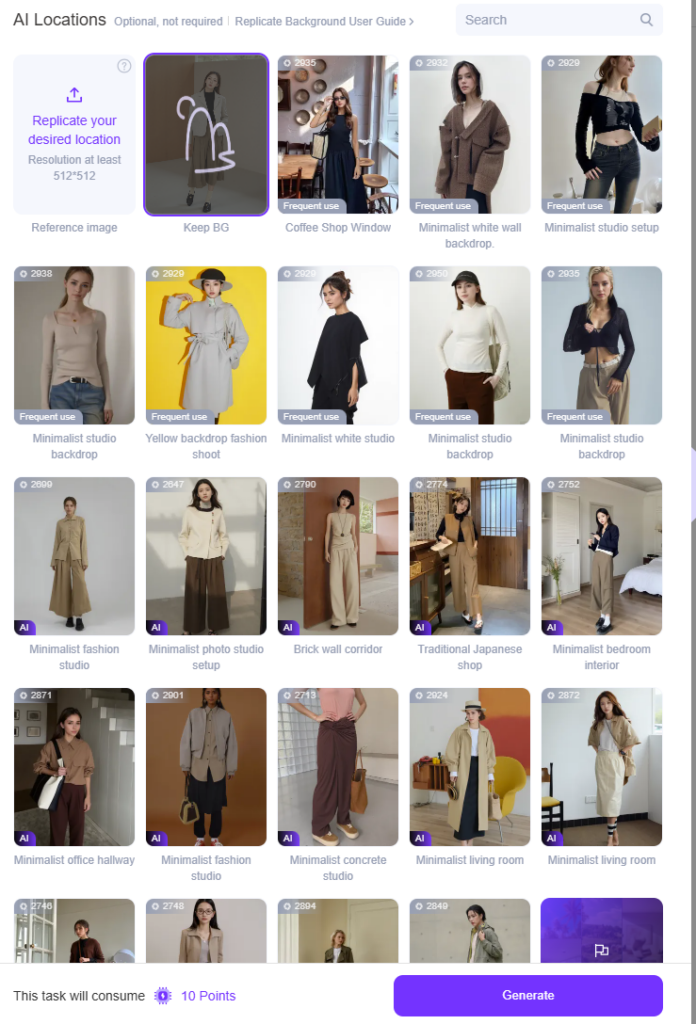
In the Selection Area, you will notice that there are no checkboxes for selecting models or scenes. If you want to keep the current model or scene, you can simply go to the AI Model and AI Scene sections below and select Keep Face or Keep BG.

Note: When you select Keep Face or Keep BG, the selection area will remain unchanged, preserving the integrity of the model and scene in your image.
Important Note:
- When you select Keep Model, the system will preserve the full-body image of the model, including their clothing, accessories, shoes, and all other styling elements.
- If you select both Keep Model and Keep Scene, the result will be the original image with no changes.
Quick Tips for Simplified Operation:
If the process still feels a bit complicated, here are some handy tips to help you navigate:
- To change both the model and scene: Simply check the desired tags in the Selection Area.
- only the scene: In the Model Area, select Keep Model.
- only the model: In the Scene Area, select Keep Scene.
These tips will help you quickly and efficiently make adjustments to your images with ease.
Best Examples
Now that we’ve covered the written instructions, let’s take a look at some examples to make the process even clearer.
Example 1: Changing Both the Model and the Scene
In the Mask Selection Area, check the tags you wish to keep for her clothing.
Before and After Comparison:
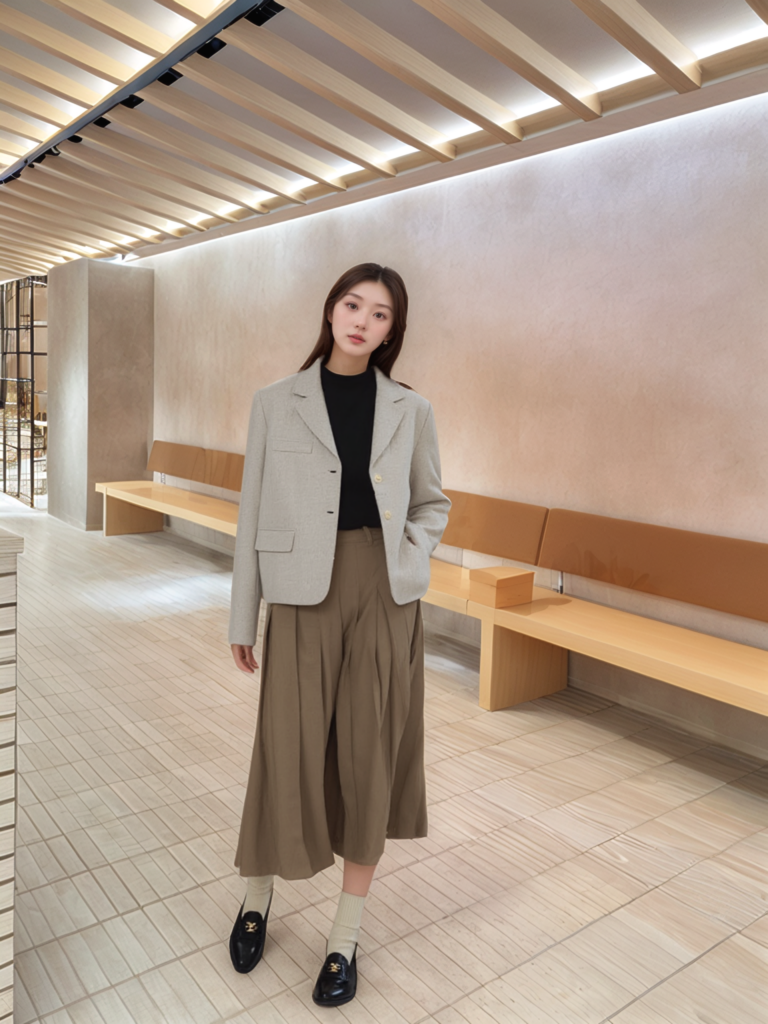
Before: Model and scene as in the original image.
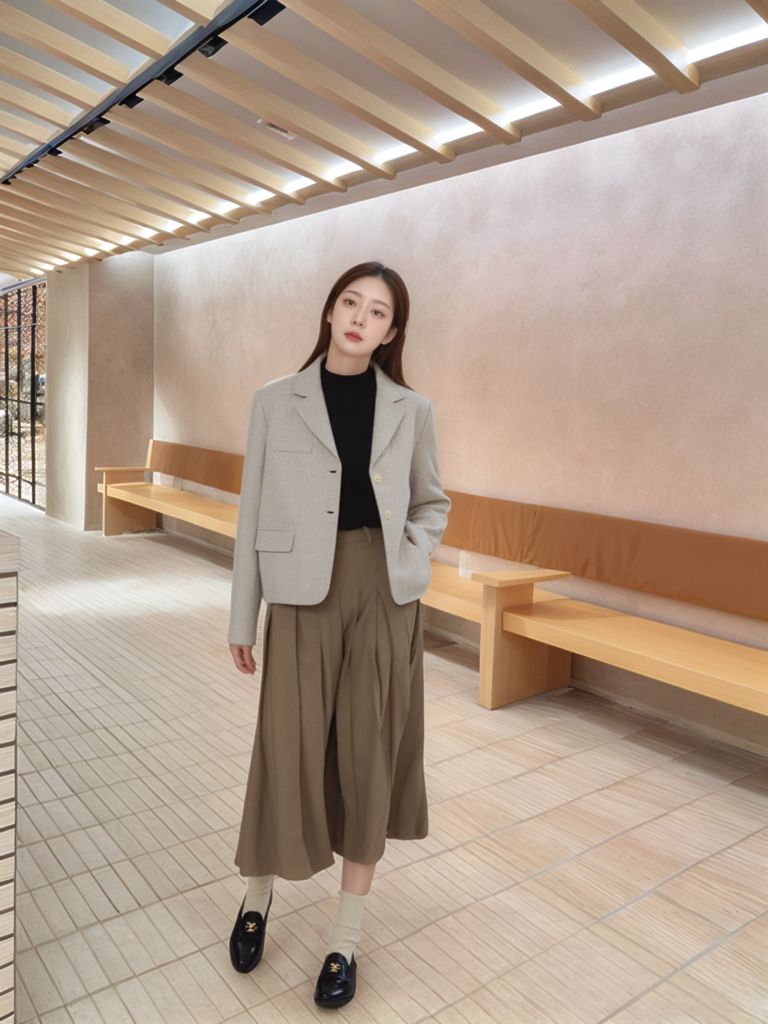
After: The model and scene are swapped with new selections.

Example 2: Keeping the Model and Changing the Scene
In the AI Model area, select Keep Model.
Before and After Comparison:
Before: Original image with model and scene.
After: The model remains unchanged, but the scene is swapped for a new background.

Example 3: Changing the Model and Keeping the Scene
In the Scene Area, select Keep Scene.
Before and After Comparison:
Before: Original image with model and scene.
After: The scene remains unchanged, but the model is replaced with a new one.

Conclusion
With these updates to the Mask Selection Area, WeShop AI makes it easier than ever to create dynamic product photos that match your vision. Whether you’re changing the model, adjusting the scene, or keeping both elements intact, the updated interface and intuitive steps will save you time and enhance your photo quality. Follow the updated process and make the most of this feature to elevate your product images.