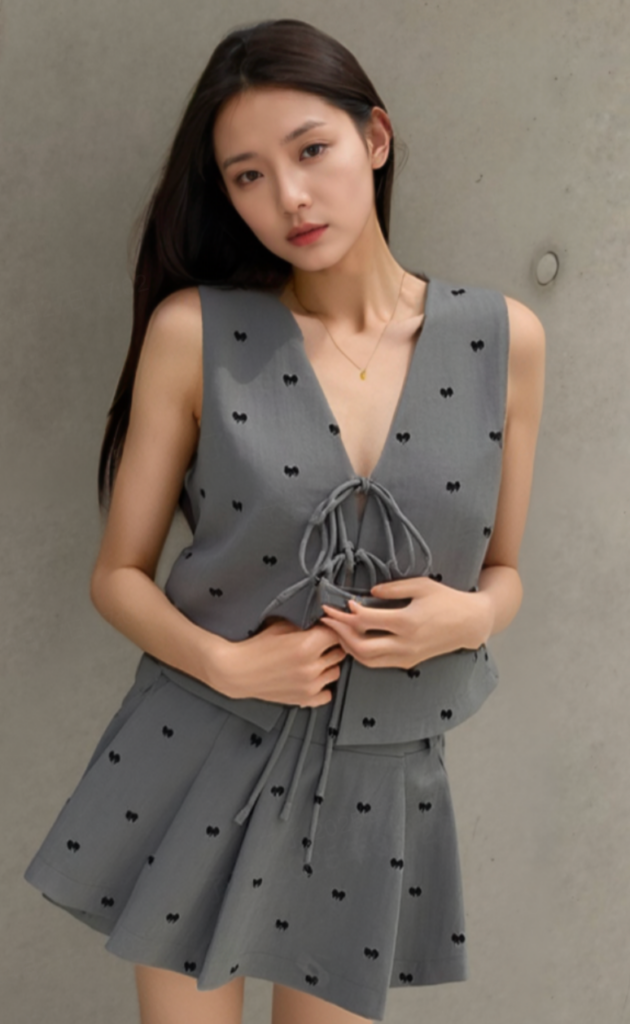
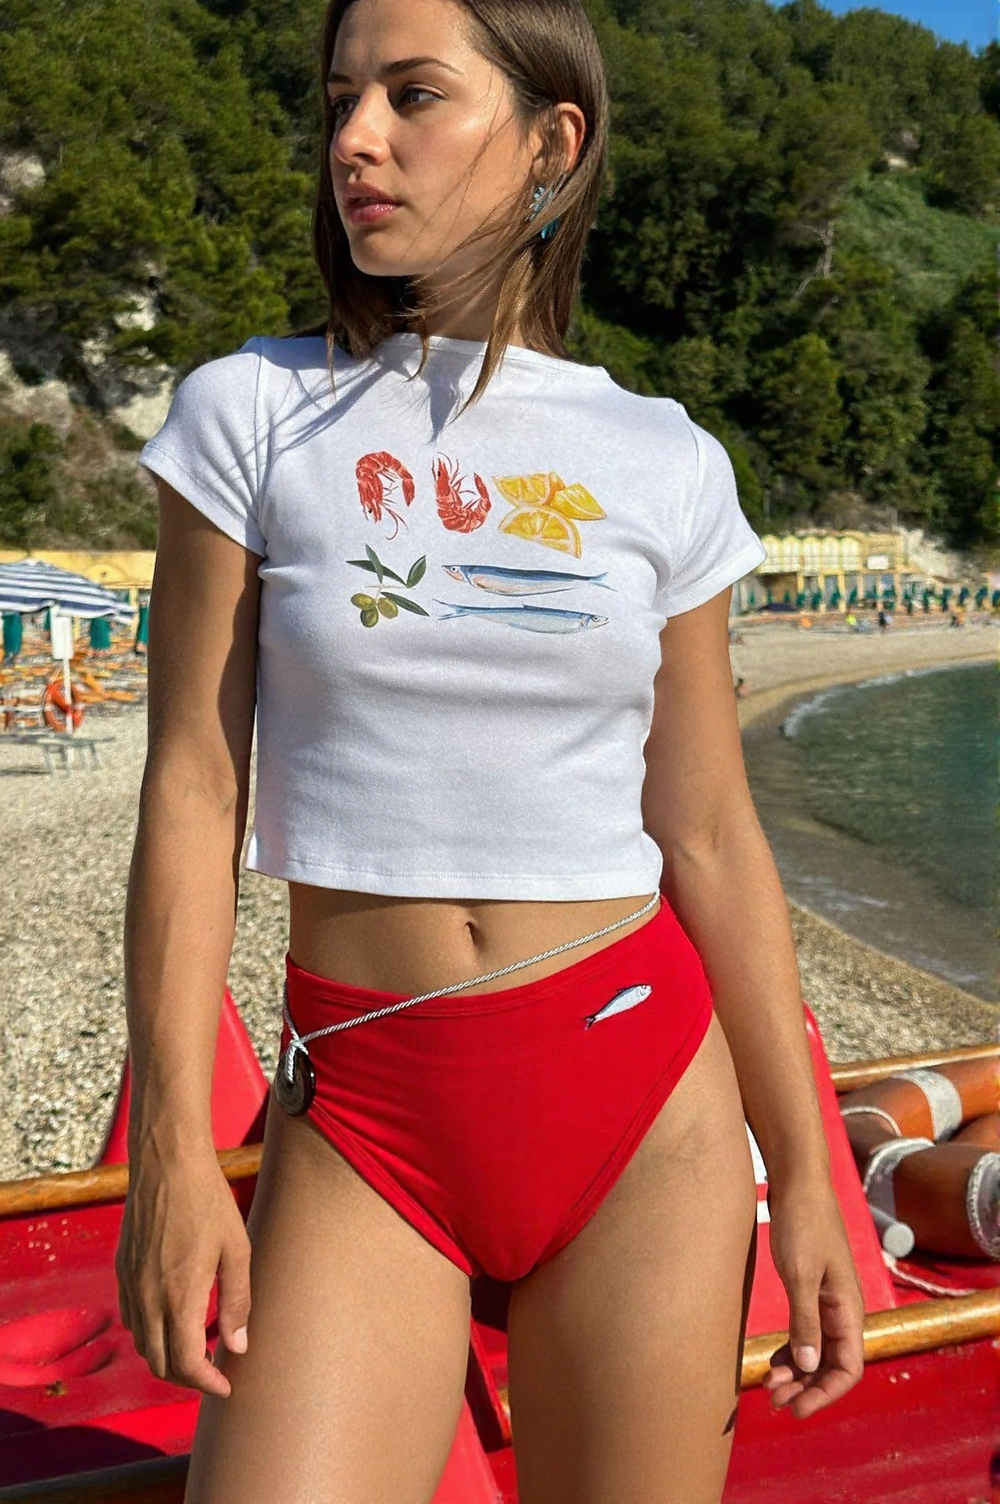
We have compiled some advanced strategies for combining features to streamline the commercial photography process and achieve more effective results, include AI image expander and AI Model.
AI Outpainting and AI Model Integration
A common challenge in commercial photography is having only a half-body product image when a full-body scene is needed. This is where the AI Outpainting feature proves invaluable.
The AI Image Expansion tool allows you to convert a half-body image into a full-body image, adapting it to meet the size requirements for various platforms, such as e-commerce websites, social media, and print catalogs. Once expanded, you can leverage the AI Model feature to integrate the enhanced image with an appropriate AI model and scene by matching pose, lighting, and scale, ensuring a cohesive and visually appealing full-body presentation. Below is a step-by-step guide on how to utilize this process effectively:
Step-by-Step Process
STEP 1: Upload Image to AI Image Expansion
- Begin by selecting a half-body image and uploading it to the AI Image Expansion feature.
- Choose the required image size and adjust the position and scale, leaving adequate space for generating the lower half of the image.
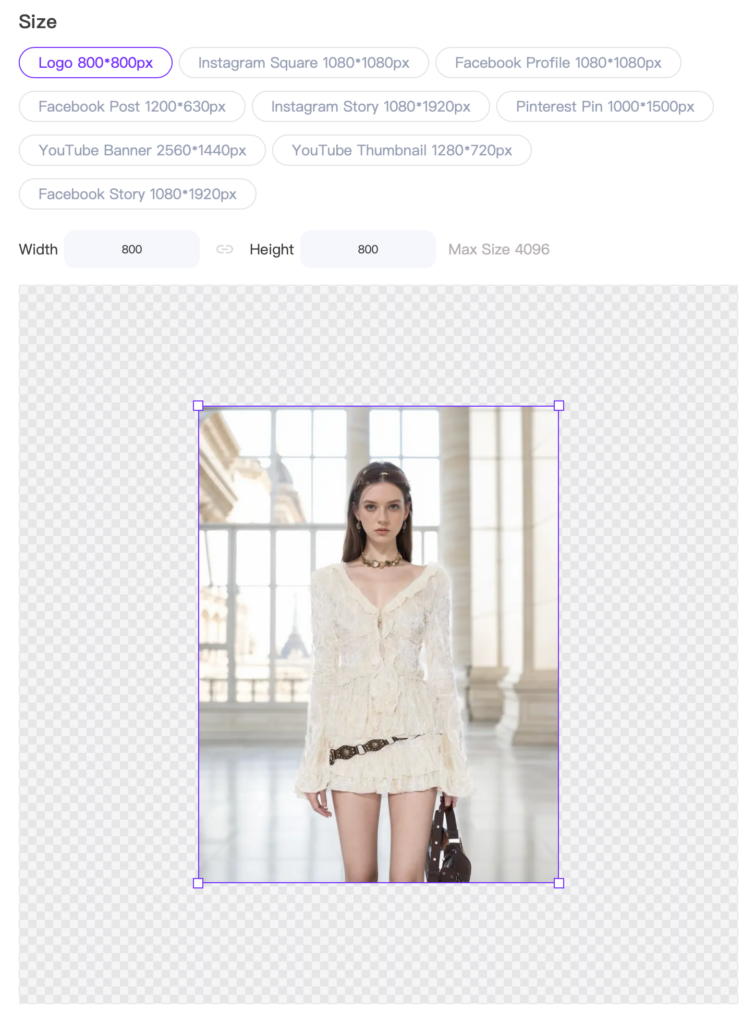
STEP 2: Generate the Expanded Image
- Once the image is processed, click the “More” option within the image and send it to the AI Model tool for further customization.
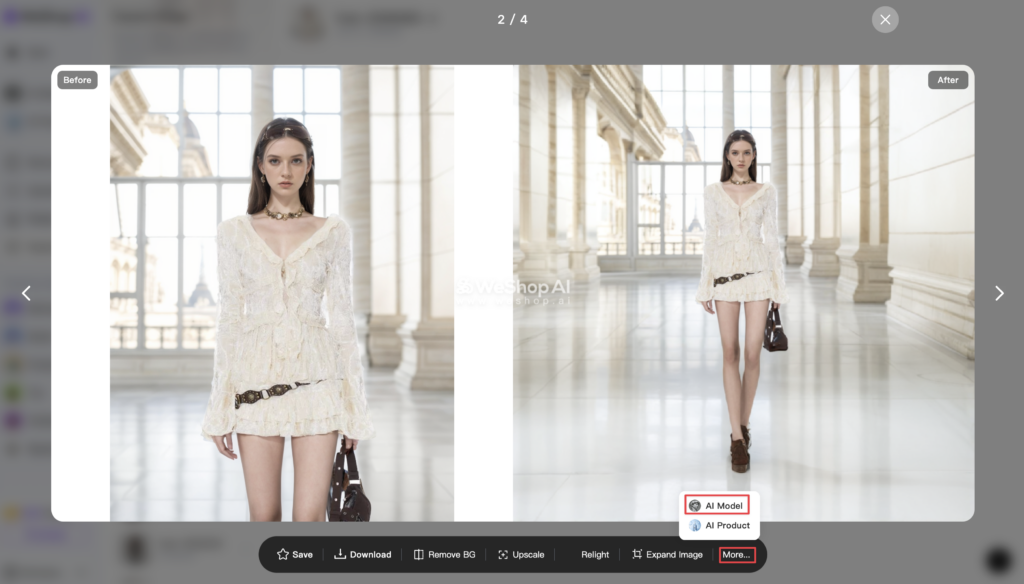
STEP 3: Using the AI Model Feature
- Within the AI Model, edit the selection area and choose a suitable model to integrate with the expanded image as needed.
- For more in-depth information on scene matching, refer to our previous tutorial: AI Background 2.0: Custom Background Creator and Replicate
STEP 4: Select a Full-Body Scene for Display
- After expanding the image to a full-body view, navigate to the Location Store to select a full-body scene that complements the newly expanded image for an ideal display.
Key Distinctions: Reference to Original Image vs. Reference to Selected Location
To effectively use these tools, it’s crucial to understand the distinction between Reference to Original Image and Reference to Selected Location:
- Reference to Selected Location: The generated image will maintain a similar composition to your uploaded scene image.
- Reference to Original Image: The generated image will maintain a similar composition to your original image uploaded.
- Original Scene: Weathered Wall
- Generated Model: Nissa
- Generated Scene: Staircase

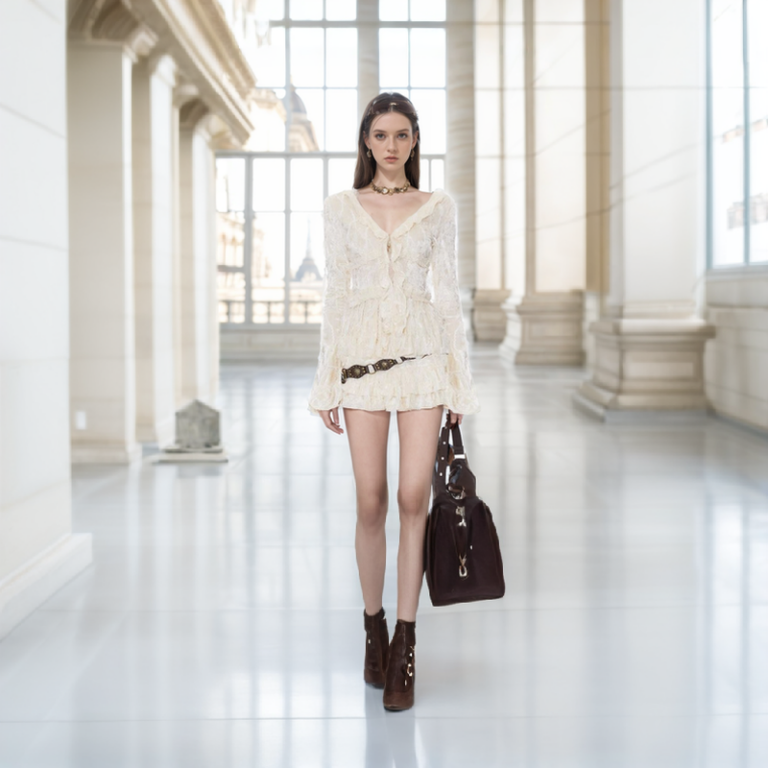

Case Studies
Here are some practical examples to illustrate how these features can be used together to achieve optimal results:
Example 1: Original Model – Kaka
- Original Scene: City Street
- Generated Model: Xiao Qiu
- Generated Scene: Store Entrance

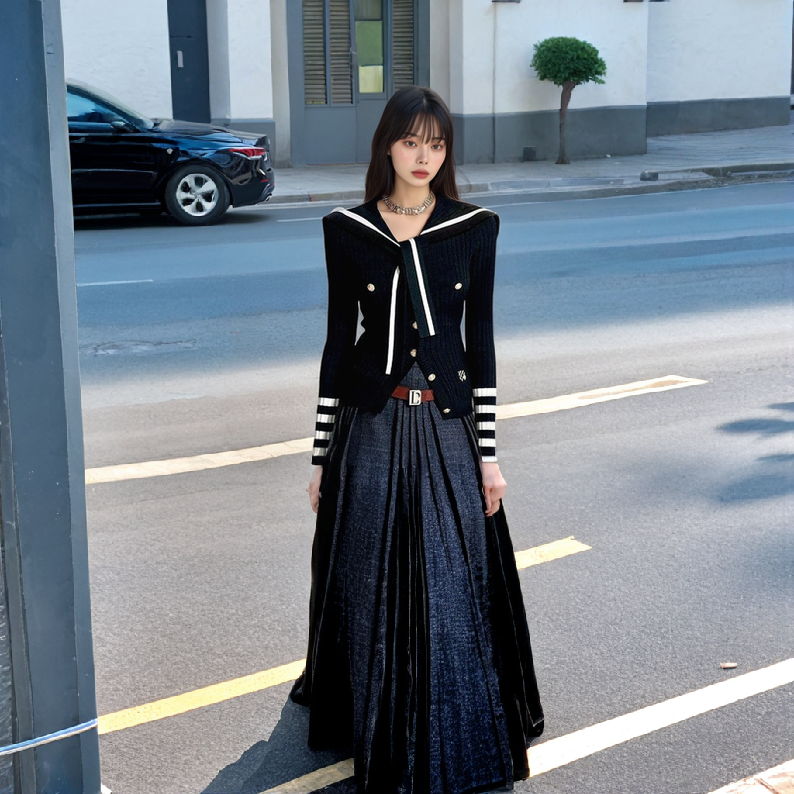
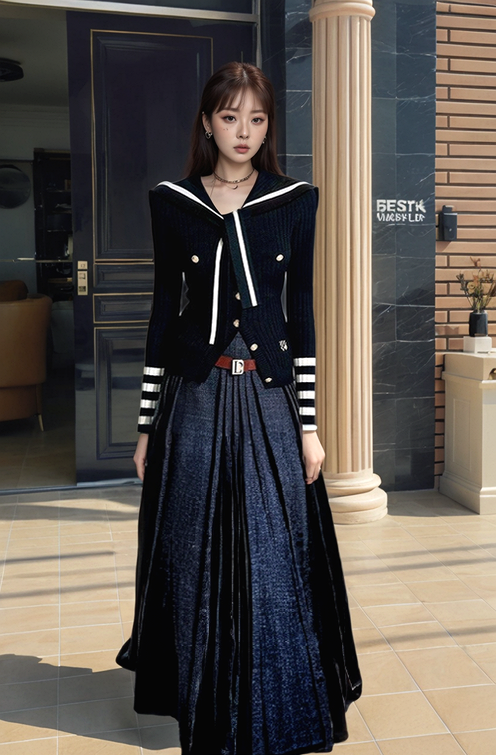
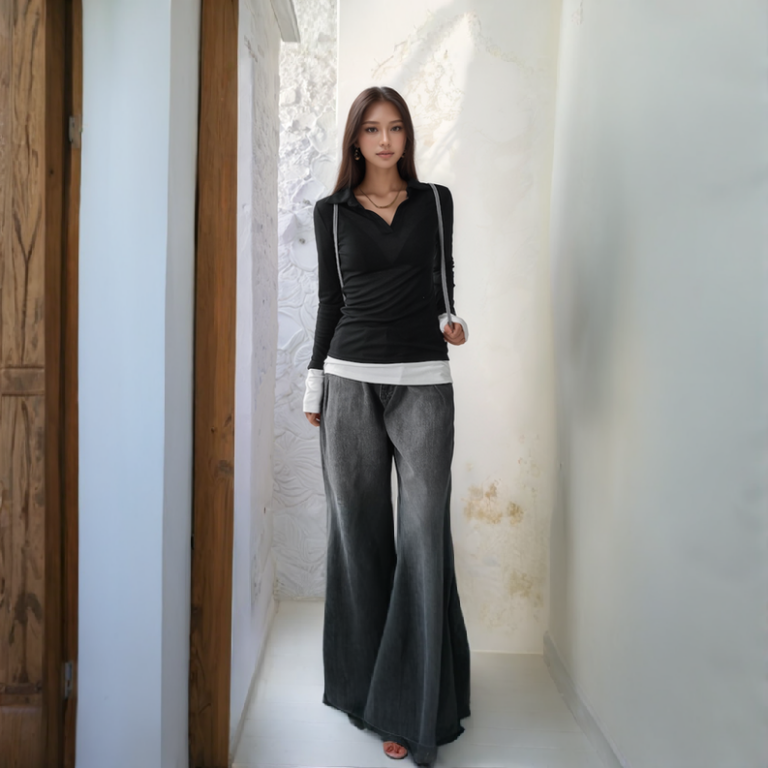
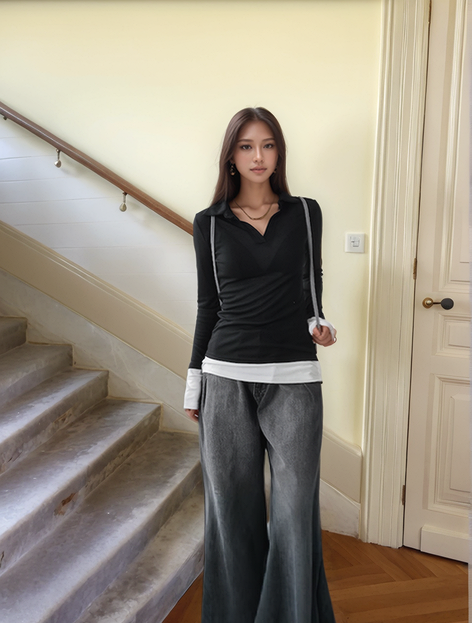
Example 2: Original Model – Nissa
- Original Scene: Weathered Wall
- Generated Model: Nissa
- Generated Scene: Staircase
- AI Scene: Mediterranean Courtyard
- Composition Mode: Reference to Selected Location
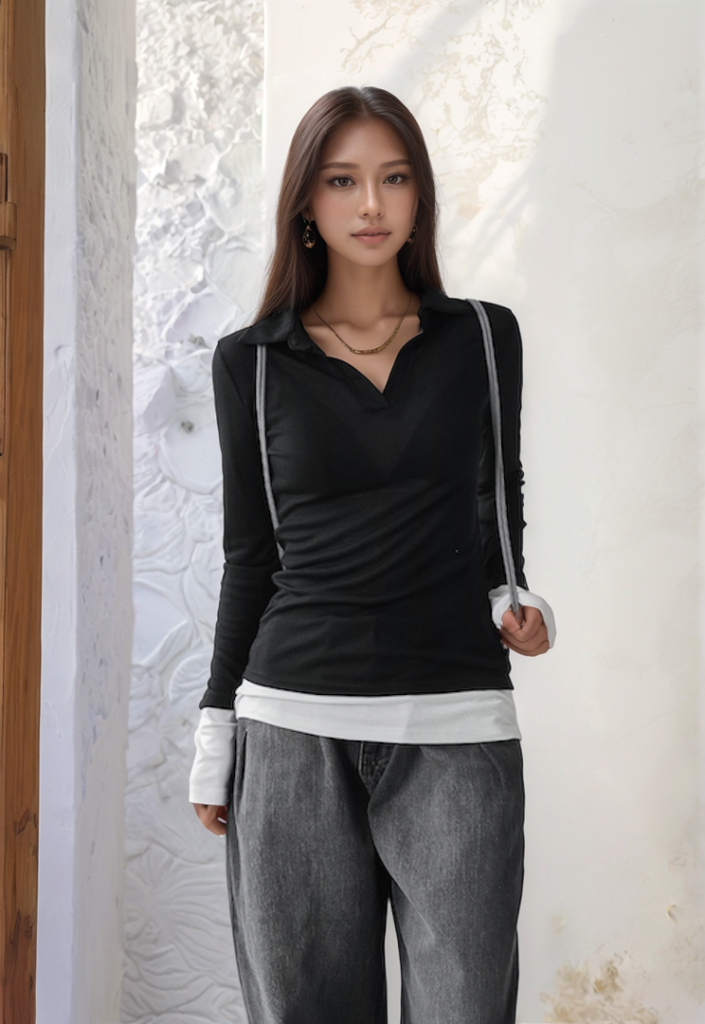
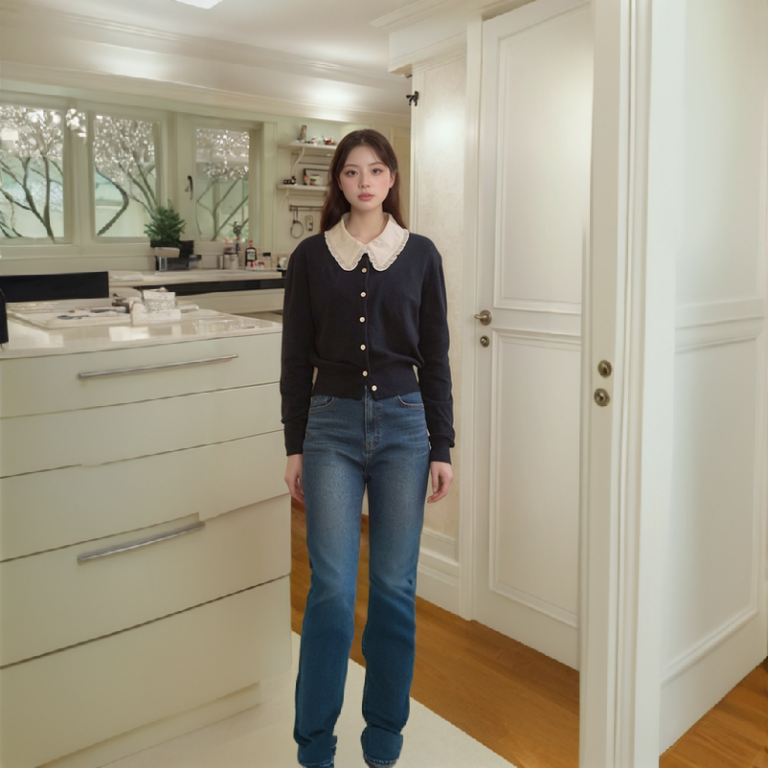
Example 3: Original Model – Beibei
- Original Scene: Kitchen Doorway
- Generated Model: Random Model
- Generated Scene: Living Room Bookshelf


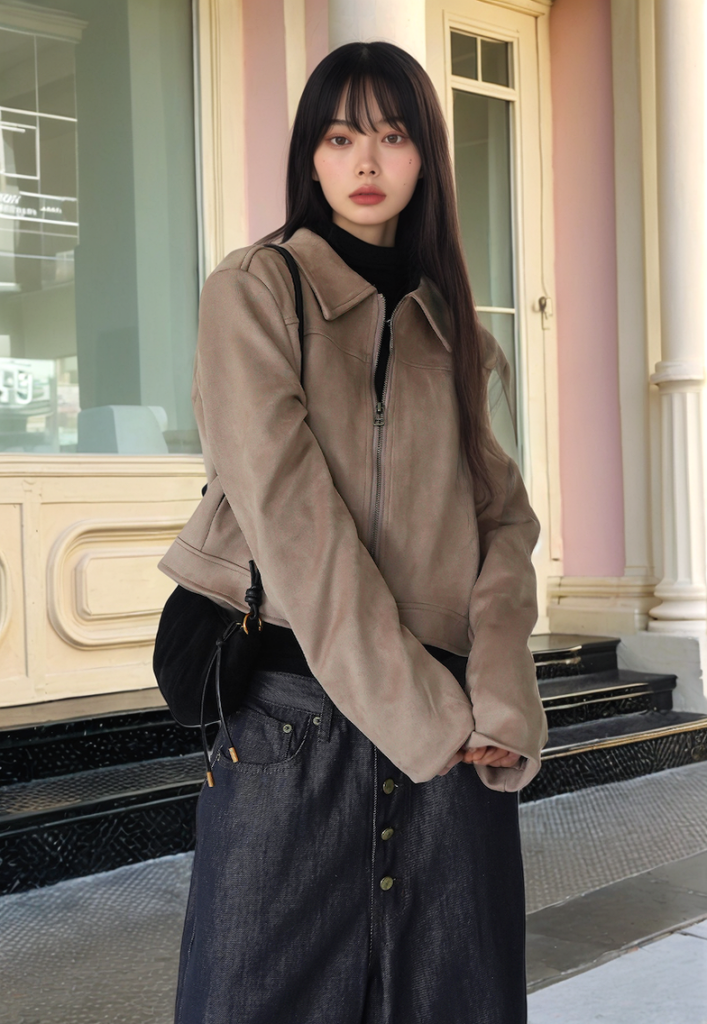
Example 4: Original Model – Ranran
- Original Scene: New York Fashion Store
- Generated Model: Beibei
- Generated Scene: Brand Store Entrance
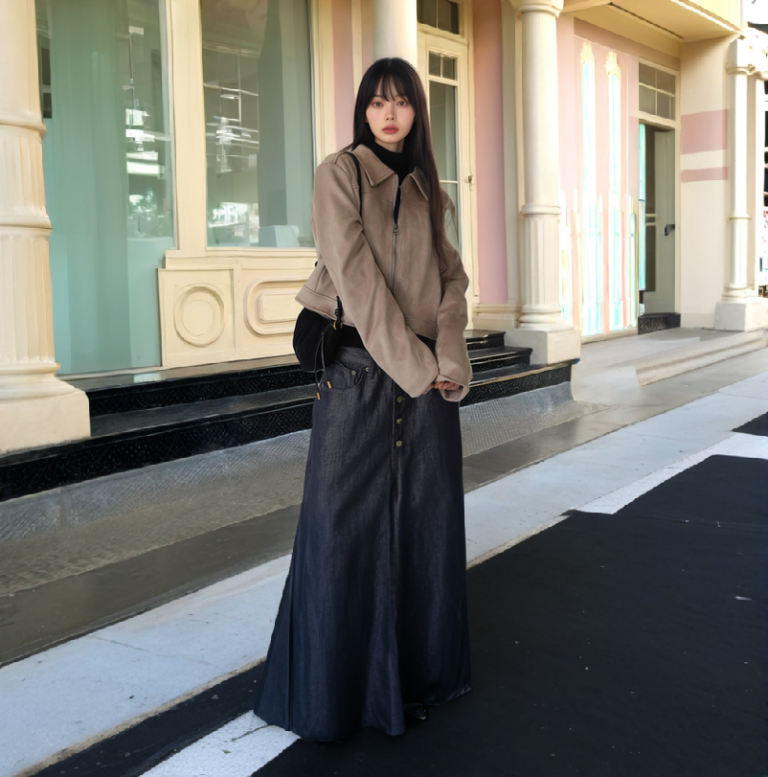
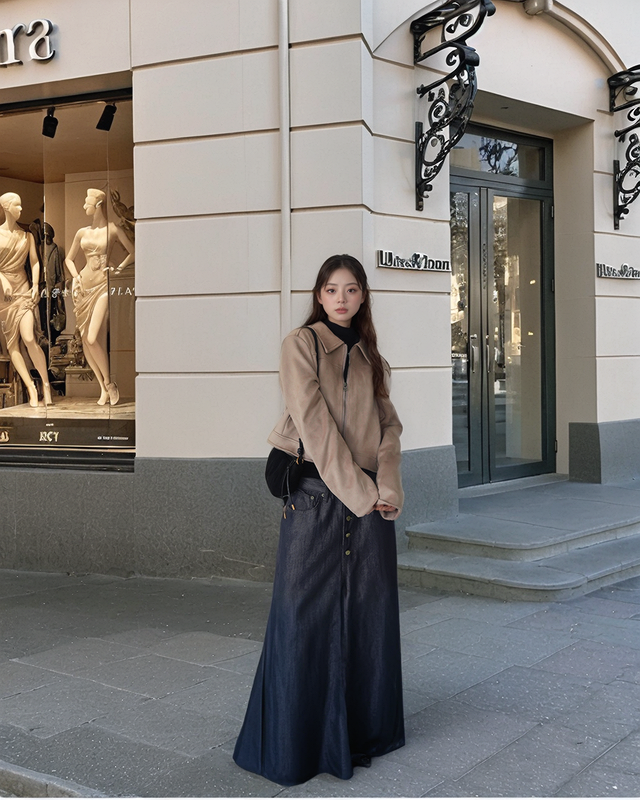
These case studies demonstrate how effectively combining the AI Outpainting and AI Model features can convert half-body images into full-body compositions and seamlessly integrate them into different contexts, significantly enhancing the richness and overall visual impact of product displays. I hope these advanced tips help streamline your workflow and improve your output!

