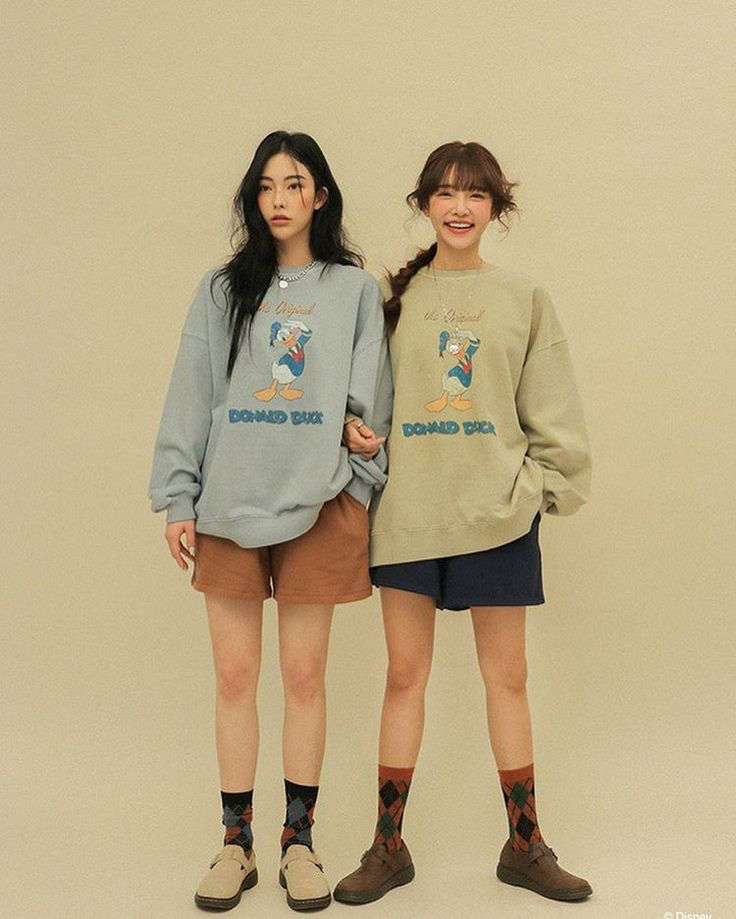
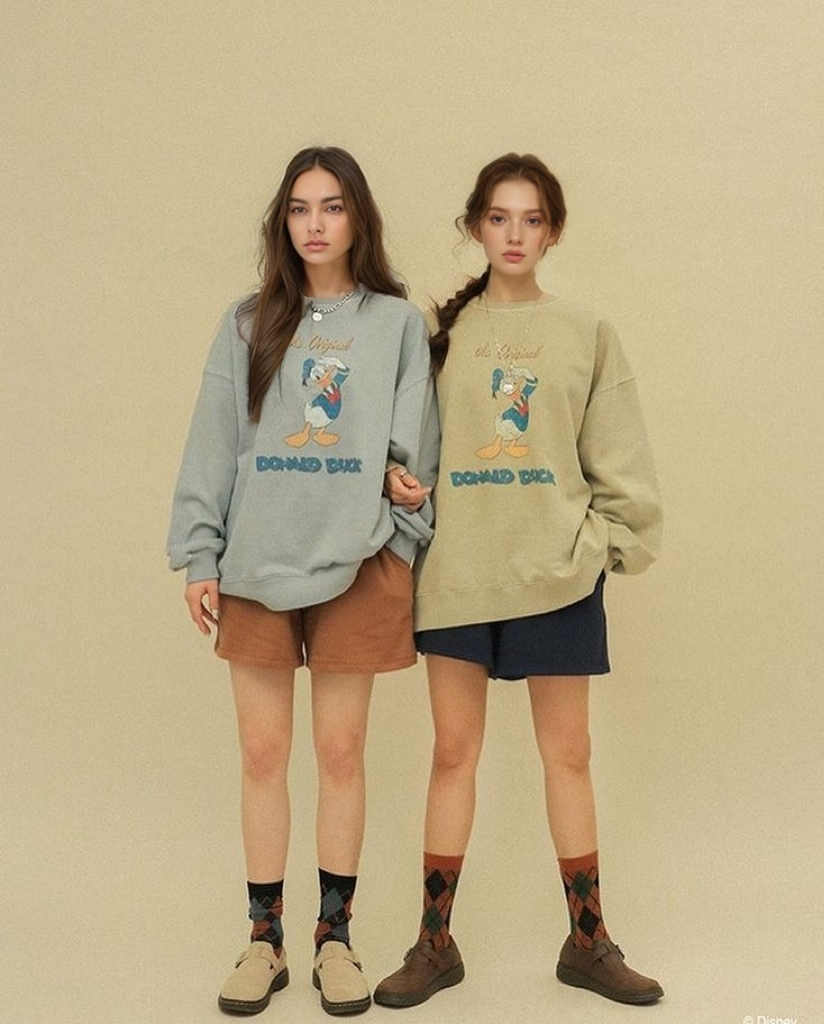
As Fall approaches, many fall fashion campaigns feature dual models to showcase different color options or coordinated styles for couples. However, finding the right couple models and the perfect background for such shoots can often be a challenging and time-consuming process. If you’ve been struggling to secure two models for your project or are worried about the complexities of organizing a dual shoot, you’re not alone. Capturing two models instead of one can significantly increase the time and effort required, especially when clients request diversity in ethnicity or specific gender pairings—whether same-sex or mixed. These demands can often lead to stress. Today, I’m here to guide you through the process of easily generating dual-model images, helping you achieve stunning results without the usual hassle.
Easy Step by Step
First Model
Step 1: Upload the Image and Edit the Mask Area
Begin by uploading the image as usual. However, when editing the mask area, pay close attention. Typically, we focus on selecting the clothing or background, but for this step, we’ll take the opposite approach. Start by isolating only the area where you intend to replace the female model.
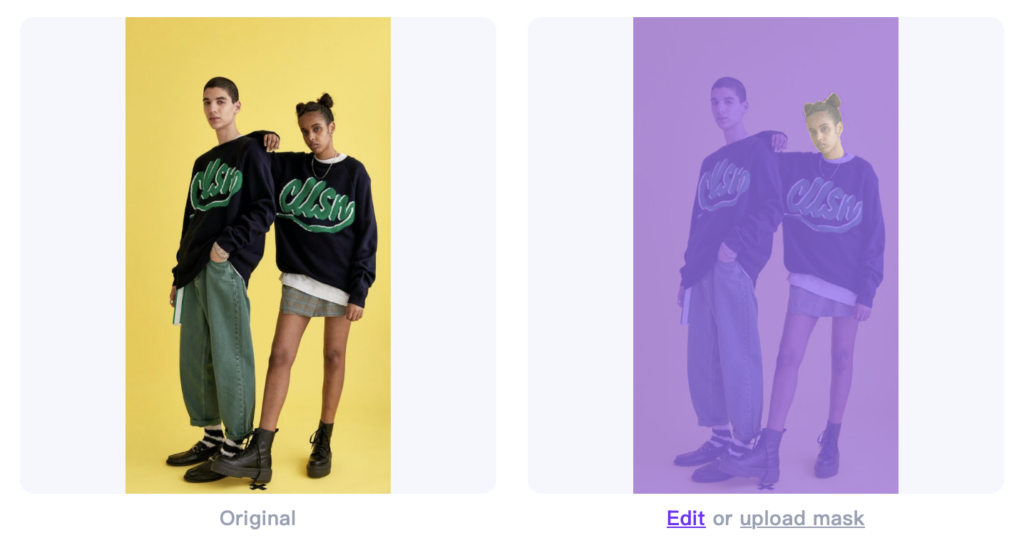
Step 2: Select an AI Model
Navigate to the “AI Models” to choose a preferred model or customize your model using our zero-cost personalization feature.
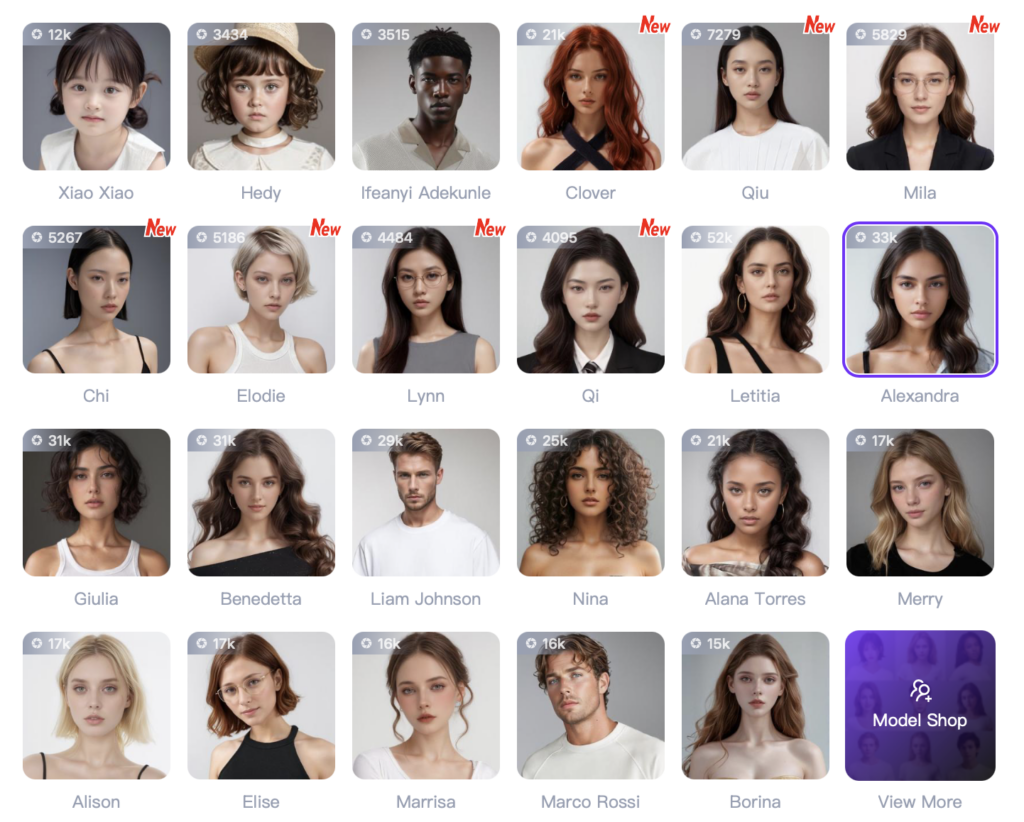
Step 3: Generate
Once the model is selected, you will have an image where only the female model has been replaced.
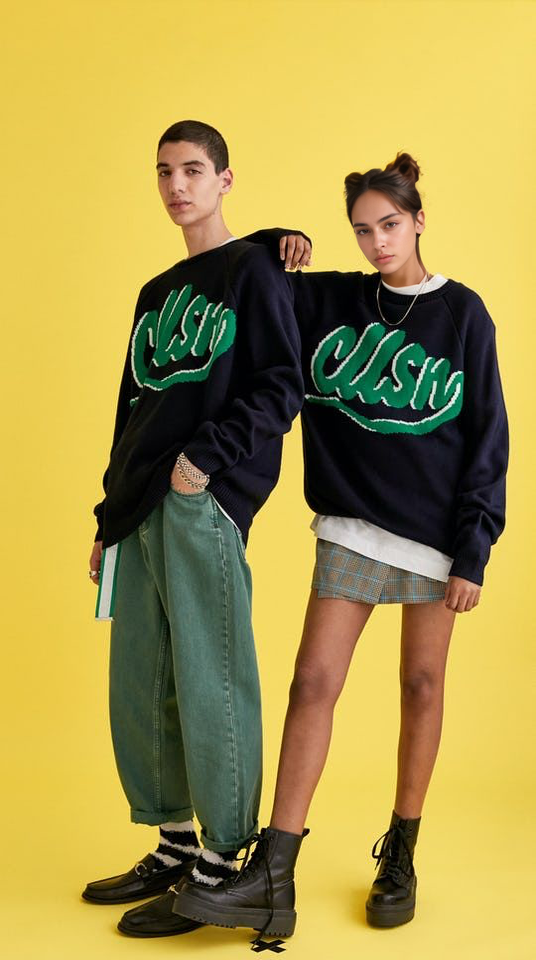
Second Model
Step 1: Open the Generated Image and Send It to the AI Model Section
Next, open the newly generated image and click “Send to AI Model” at the bottom.
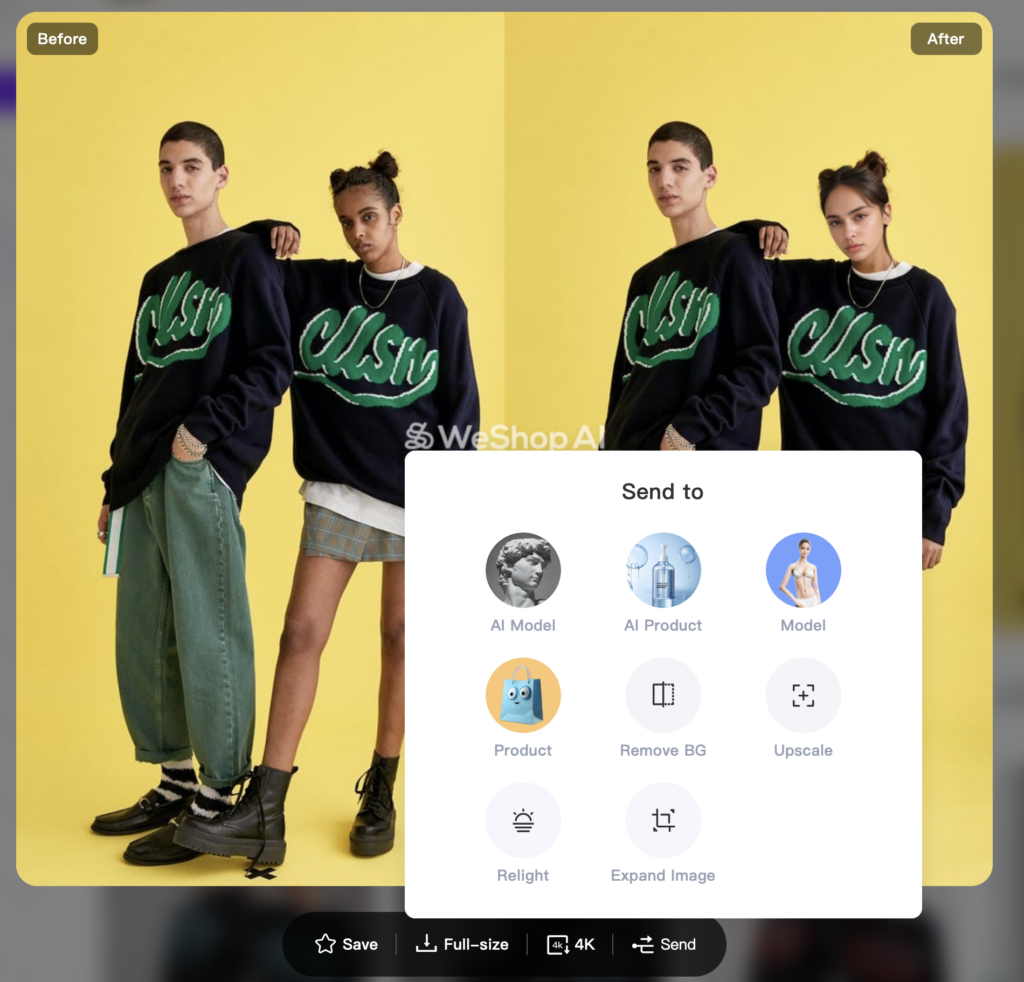
This time, isolate the area where the male model will be replaced.
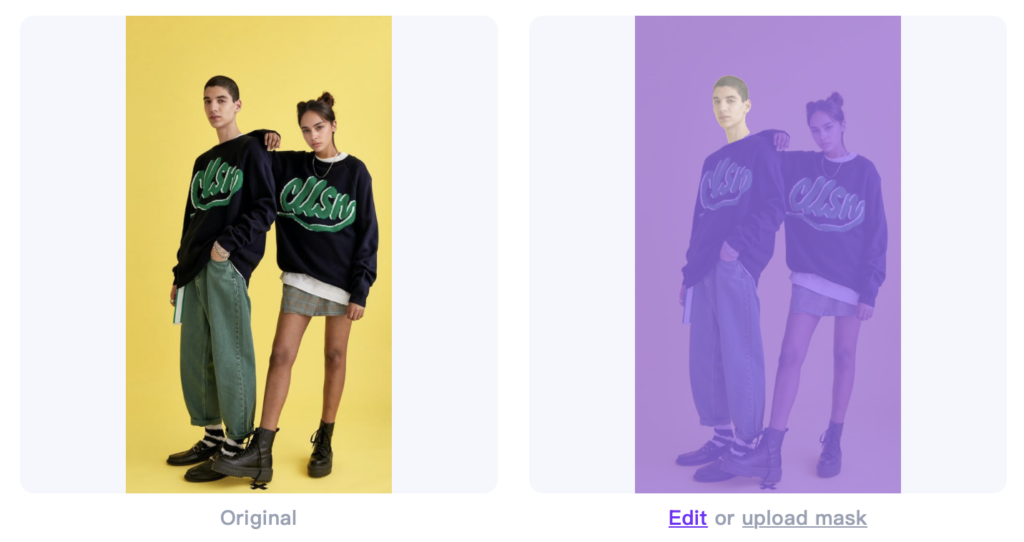
Step 2: Select a Model
As with the first model, visit the “AI Models” and select a preferred model
Step 3: Generate
Once completed, you will have a photo with only the male model replaced. And now the couple model is perfectly swapped.
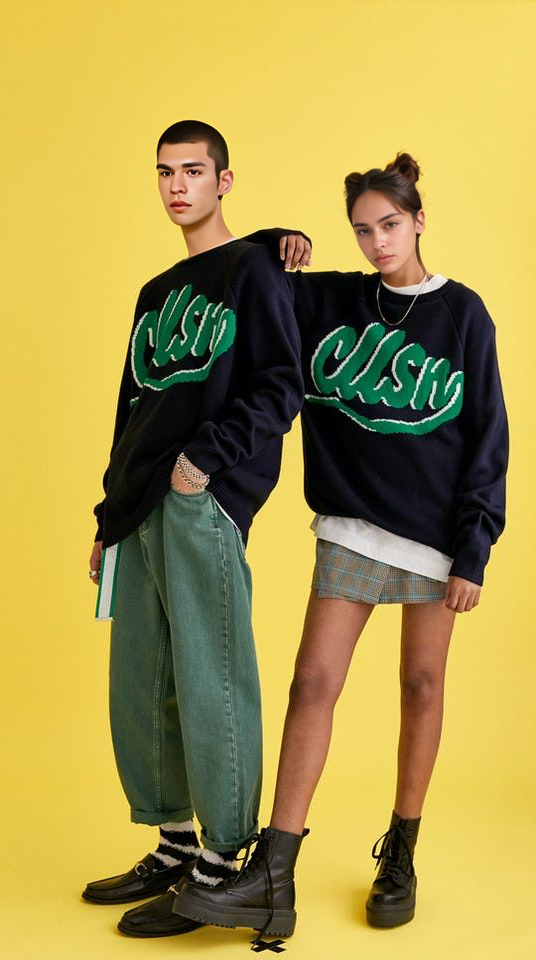
By following these steps, you can efficiently generate couple model images with minimal effort.
Once both models have been replaced, proceed with the familiar steps!
Open the newly generated image, click “Send to AI Model” at the bottom, and in the “Edit Mask” section, select the models and their clothing.
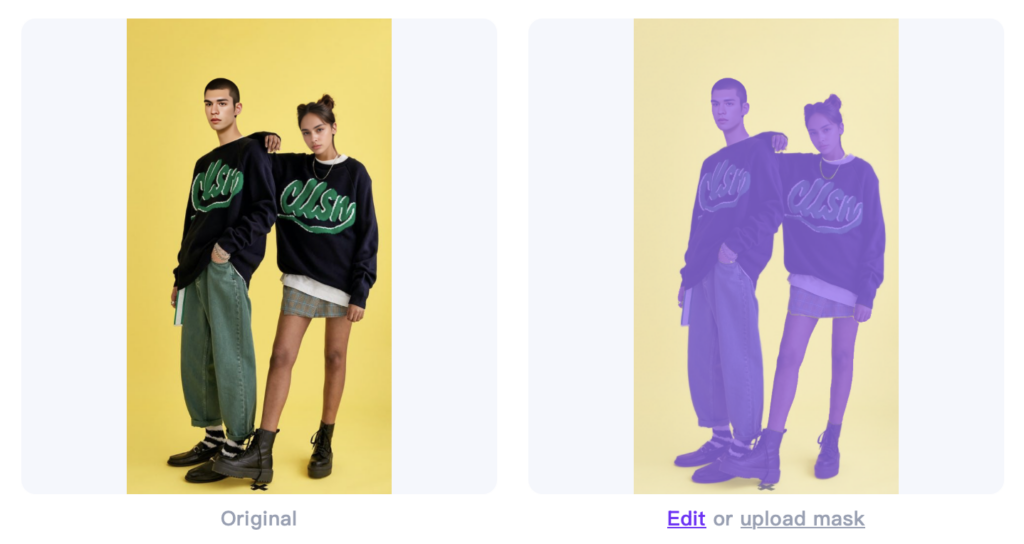
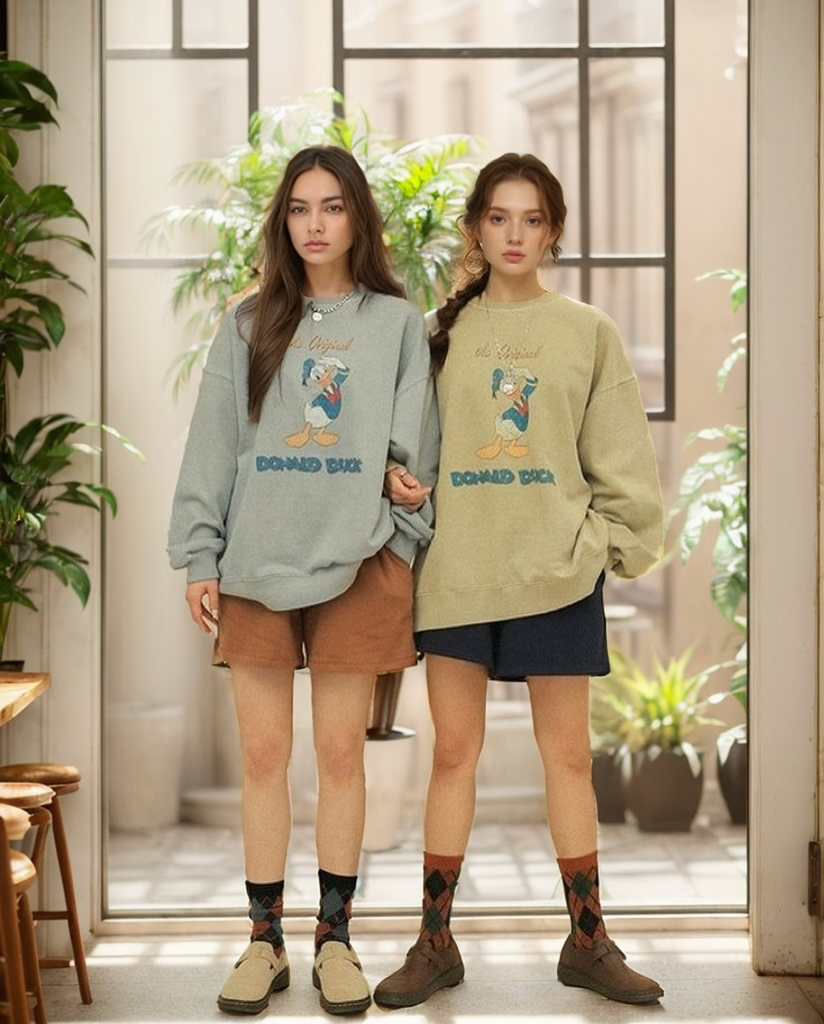
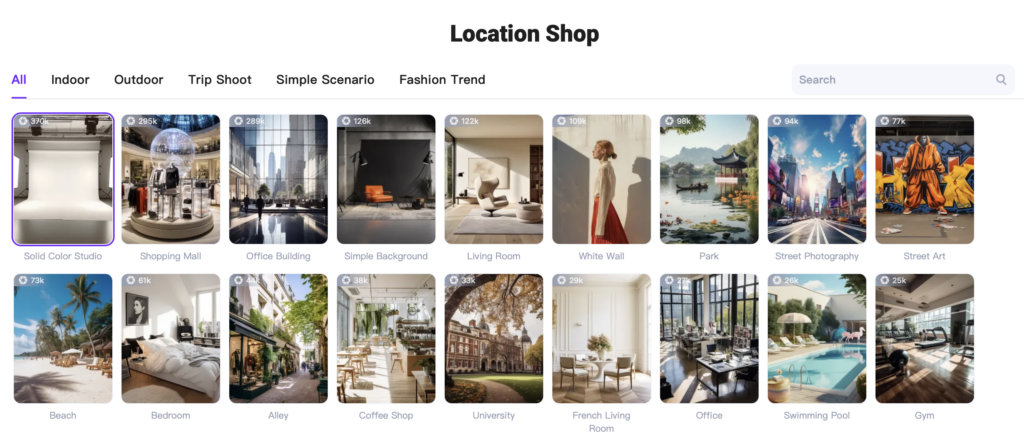
After editing, proceed to the “AI Location” to select a preferred or suitable background. Alternatively, you can describe the desired scene in the prompt description box below to generate a custom scene.
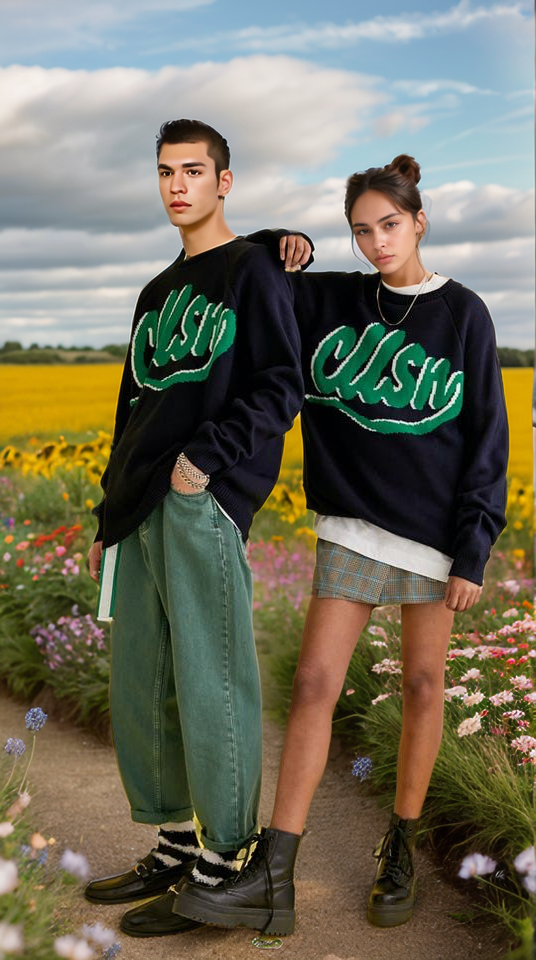
Final Results
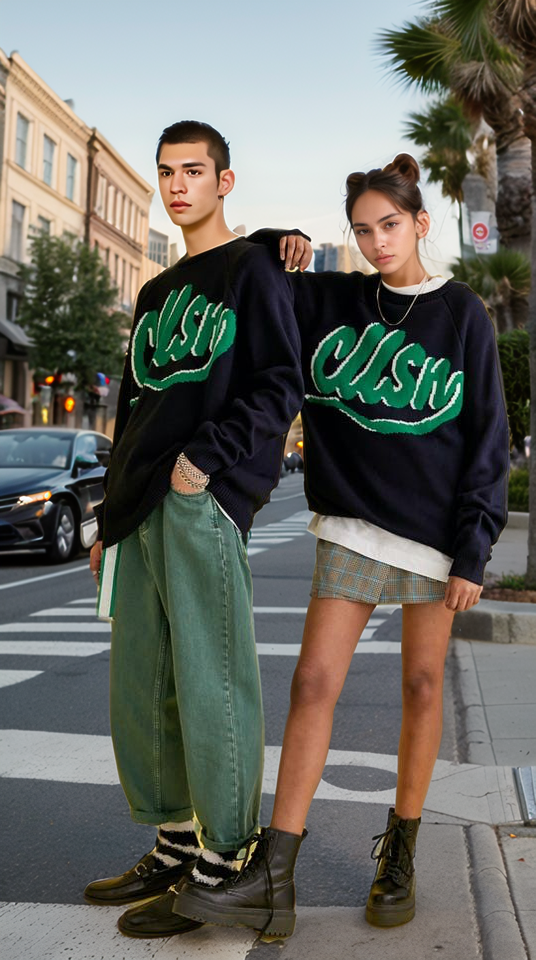
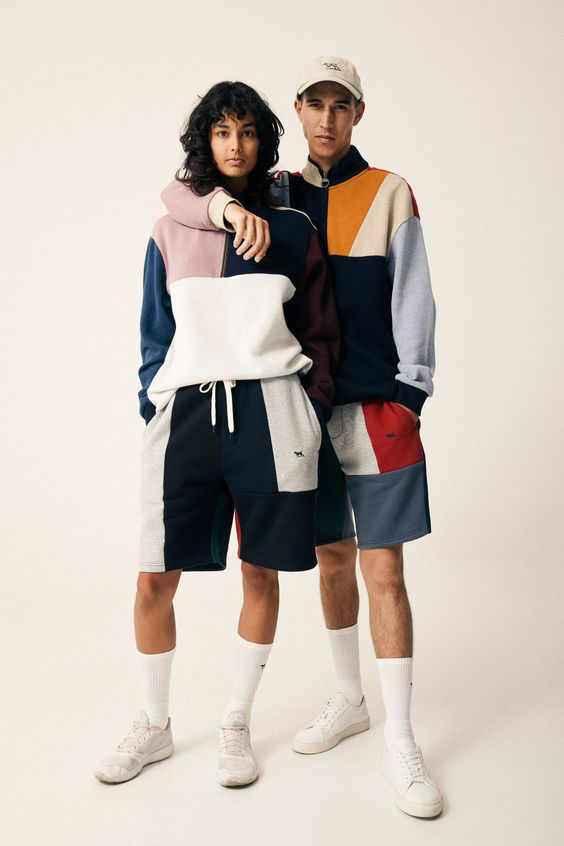
More Examples
