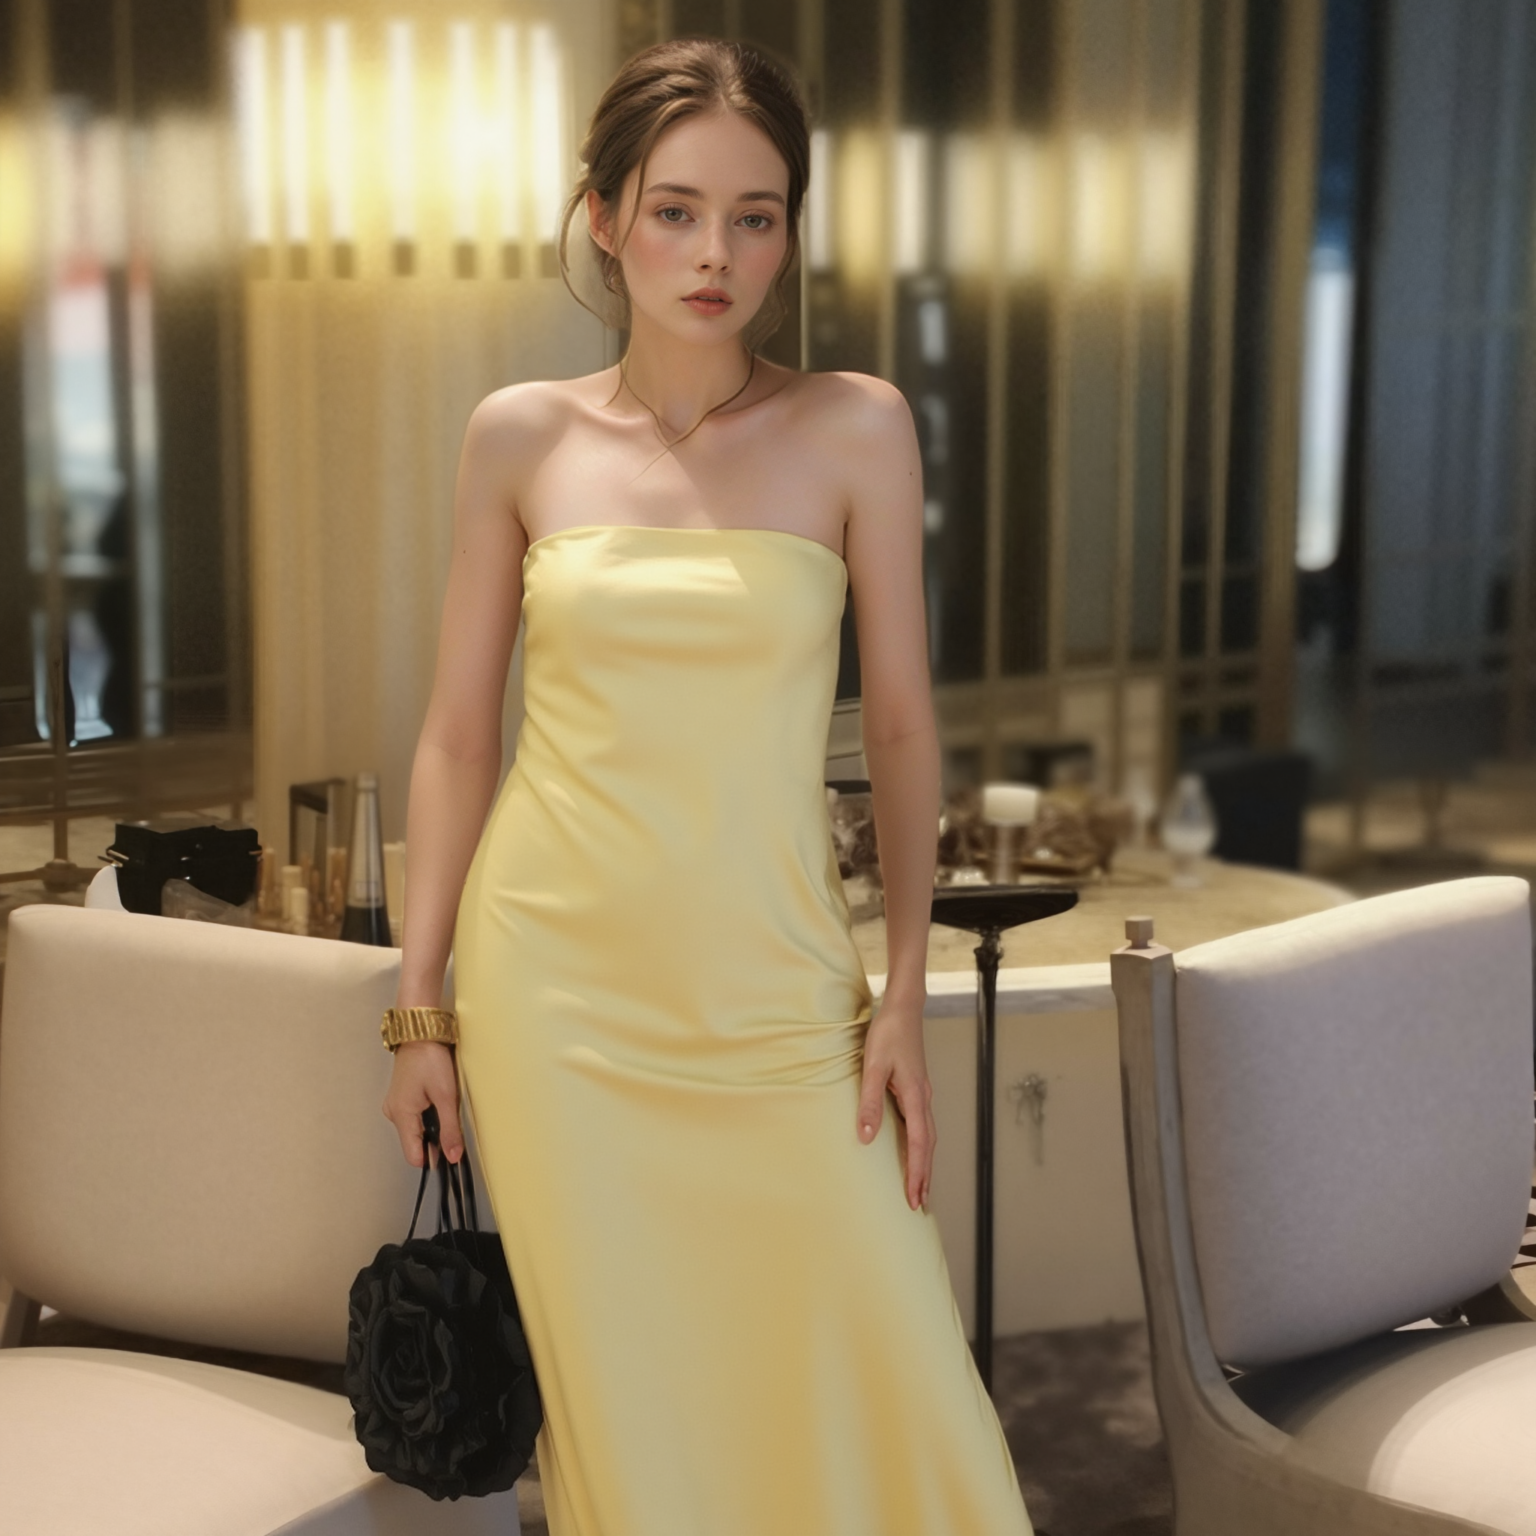
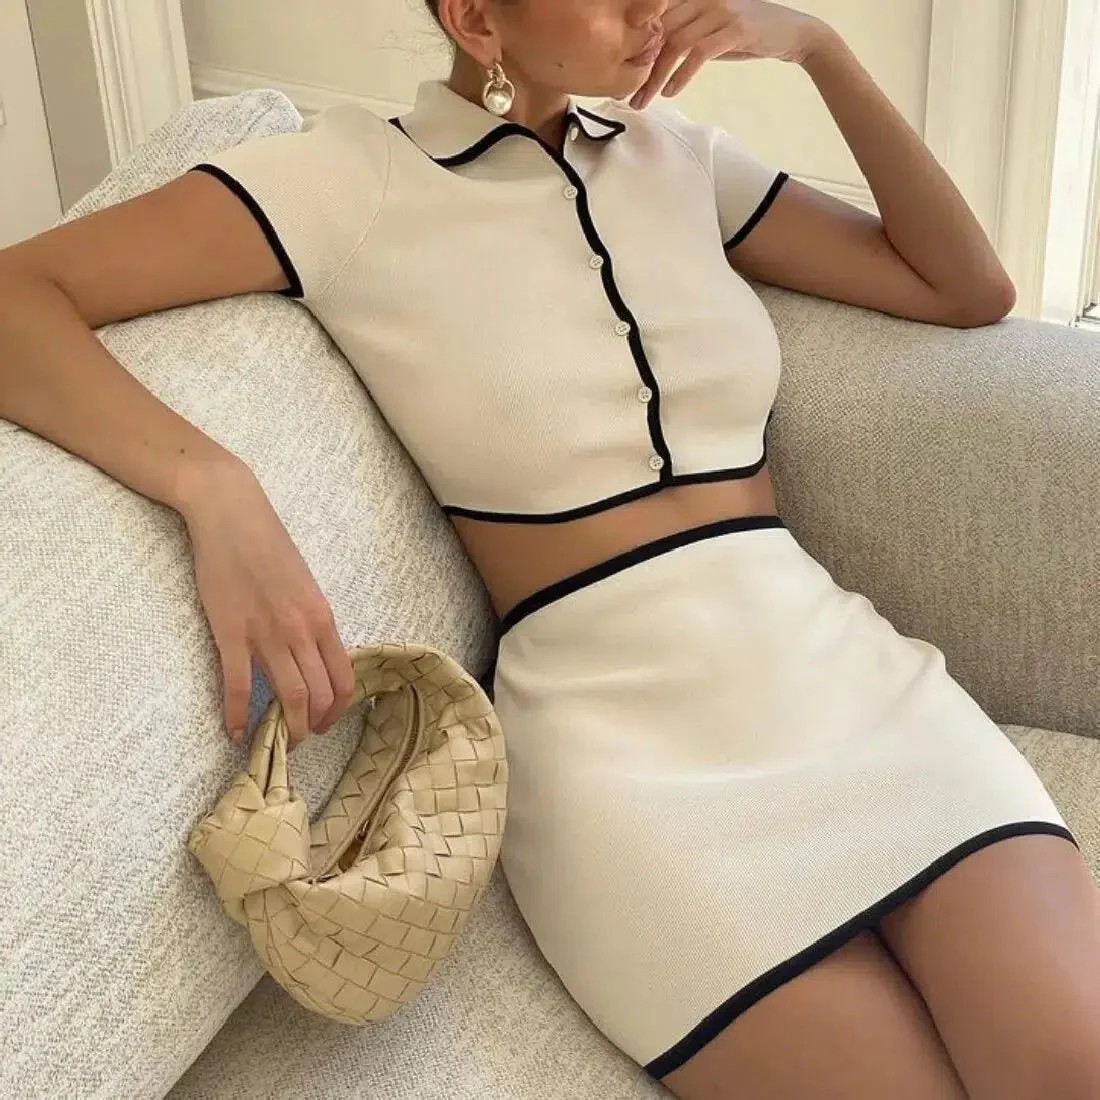
AI tools like Stable Diffusion are unlocking new creative potential for designers and artists. In particular, the Text-to-Image and Image-to-Image capabilities allow for quickly iterating on designs and concepts. In this post, I’ll demonstrate a workflow using these AI tools to take an initial text prompt through to a refined final image. We have launched two new features: Text-to-Image & Image-to-Image in our module! Check them out yourselves:

Text-to-Image
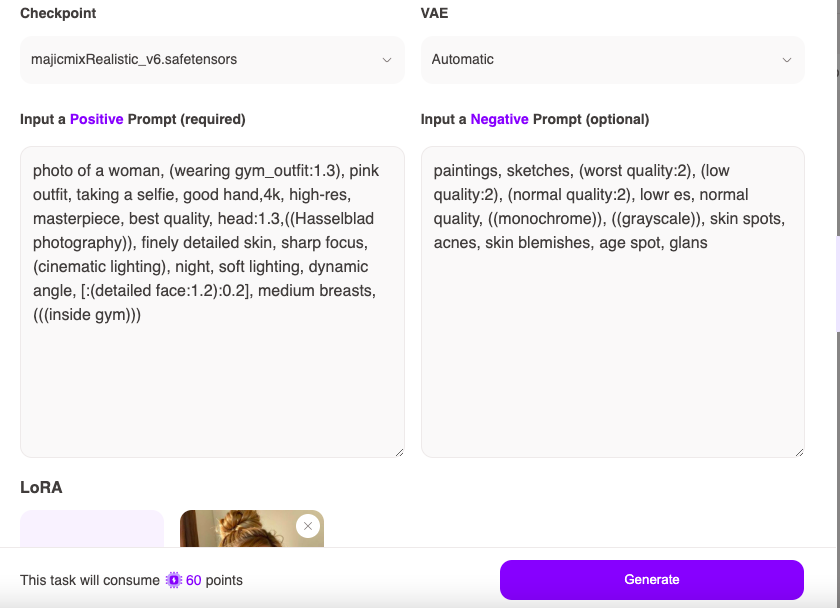
First, let’s try generating an image in Text-to-Image module using the following parameters:
Checkpoint: majicmixrealistic (a model for generating Asian women)
VAE: Auto
Positive prompt: photo of a woman, (wearing gym_outfit:1.3), pink outfit, taking a selfie, good hand,4k, high-res, masterpiece, best quality, head:1.3,((Hasselblad photography)), finely detailed skin, sharp focus, (cinematic lighting), night, soft lighting, dynamic angle, \[:(detailed face:1.2):0.2\], medium breasts,(((inside gym)))
Negative prompt: paintings, sketches, (worst quality:2), (low quality:2), (normal quality:2), lowr es, normal quality, ((monochrome)), ((grayscale)), skin spots, acnes, skin blemishes, age spot, glans
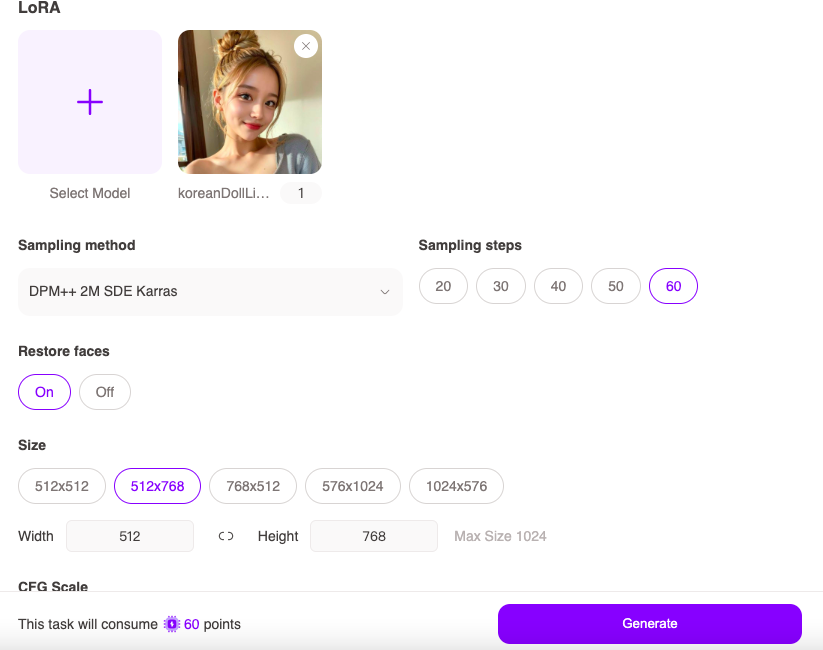
LoRA: Choose koreanDollLikeness
Iterations: 60 (Note: increasing iterations will consume more points!)
We get 4 generated images.
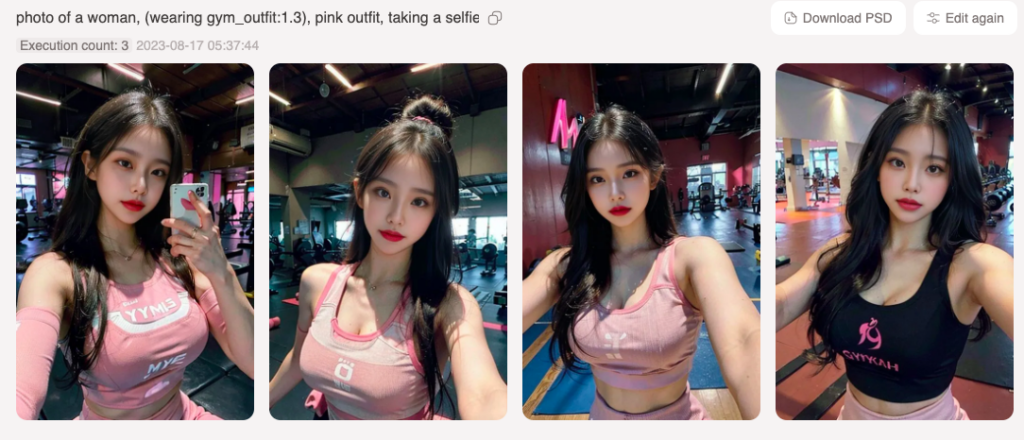
The third image looks decent. Let’s use Image-to-Image to change her outfit to barbie vibe!
Image-to-Image to Change outfit
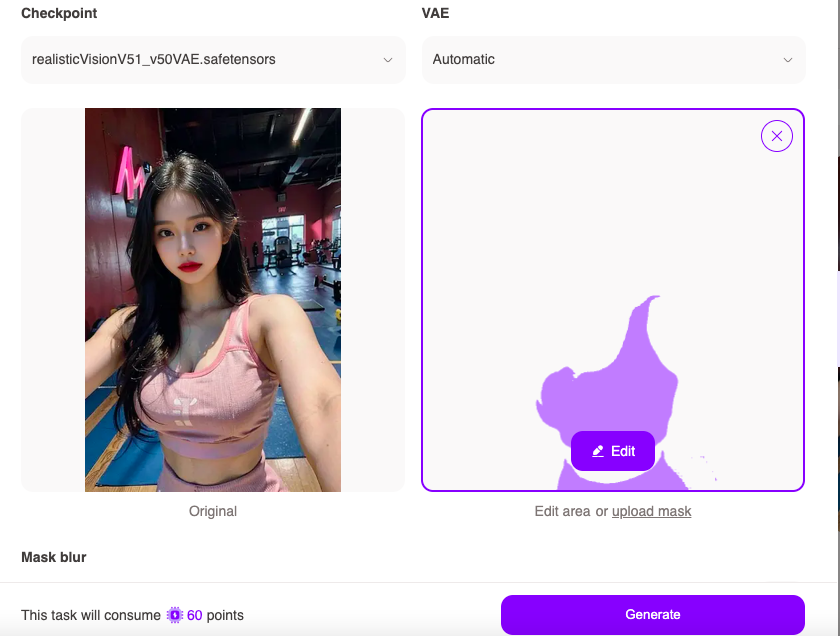
After saving the third image, create a new task in Image-to-Image, upload the original image, then click “Edit area” (can skip this if you’d like to change the original image entirely).
Checkpoint: realisticvisionv51
VAE: Automatic
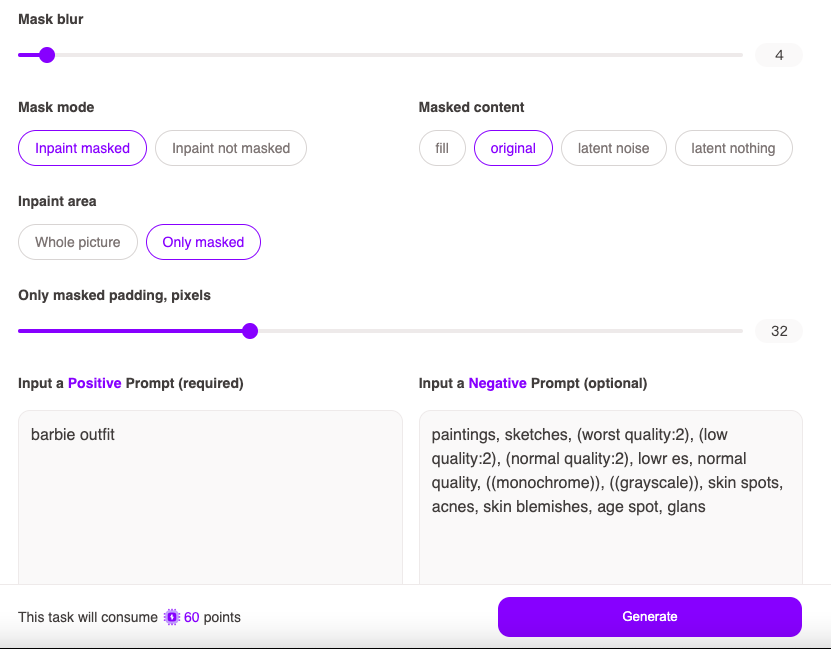
Mask blur: 4
Mask mode: Inpaint masked
Masked content: original
Inpaint area: Only masked
Positive prompt: barbie outfit
Can keep negative prompt unchanged as above
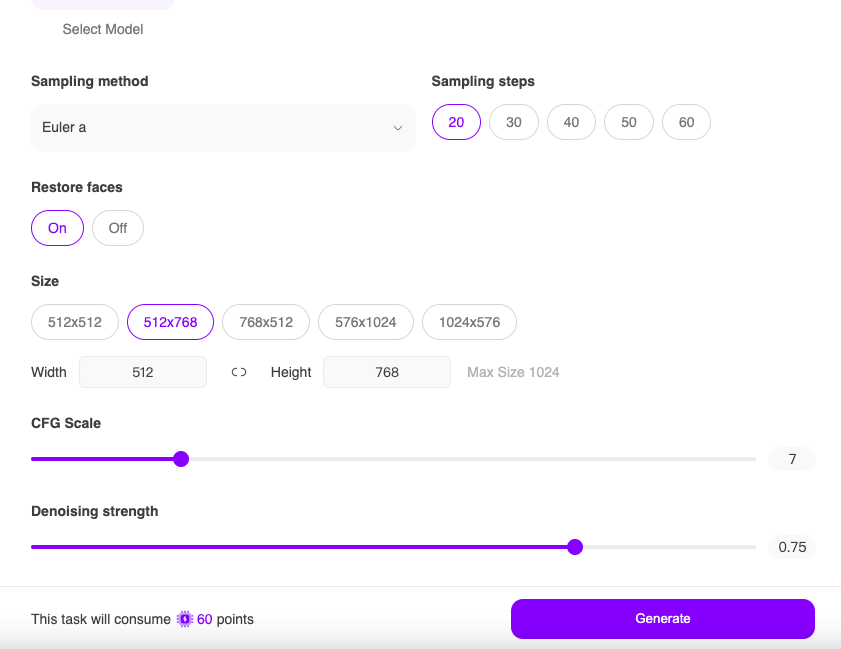
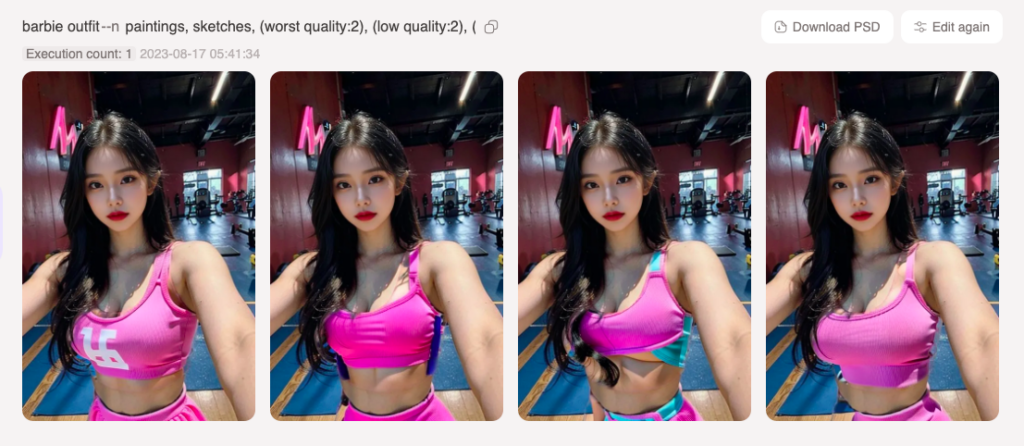
We get the desired barbie gym outfit. The first image is not bad either. Let’s look at the two generated results.
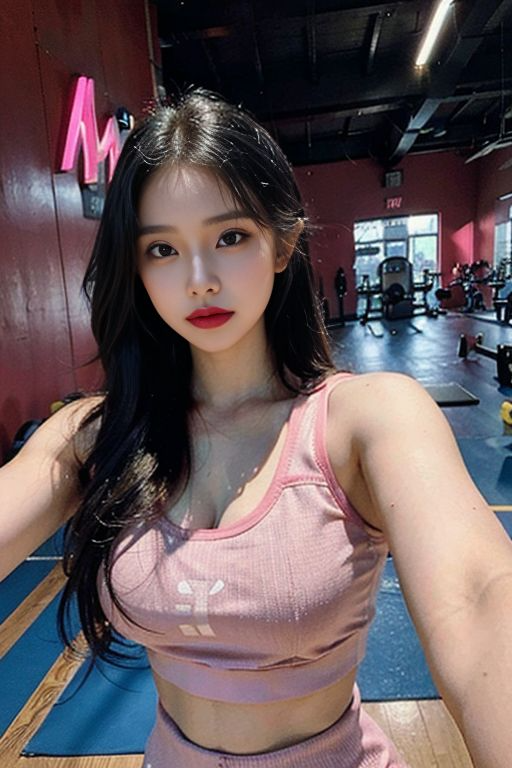
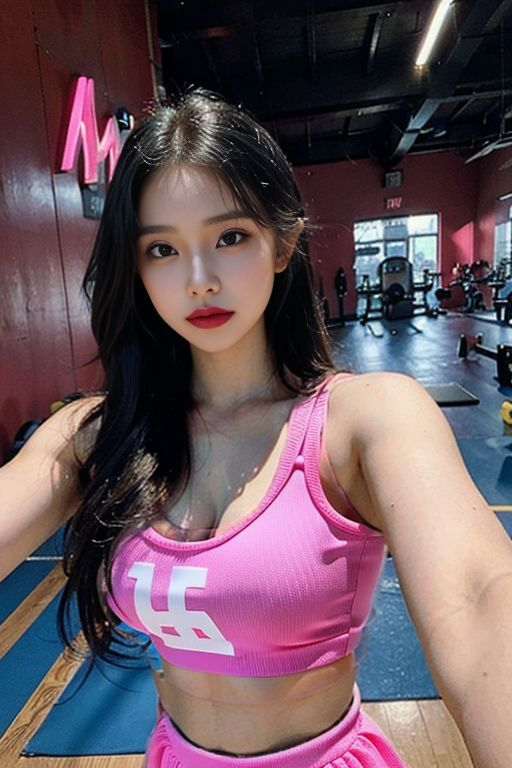
By leveraging these AI tools, designers and artists can expand their creative possibilities and reduce tedious workflow steps. I hope this example helps showcase how to harness AI to enhance your design and art! Feel free to extend your creativity! For everything else about WeShop AI, please check out our blog: https://www.weshop.ai/blog/

